This translation was generated by a machine and has not been reviewed by a person yet. Speak this language? Review it.
Introduction
This guide shows you how to replace the touchscreen of an Onda V80 Plus tablet. The LCD panel is fragile: work carefully when removing and installing the touch glass.
-
-
-
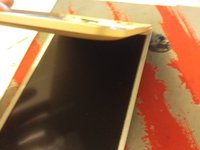
Having already removed the screen (the hard way) by removing it from the front and removing pieces of glass by pieces of glass. I strongly advise against this method, I have, because of this method, damaged the LCD, the latter being very fragile, be careful. (Blue marks on picture 2).
-
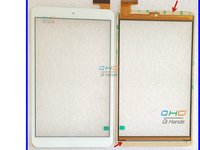
Not knowing if iFixit allows the sharing of links, the screen that I will use was bought on aliexpress, by QHD store Russia-Vip Store (The link, even if it would not surprise me that it is deleted ^^ : goo.gl/UZoSCH)
 Ask FixBot
-
-
-
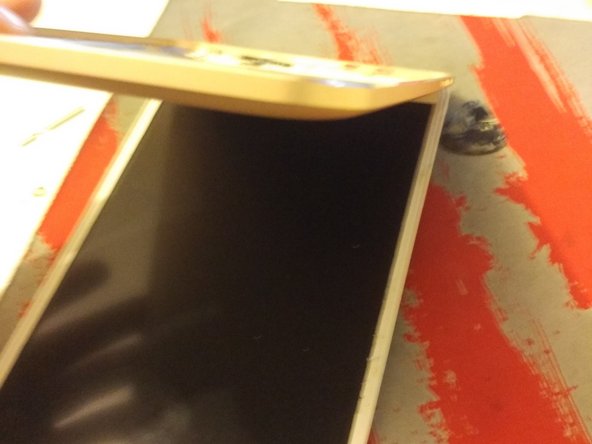
Flip the tablet, try to gently separate the white part on the screen side, and the golden part behind.
-
-
-
After that, be careful not to lose the Power buttons, and Volume +/-.
-
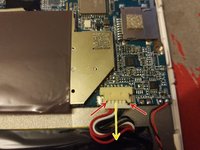
Remove the battery connector. Pull from the red arrows on the photo, towards the yellow.
-
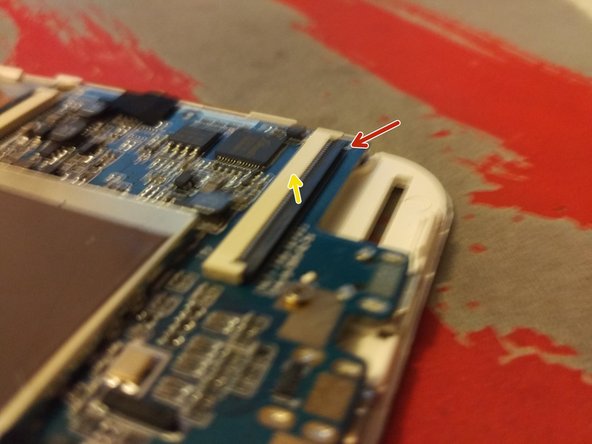
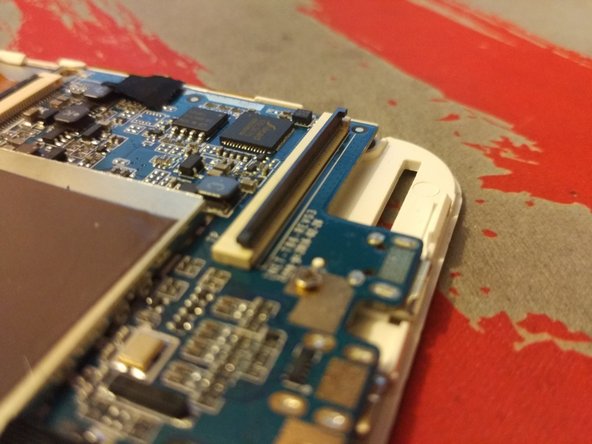
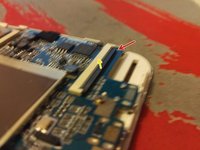
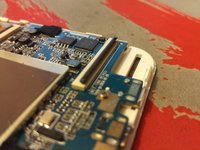
The touch screen connector is located at the top left. Gently lift the black part of the connector, then remove the cable.
-
-
-
-
Turn the tablet on the screen side, and get an object to generate hot air. A heat gun would be the perfect tool, but if in the worst case you do not have this, use a hair dryer. If you have an iOpener, it is just as convenient.
-
-
-
Having not yet completed this step, I will indicate how to do it, it is surely the simplest step of the dismantling.
-
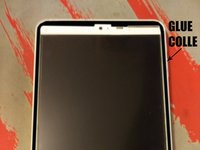
Remove the protection of the 3M adhesive from the edge of the slab. Do, without laying the screen, and without touching the edges, pass the sheet through the hole.
-
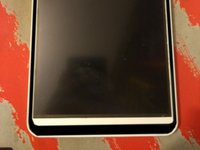
Carefully place the screen from the top edge because the tablecloth is at the top. (To simulate the placement of the screen, I will use the back of the tablet as a substitute for the guide.)
-
-
-
Take the back cover, set up the buttons, and start placing the tablet by the right side. Then, press the tablet all over the edges, and snap fit all the clips on each edge.
-
Check last the functioning of the tablet, and you're done! Bravo!
-
-






To reassemble your device, follow the instructions in reverse order.
Cancel: I did not complete this guide.
One other person completed this guide.
Special thanks to these translators:
100%


These translators are helping us fix the world! Want to contribute?
Start translating ›

