Free Shipping on Domestic Orders $75+

What you need

This teardown is not a repair guide. To repair your Samsung Evergreen SGH-A667, use our service manual.

    1. Samsung Evergreen SGH-A667 Teardown, Samsung Evergreen SGH-A667 Teardown: step 1, image 1 of 2 Samsung Evergreen SGH-A667 Teardown, Samsung Evergreen SGH-A667 Teardown: step 1, image 2 of 2
      Ask FixBot

      Add Comment

    2. Samsung Evergreen SGH-A667 Teardown: step 2, image 1 of 1
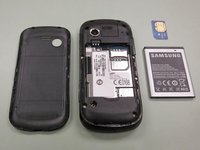
      • Begin by prying off the rear battery-access panel.

      Ask FixBot

      Add Comment

    3. Samsung Evergreen SGH-A667 Teardown: step 3, image 1 of 2 Samsung Evergreen SGH-A667 Teardown: step 3, image 2 of 2
      • Remove battery pack and SIM card.

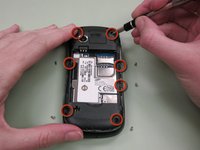
      • Remove the seven screws marked in red.

      Ask FixBot

      Add Comment

    4. Samsung Evergreen SGH-A667 Teardown: step 4, image 1 of 2 Samsung Evergreen SGH-A667 Teardown: step 4, image 2 of 2
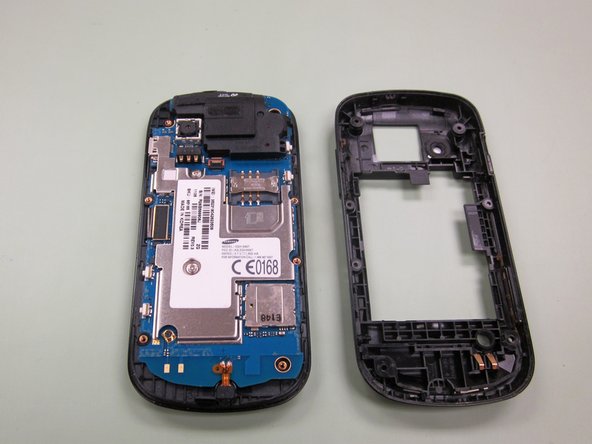
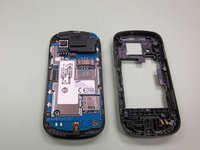
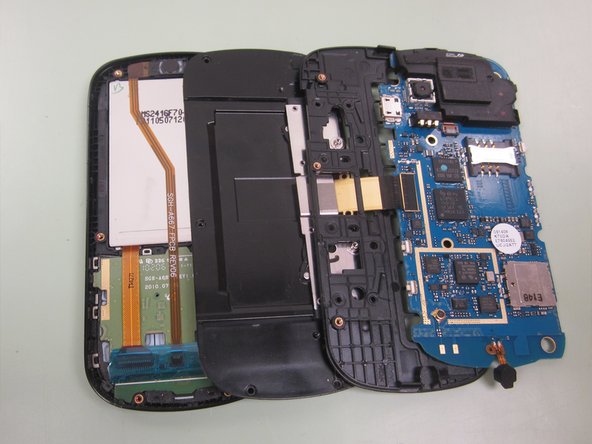
      • Pry the case away from the body of the phone. Be gentle around the volume control, micro USB, and micro SD ports.

      Ask FixBot

      Add Comment

    5. Samsung Evergreen SGH-A667 Teardown: step 5, image 1 of 2 Samsung Evergreen SGH-A667 Teardown: step 5, image 2 of 2
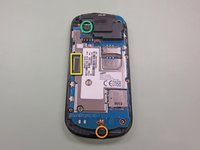
      • Camera

      • Keyboard ribbon connector

      • Microphone

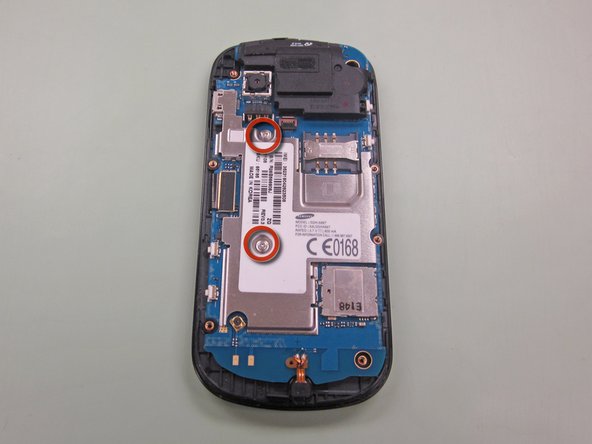
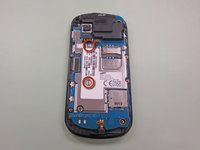
      • Remove the two screws marked in red to free the EMI shielding.

      Ask FixBot

      Add Comment

    6. Samsung Evergreen SGH-A667 Teardown: step 6, image 1 of 1
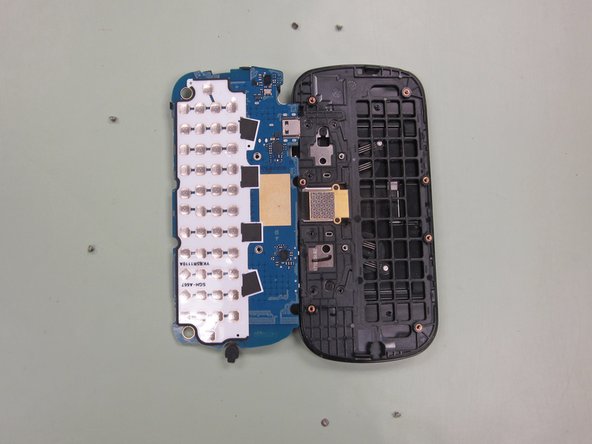
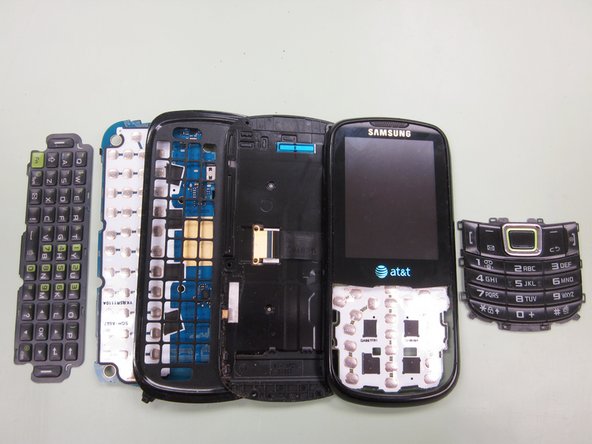
      • The keyboard ribbon strings each of the pieces together, but the keypad flops right out on its own.

      Ask FixBot

      Add Comment

    7. Samsung Evergreen SGH-A667 Teardown: step 7, image 1 of 2 Samsung Evergreen SGH-A667 Teardown: step 7, image 2 of 2
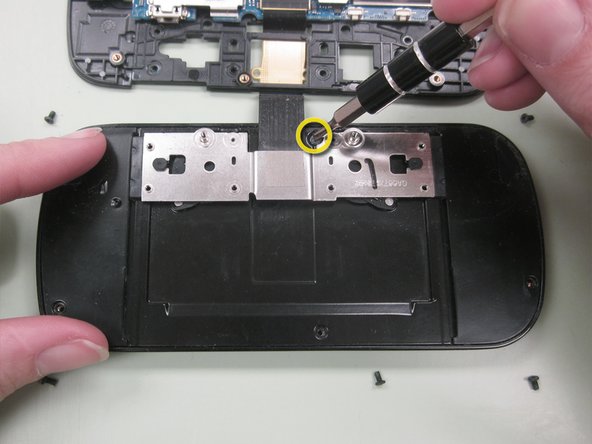
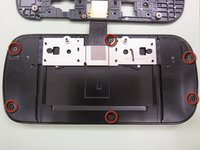
      • Remove the six screws marked in red; they hold the keyboard to the sliding mechanism.

      Ask FixBot

      Add Comment

    8. Samsung Evergreen SGH-A667 Teardown: step 8, image 1 of 3 Samsung Evergreen SGH-A667 Teardown: step 8, image 2 of 3 Samsung Evergreen SGH-A667 Teardown: step 8, image 3 of 3
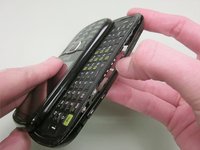
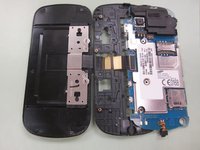
      • Huzzah the sliding carriage is free—what's that? The funk of forty thousand years? This part of the phone never sees the light of day!

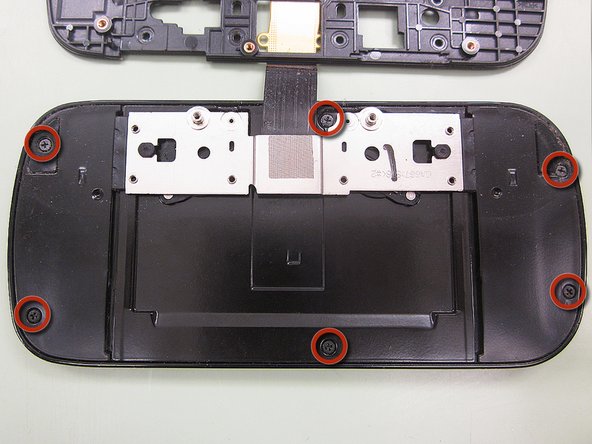
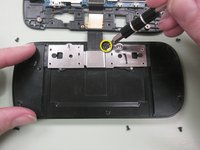
      • Remove the six screws circled in red.

      • Sometimes this screw is hidden by the ribbon cable!

      Ask FixBot

      Add Comment

    9. Samsung Evergreen SGH-A667 Teardown: step 9, image 1 of 3 Samsung Evergreen SGH-A667 Teardown: step 9, image 2 of 3 Samsung Evergreen SGH-A667 Teardown: step 9, image 3 of 3
      • More plastic clips means a little more finagling to pry the front case off.

      • The work pays off with a snappy line-up.

      Ask FixBot

      Add Comment

    10. Samsung Evergreen SGH-A667 Teardown: step 10, image 1 of 2 Samsung Evergreen SGH-A667 Teardown: step 10, image 2 of 2
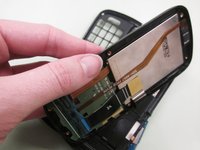
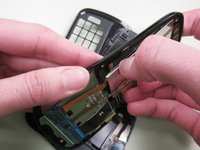
      • Gently flex the faceplate to loosen the adhesive's hold on the screen.

      • After loosening all edges, begin to peel the LCD from the plastic. When in doubt, stop, look, and listen; just like crossing the street.

      Ask FixBot

      Add Comment

    11. Samsung Evergreen SGH-A667 Teardown: step 11, image 1 of 1
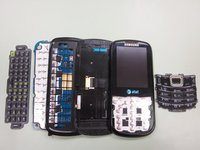
      • The sum of its parts

      • Use these steps in reverse to reassemble—a method tried and true!

      Ask FixBot

      Add Comment

0 Guide Comments

Add Comment

View Statistics:

Past 24 Hours: 5

Past 7 Days: 10

Past 30 Days: 24

All Time: 1,461