Introduction
Be sure that you have the correct tools for the job. If not, make sure to get the right tools before starting.
What you need
-
-
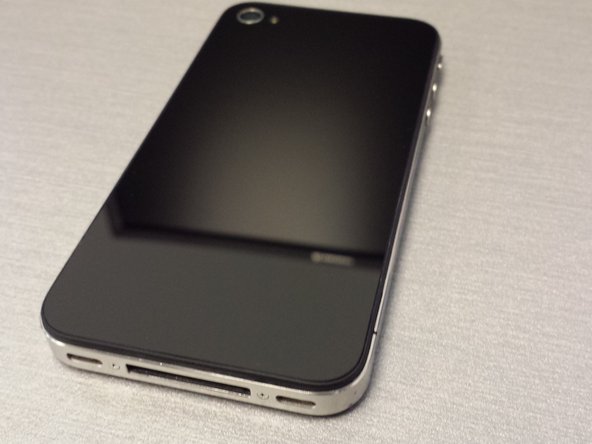
Here you can see the original cracked rear panel and the replacement panel.
-
Next using a Phillips head screwdriver, remove the mounting screws at the bottom of the iPhone. Place them aside carefully as they are really small.
-
Finally, once the screws are out gently apply pressure and slide the screen up to release the panel. Careful not to be too rough with it.
-
-
-
-
Carefully place the replacement panel on to the iPhone back lining it up as close to the bottom as possible.
-
Now again gently apply pressure as you slide the panel towards the bottom of the iPhone to lock it into place.
-
Replace the screws that you set aside earlier and be sure no to over tighten otherwise you will strip them.
-


To reassemble your device, follow these instructions in reverse order.
To reassemble your device, follow these instructions in reverse order.
Cancel: I did not complete this guide.
21 other people completed this guide.
