
Sony Clie PEG-UX50 Tilt Screen Replacement

Rishad R Rai and
Last updated on May 7, 2024
Views: 3.6K
View statistics:
- Past 24 Hours:
- 0
- Past 7 Days:
- 3
- Past 30 Days:
- 39
- All Time:
- 3,556
Comments: 0
No one has left comments on this guide. Will you be first?
Go to guide commentsCompleted: 0 1
No one has marked this guide "completed." Will you be the first?
1 person has marked this guide "completed." It's you — great job!
Favorites: 0 1
No one has favorited (and subscribed to) this guide. Will you be the first?
1 person has favorited (and subscribed to) this guide — and that's you!
Action Shots
Be an action hero! This guide needs images that better demonstrate how to perform specific actions.
Needs Better Images
Better photos will improve this guide. Help out by taking, editing, or uploading new ones!
Better Introduction
Improve this guide by completing or revising its introduction.
Introduction
Go to step 1 ↓The Sony Clie PEG-UX50 has a separate tilt screen display. This guide will show you how to remove the tilt screen without dismantling the battery plate.
What you need
Tools

-
-
-
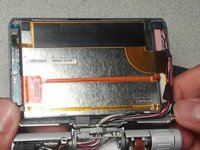
Take off the screws located on the two sides of the tilt screen.
-
Unscrew the screw located at the tilt base of the screen.
 Ask FixBot
-
-
-
Tool used on this step:Tweezers$4.99
-
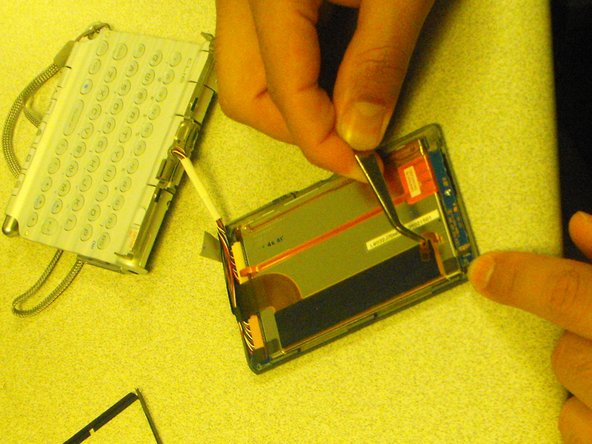
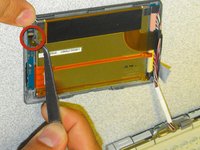
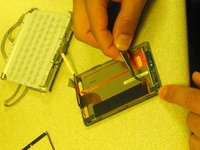
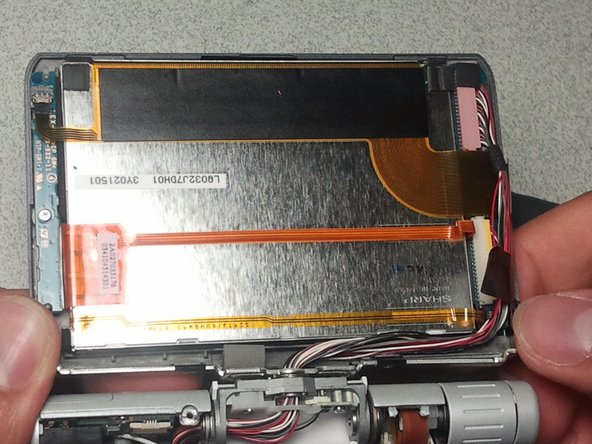
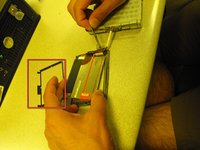
Disconnect the thin connector from the face plate using tweezers.
-
-





Follow these instructions in reverse order to reassemble your device.

Team

CSU Los Angeles, Team 1-4, Nelson Spring 2011 Member of CSU Los Angeles, Team 1-4, Nelson Spring 2011
CSULA-NELSON-S11S1G4
5 Members
24 Guides authored
