Free Shipping on Domestic Orders $75+

iPhone 17 Battery Installation

Prerequisite Only
This is a prerequisite-only guide! This guide is part of another procedure and isn’t meant to be used alone.
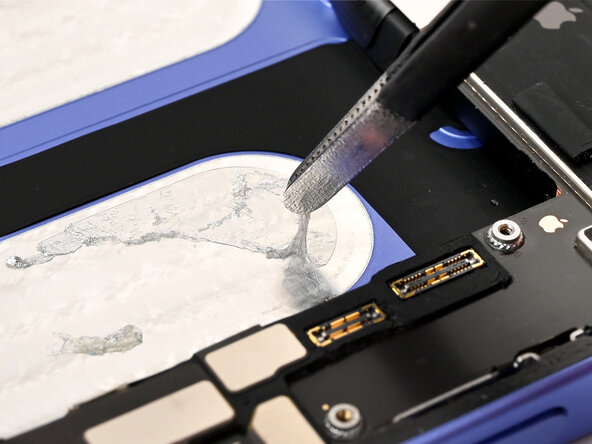
    1. iPhone 17 Battery Installation, Remove residual battery adhesive: step 1, image 1 of 2 iPhone 17 Battery Installation, Remove residual battery adhesive: step 1, image 2 of 2
      • Use a pair of tweezers to peel up any large pieces of residual battery adhesive from the iPhone frame.

      Ask FixBot

      Add Comment

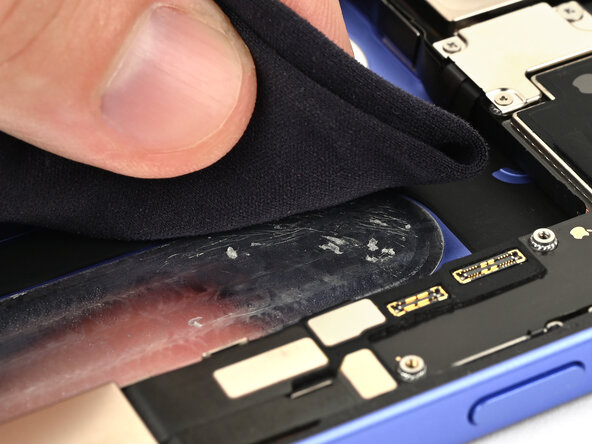
    2. iPhone 17 Battery Installation, Remove adhesive residue: step 2, image 1 of 2 iPhone 17 Battery Installation, Remove adhesive residue: step 2, image 2 of 2
      • Use coffee filters or a lint‑free cloth and high‑concentration (>90%) isopropyl alcohol to wipe off any remaining battery adhesive residue from the iPhone frame.

      Ask FixBot

      Add Comment

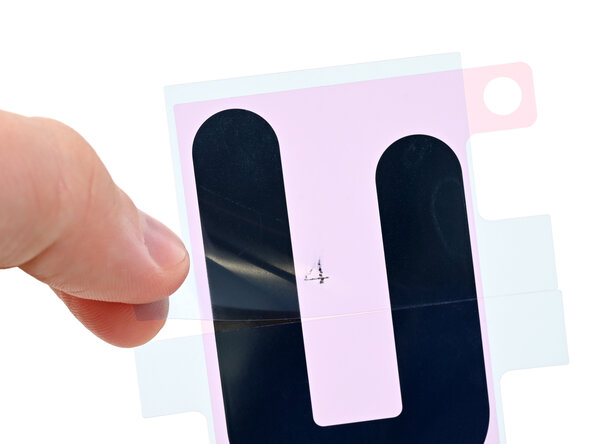
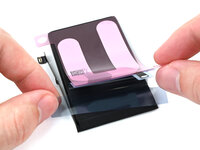
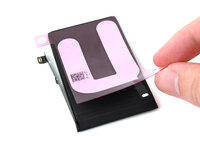
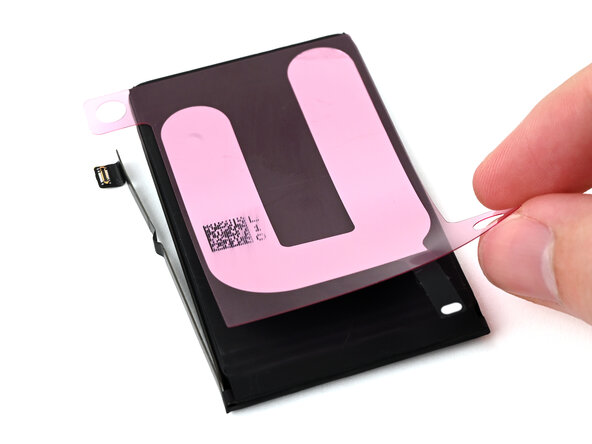
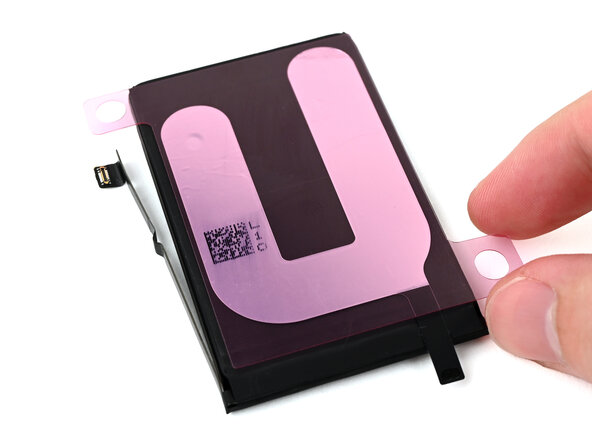
    3. iPhone 17 Battery Installation, Remove the top battery‑side liner: step 3, image 1 of 3 iPhone 17 Battery Installation, Remove the top battery‑side liner: step 3, image 2 of 3 iPhone 17 Battery Installation, Remove the top battery‑side liner: step 3, image 3 of 3
      • If your battery came with the adhesive installed, skip this step and the next four steps.

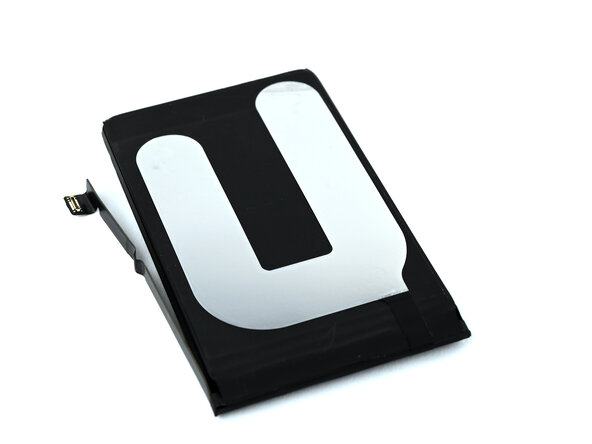
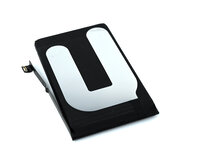
      • Lay the old battery with the adhesive facing up next to the new battery. Lay the new adhesive on the new battery to see how it needs to be applied.

      • Your adhesive may look slightly different or have different liners.

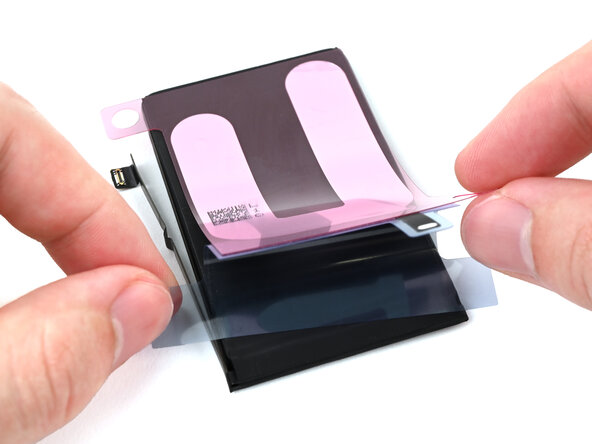
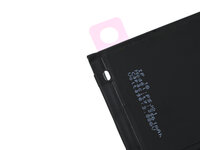
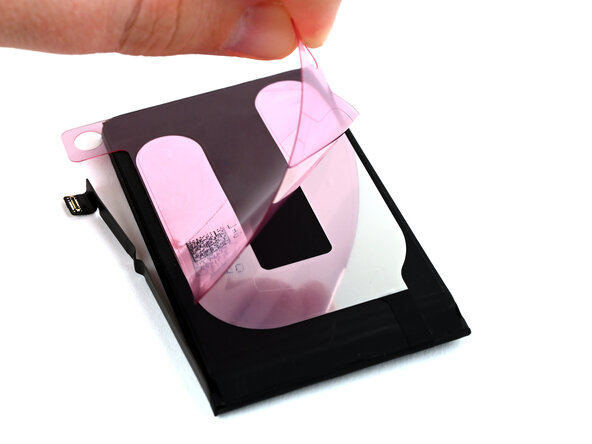
      • If the battery‑side of your adhesive has two liners, remove the top liner.

      • If the battery‑side of your adhesive has one liner, remove it.

      Ask FixBot

      Add Comment

    4. iPhone 17 Battery Installation, Apply the top of the adhesive: step 4, image 1 of 3 iPhone 17 Battery Installation, Apply the top of the adhesive: step 4, image 2 of 3 iPhone 17 Battery Installation, Apply the top of the adhesive: step 4, image 3 of 3
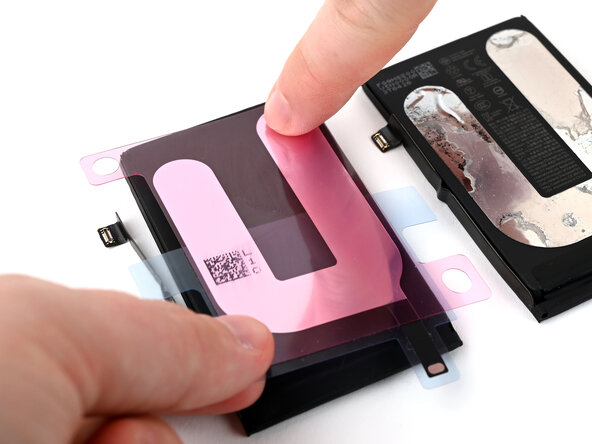
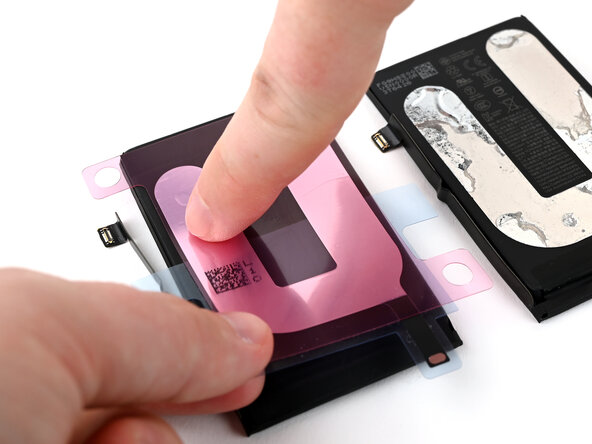
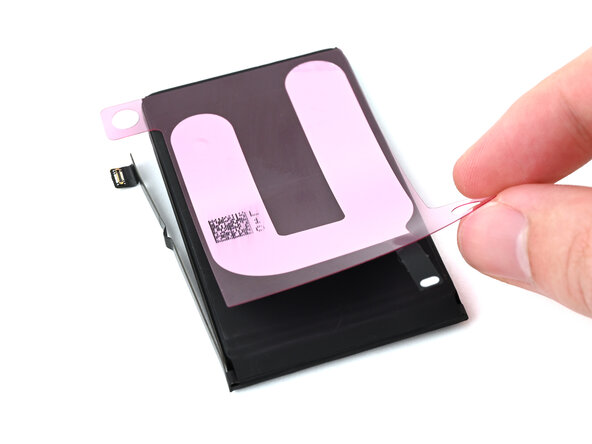
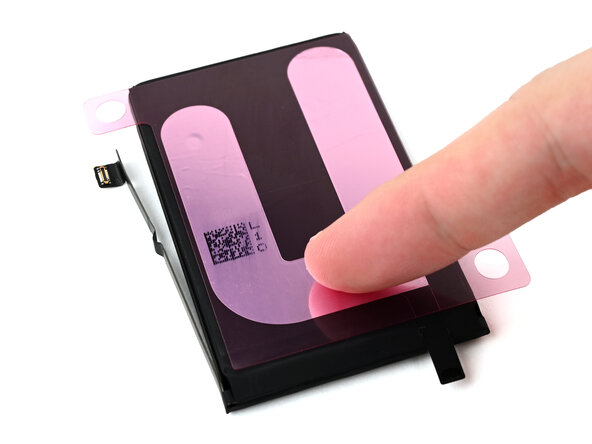
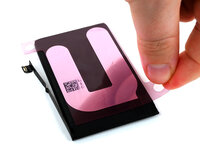
      • With the old battery nearby so you can align the new adhesive correctly, use your finger to lightly press the new adhesive to the new battery.

      • Compare the placement of the new adhesive with the old adhesive.

      • If you need to adjust it, you can carefully peel the adhesive up and try again.

      • Once the new adhesive is aligned correctly and matches the old adhesive, press it firmly to the battery.

      Ask FixBot

      Add Comment

    5. iPhone 17 Battery Installation, Remove the bottom battery‑side liner: step 5, image 1 of 3 iPhone 17 Battery Installation, Remove the bottom battery‑side liner: step 5, image 2 of 3 iPhone 17 Battery Installation, Remove the bottom battery‑side liner: step 5, image 3 of 3
      • If the battery‑side of your adhesive still has a bottom liner on it, remove it now.

      Ask FixBot

      Add Comment

    6. iPhone 17 Battery Installation, Press the adhesive: step 6, image 1 of 3 iPhone 17 Battery Installation, Press the adhesive: step 6, image 2 of 3 iPhone 17 Battery Installation, Press the adhesive: step 6, image 3 of 3
      • Lay the adhesive onto the battery and press it into place.

      Ask FixBot

      Add Comment

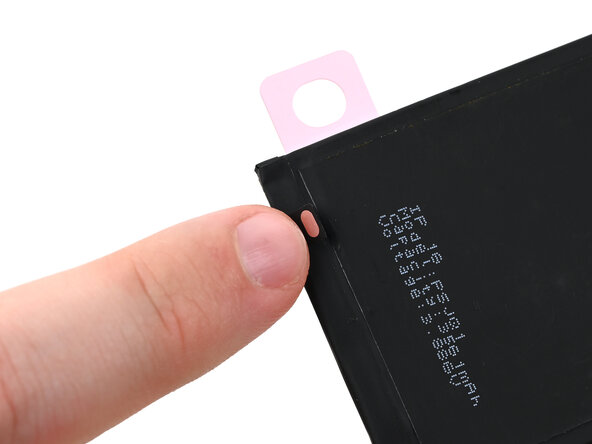
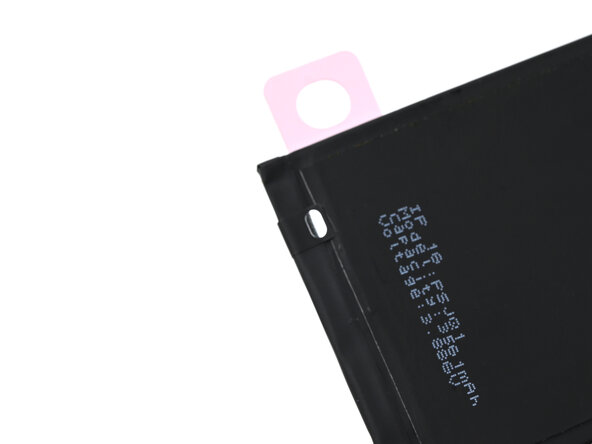
    7. iPhone 17 Battery Installation, Fold the conductive tab: step 7, image 1 of 3 iPhone 17 Battery Installation, Fold the conductive tab: step 7, image 2 of 3 iPhone 17 Battery Installation, Fold the conductive tab: step 7, image 3 of 3
      • Use your finger to fold the conductive tab around to the front of the battery and press it into place.

      Ask FixBot

      Add Comment

    8. iPhone 17 Battery Installation, Remove the iPhone‑side liner: step 8, image 1 of 3 iPhone 17 Battery Installation, Remove the iPhone‑side liner: step 8, image 2 of 3 iPhone 17 Battery Installation, Remove the iPhone‑side liner: step 8, image 3 of 3
      • Peel the iPhone‑side liner off of the battery adhesive.

      Ask FixBot

      Add Comment

    9. iPhone 17 Battery Installation, Connect the battery: step 9, image 1 of 3 iPhone 17 Battery Installation, Connect the battery: step 9, image 2 of 3 iPhone 17 Battery Installation, Connect the battery: step 9, image 3 of 3
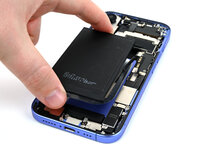
      • Hold the battery over its place in the iPhone, but don't lower it into place yet.

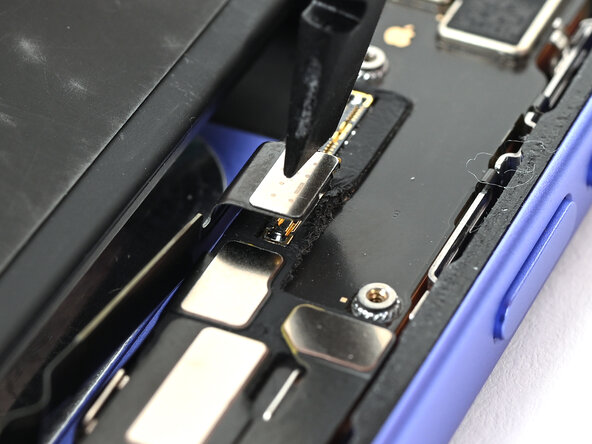
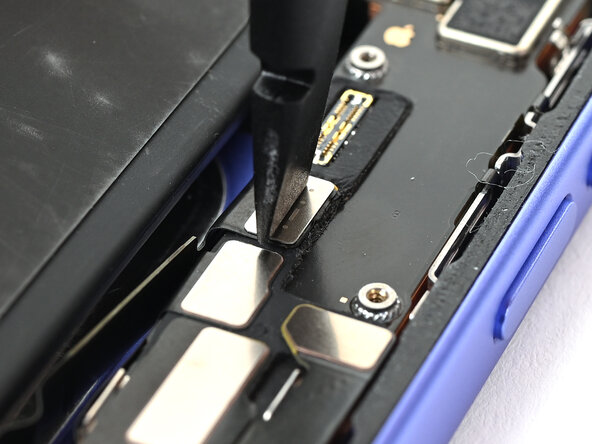
      • To ensure the battery is properly placed, use a spudger or your finger to connect the battery press connector.

      Ask FixBot

      Add Comment

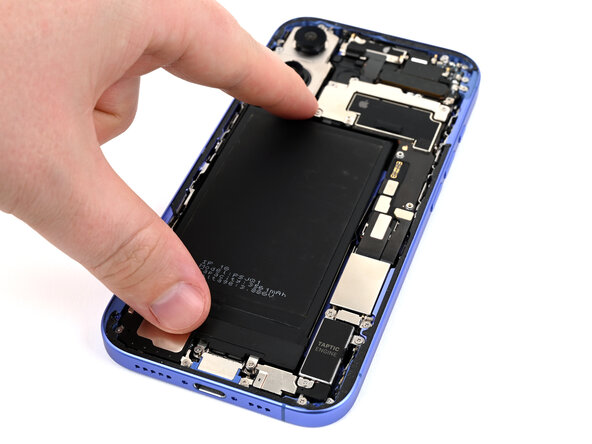
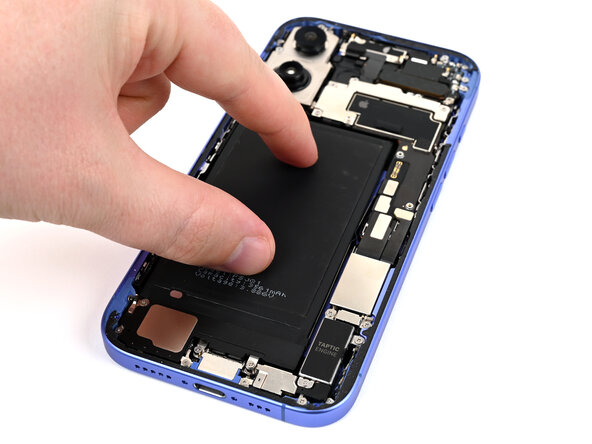
    10. iPhone 17 Battery Installation, Place the battery: step 10, image 1 of 3 iPhone 17 Battery Installation, Place the battery: step 10, image 2 of 3 iPhone 17 Battery Installation, Place the battery: step 10, image 3 of 3
      • With the battery connected, lower it into its place in the iPhone.

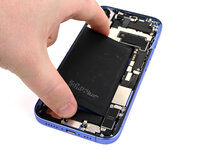
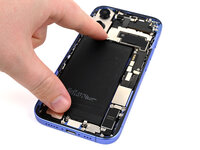
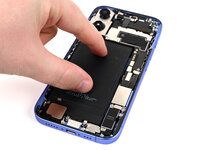
      • Use your fingers to press the battery into place.

      Ask FixBot

      Add Comment

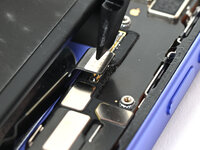
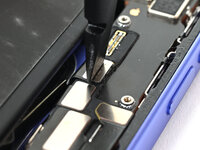
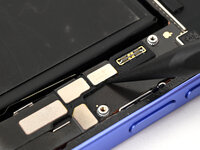
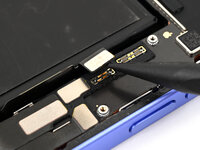
    11. iPhone 17 Battery Installation, Disconnect the battery: step 11, image 1 of 2 iPhone 17 Battery Installation, Disconnect the battery: step 11, image 2 of 2
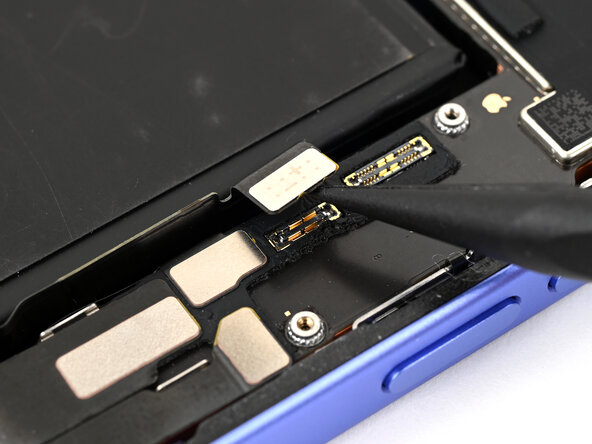
      • Use a spudger or your finger to disconnect the battery to protect your iPhone during the rest of the reassembly process.

      Ask FixBot

      Add Comment

Conclusion

To reassemble your device, follow these instructions in reverse order.

Cancel: I did not complete this guide.

Spencer Pennington

Member since: 09/09/23

27,536 Reputation

125 Guides authored

0 Guide Comments

Add Comment

View Statistics:

Past 24 Hours: 0

Past 7 Days: 4

Past 30 Days: 11

All Time: 115