
Free Shipping on Domestic Orders $75+

iPhone 16 Pro Taptic Engine Installation

Prerequisite Only
This is a prerequisite-only guide! This guide is part of another procedure and isn’t meant to be used alone.

What you need

  1. iPhone 16 Pro Taptic Engine Installation, Install the Taptic Engine: step 1, image 1 of 2 iPhone 16 Pro Taptic Engine Installation, Install the Taptic Engine: step 1, image 2 of 2
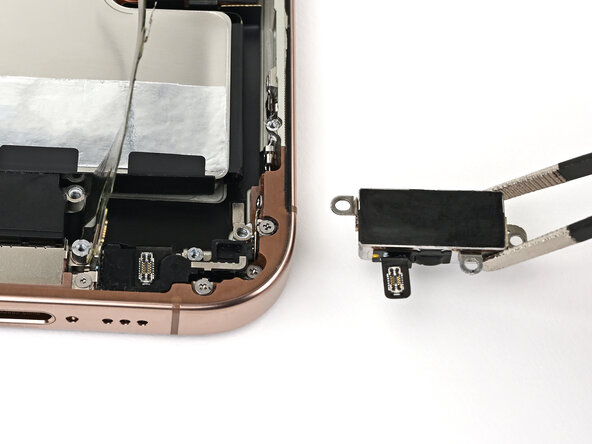
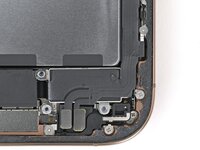
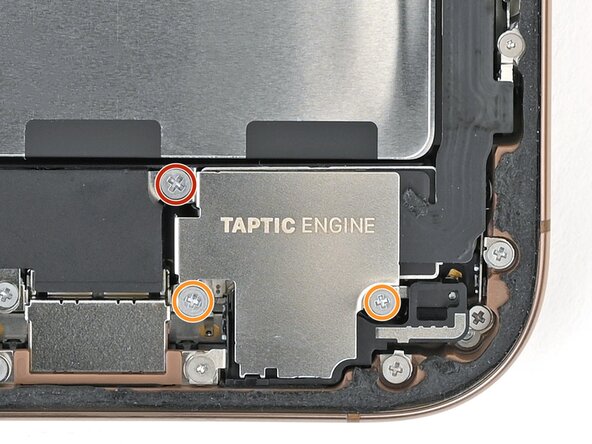
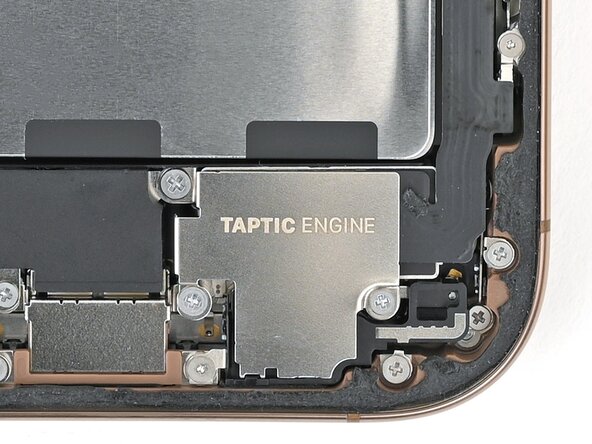
    • Use blunt-nose tweezers or your fingers to align the Taptic Engine with its screw posts and place it in the frame.

  2. iPhone 16 Pro Taptic Engine Installation: step 2, image 1 of 2 iPhone 16 Pro Taptic Engine Installation: step 2, image 2 of 2
    • Use a Phillips screwdriver to install the 1.9 mm‑long screw securing the Taptic Engine, located on its right edge.

  3. iPhone 16 Pro Taptic Engine Installation, Connect the lower assembly cable: step 3, image 1 of 3 iPhone 16 Pro Taptic Engine Installation, Connect the lower assembly cable: step 3, image 2 of 3 iPhone 16 Pro Taptic Engine Installation, Connect the lower assembly cable: step 3, image 3 of 3
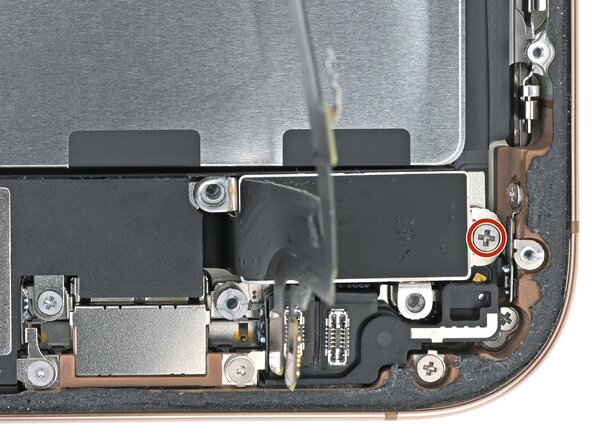
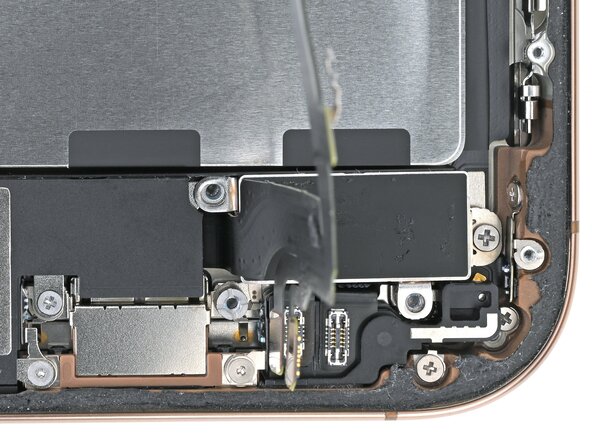
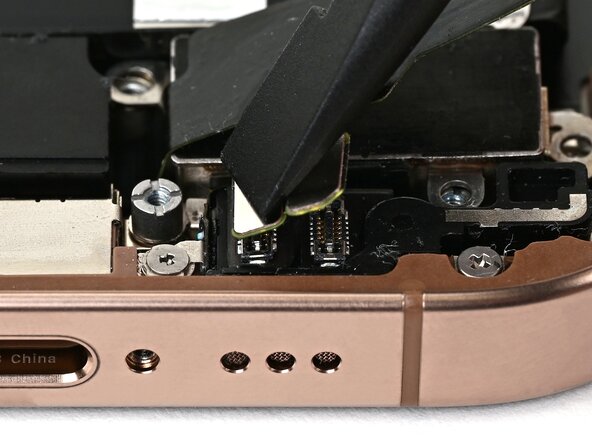
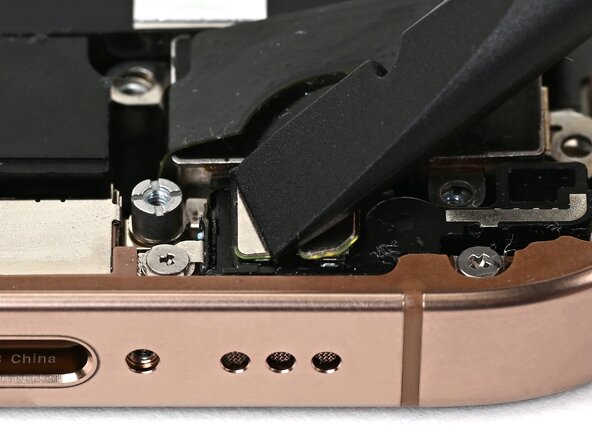
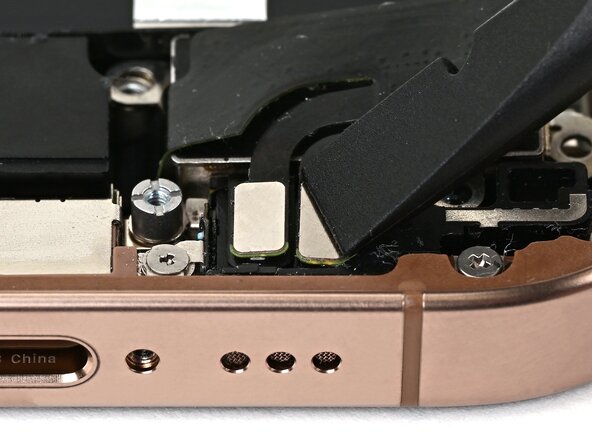
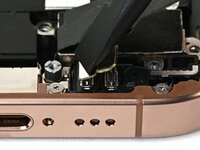
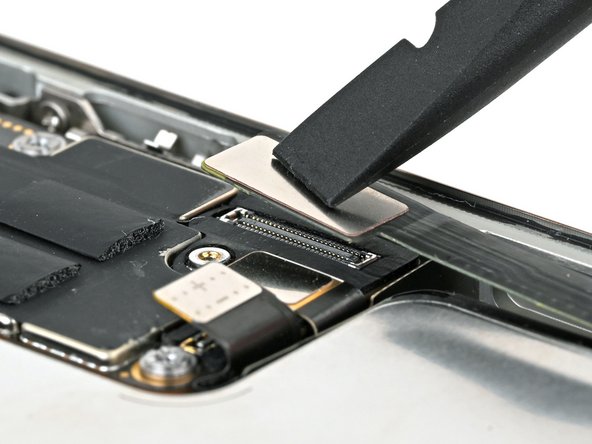
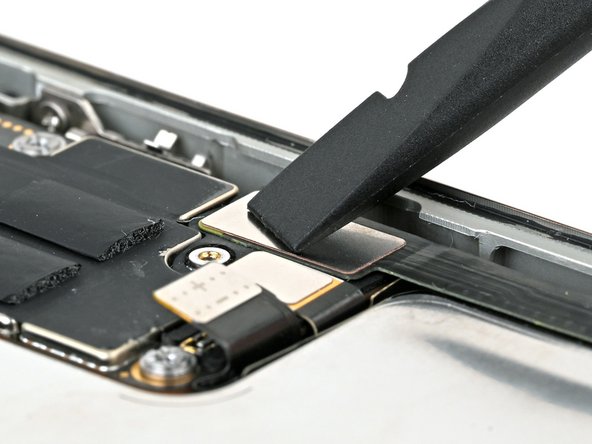
    • Use your finger or a spudger to connect the two lower assembly press connectors.

    • These press connectors can be tricky. Align each connector over its socket and press down—first on one side, then the other—until it clicks into place. Don't try to force them. If you're having trouble, reposition them and try again.

  4. iPhone 16 Pro Taptic Engine Installation: step 4, image 1 of 2 iPhone 16 Pro Taptic Engine Installation: step 4, image 2 of 2
    • Use a tri-point Y000 screwdriver to install the 1.0 mm‑long screw securing the lower assembly cable.

  5. iPhone 16 Pro Taptic Engine Installation: step 5, image 1 of 2 iPhone 16 Pro Taptic Engine Installation: step 5, image 2 of 2
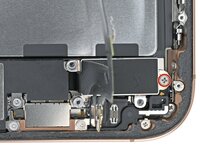
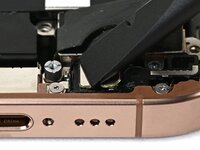
    • Use your finger or a spudger to connect the lower assembly cable press connector, located in the bottom-right corner of the logic board.
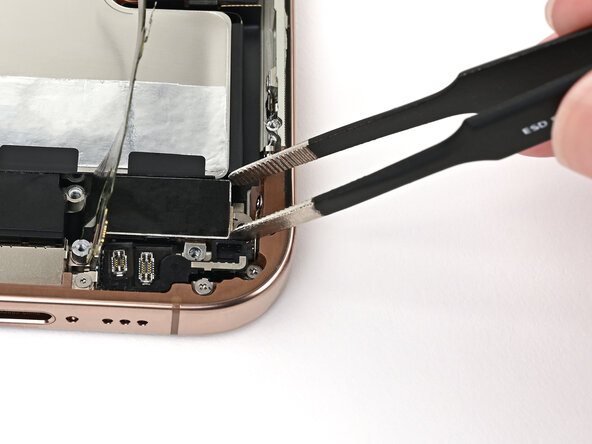
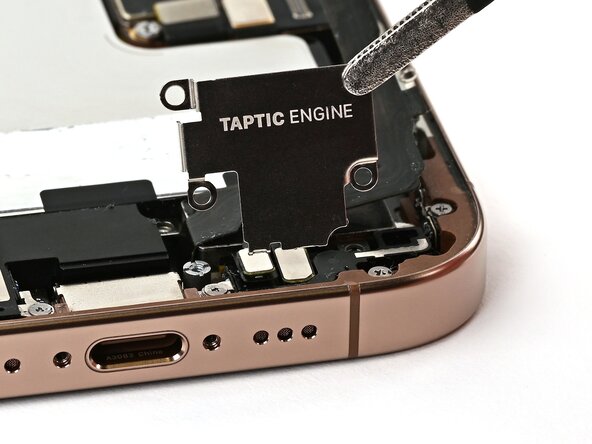
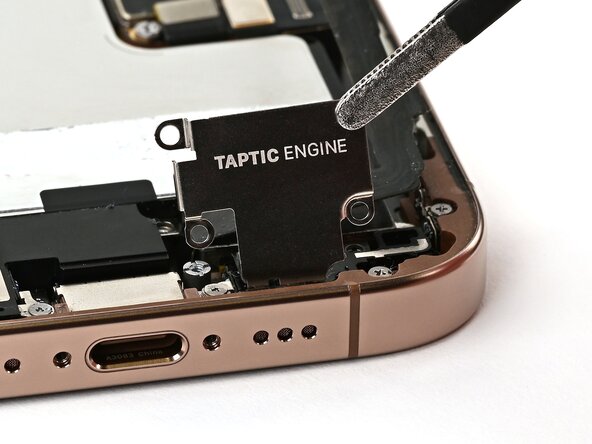
  6. iPhone 16 Pro Taptic Engine Installation, Install the Taptic Engine cover: step 6, image 1 of 3 iPhone 16 Pro Taptic Engine Installation, Install the Taptic Engine cover: step 6, image 2 of 3 iPhone 16 Pro Taptic Engine Installation, Install the Taptic Engine cover: step 6, image 3 of 3
  7. iPhone 16 Pro Taptic Engine Installation: step 7, image 1 of 2 iPhone 16 Pro Taptic Engine Installation: step 7, image 2 of 2
    • Use a Phillips screwdriver to install the three screws securing the Taptic Engine cover:

    • One 3.0 mm‑long screw

    • Two 1.7 mm‑long screws

Finish Line

Nick Schultz

Member since: 03/24/24

43,388 Reputation

252 Guides authored

Team

iFixit Member of iFixit

Staff

125 Members

24,048 Guides authored

0 Guide Comments

Add Comment

View Statistics:

Past 24 Hours: 1

Past 7 Days: 2

Past 30 Days: 4

All Time: 46