Free Shipping on Domestic Orders $75+

iPhone 15 Pro Max Screen Opening

Prerequisite Only
This is a prerequisite-only guide! This guide is part of another procedure and isn’t meant to be used alone.
    1. iPhone 15 Pro Max Screen Opening, Heat the bottom edge: step 1, image 1 of 1
      • Use a hair dryer or heat gun to heat the bottom edge of the screen until it's hot to the touch.

      • Be careful not to heat the phone hotter than this—the battery is susceptible to heat damage.

      Ask FixBot

      Add Comment

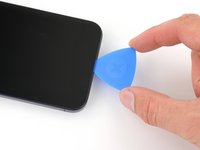
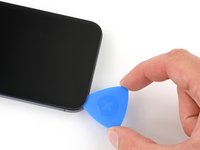
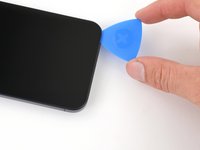
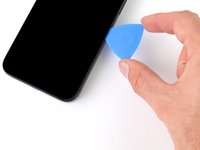
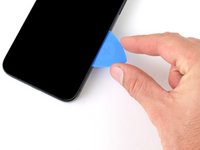
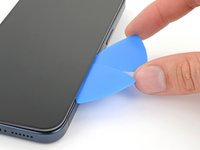
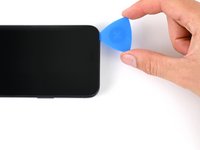
    2. iPhone 15 Pro Max Screen Opening, Insert an opening pick: step 2, image 1 of 3 iPhone 15 Pro Max Screen Opening, Insert an opening pick: step 2, image 2 of 3 iPhone 15 Pro Max Screen Opening, Insert an opening pick: step 2, image 3 of 3
      • Apply a suction handle to the bottom edge of the screen.

      • Pull up on the handle with a strong, steady force to create a gap between the screen and the frame.

      • Insert the tip of an opening pick into the gap.

      Ask FixBot

      Add Comment

    3. iPhone 15 Pro Max Screen Opening, Screen information: step 3, image 1 of 1
      • As you slice the adhesive securing the screen in the next steps, be careful of the following areas:

      • There are two delicate cables connecting the screen to the phone: one just above the action button, and the other near the middle of the left edge.

      • There are multiple spring contacts around the perimeter of the phone. Be extra careful not to insert your pick deeper than suggested in these locations to avoid bending the contacts.

      Ask FixBot

      Add Comment

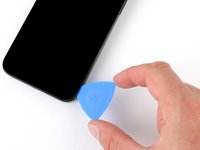
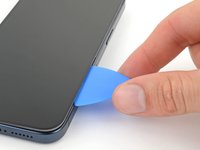
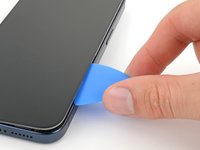
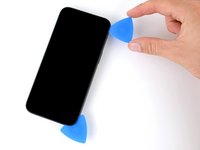
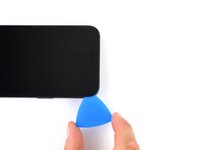
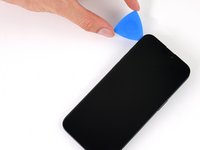
    4. iPhone 15 Pro Max Screen Opening, Separate the bottom edge adhesive: step 4, image 1 of 3 iPhone 15 Pro Max Screen Opening, Separate the bottom edge adhesive: step 4, image 2 of 3 iPhone 15 Pro Max Screen Opening, Separate the bottom edge adhesive: step 4, image 3 of 3
      • Don't insert your opening pick deeper than 3 mm along the bottom edge.

      • Slide your pick back and forth along the bottom edge to separate the adhesive.

      • Leave your pick inserted in the bottom right corner to prevent the adhesive from re-sealing.

      Ask FixBot

      Add Comment

    5. iPhone 15 Pro Max Screen Opening, Heat the right edge: step 5, image 1 of 1
      • Heat the right edge of the screen until it's hot to the touch.

      Ask FixBot

      Add Comment

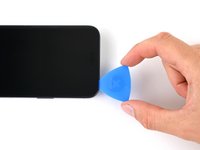
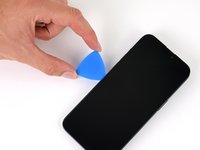
    6. iPhone 15 Pro Max Screen Opening, Position the opening pick: step 6, image 1 of 3 iPhone 15 Pro Max Screen Opening, Position the opening pick: step 6, image 2 of 3 iPhone 15 Pro Max Screen Opening, Position the opening pick: step 6, image 3 of 3
      • Don't insert your pick deeper than 5 mm along the right edge.

      • Slide your pick around the bottom right corner of the screen and toward the power button until you feel a hard stop at a clip securing the screen.

      • Rotate your pick so the flat edge is under the screen.

      Ask FixBot

      Add Comment

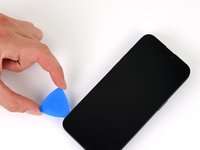
    7. iPhone 15 Pro Max Screen Opening, Release the right clip: step 7, image 1 of 3 iPhone 15 Pro Max Screen Opening, Release the right clip: step 7, image 2 of 3 iPhone 15 Pro Max Screen Opening, Release the right clip: step 7, image 3 of 3
      • Twist the pick to increase the gap between the screen and the frame until the right clip releases.

      • Insert a second opening pick to the right of the first pick.

      Ask FixBot

      Add Comment

    8. iPhone 15 Pro Max Screen Opening, Separate the right edge adhesive: step 8, image 1 of 3 iPhone 15 Pro Max Screen Opening, Separate the right edge adhesive: step 8, image 2 of 3 iPhone 15 Pro Max Screen Opening, Separate the right edge adhesive: step 8, image 3 of 3
      • Slide the first pick back to the bottom right corner of the screen.

      • Slide the second pick to the top right corner of the screen to separate the adhesive.

      • Leave these picks inserted to prevent the adhesive from resealing.

      Ask FixBot

      Add Comment

    9. iPhone 15 Pro Max Screen Opening, Heat the top edge: step 9, image 1 of 1
      • Heat the top edge of the screen until it's hot to the touch.

      Ask FixBot

      Add Comment

    10. iPhone 15 Pro Max Screen Opening, Separate the top edge adhesive: step 10, image 1 of 3 iPhone 15 Pro Max Screen Opening, Separate the top edge adhesive: step 10, image 2 of 3 iPhone 15 Pro Max Screen Opening, Separate the top edge adhesive: step 10, image 3 of 3
      • Don't insert your pick deeper than 3 mm along the top edge.

      • Slide your pick around the top right corner and along the top edge to release the two clips and adhesive securing it.

      Ask FixBot

      Add Comment

    11. iPhone 15 Pro Max Screen Opening, Heat the left edge: step 11, image 1 of 1
      • Heat the left edge of the screen until it's hot to the touch.

      Ask FixBot

      Add Comment

    12. iPhone 15 Pro Max Screen Opening, Separate the left edge adhesive: step 12, image 1 of 3 iPhone 15 Pro Max Screen Opening, Separate the left edge adhesive: step 12, image 2 of 3 iPhone 15 Pro Max Screen Opening, Separate the left edge adhesive: step 12, image 3 of 3
      • Don't insert your pick deeper than 2 mm along the left edge to avoid the two cables connecting the screen to the phone.

      • Rotate your pick around the top left corner of the screen.

      • Slide your pick to the bottom left corner of the screen to separate the adhesive.

      Ask FixBot

      Add Comment

Conclusion

To reassemble your device, follow these instructions in reverse order.

Cancel: I did not complete this guide.

Clay Eickemeyer

Member since: 09/19/22

107,751 Reputation

472 Guides authored

Team

Guide Team Member of Guide Team

Staff

10 Members

61,630 Guides authored

0 Guide Comments

Add Comment

View Statistics:

Past 24 Hours: 1

Past 7 Days: 10

Past 30 Days: 20

All Time: 322