Introduction
Prerequisite only guide to install the back glass on an iPhone 15 Pro.
What you need
-
-
-
Use the point of a spudger to ball up a larger section of adhesive and remove it from the frame.
-
Repeat this process until all the larger strips of adhesive are removed.
 Ask FixBot
-
-
Tool used on this step:iFixit Adhesive Remover$19.99
-
Apply a few drops of adhesive remover or high-concentration (90% or higher) isopropyl alcohol to a cotton swab or coffee filter.
-
Wipe the residual adhesive off the frame.
-
-
Tool used on this step:iFixit Adhesive Remover$19.99
-
Apply a few drops of adhesive remover or high-concentration (90% or higher) isopropyl alcohol to a clean lint‑free cloth or coffee filter and wipe all residual adhesive off the frame to prep the surface for the new adhesive.
-
-
-
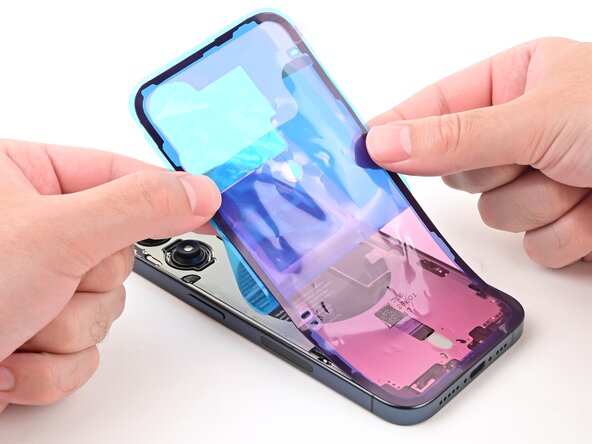
Without peeling any liners, lay the adhesive sheet over the frame to determine its orientation.
-
-
-
Grab the large tab in the bottom corner of the adhesive sheet and begin peeling off the liner that exposes the side that sticks to the frame. Don't remove it all the way.
-
-
-
While holding the back liner out of the way, carefully align the exposed edge of the adhesive to the bottom edge of the iPhone's frame.
-
When the adhesive is aligned, set it down along the bottom edge.
-
-
-
Use the flat end of a spudger to press the adhesive into place along the bottom edge.
-
-
-
-
Continue peeling the back liner off of the adhesive and setting the adhesive into place along the edges of the iPhone's frame.
-
-
-
Use the flat end of a spudger to press the adhesive into place all around the iPhone.
-
-
-
Lift the pull tab in the top‑right corner of the frame to peel off the top liner and remove it.
-
-
-
Once the top liner is removed, there should be three narrow liners on top of the adhesive with pull tabs near the bottom edge.
-
If you don't see these pull tabs, you may have accidentally removed the thin liners in the previous step. Be careful not to touch anything to the exposed adhesive.
-
-
-
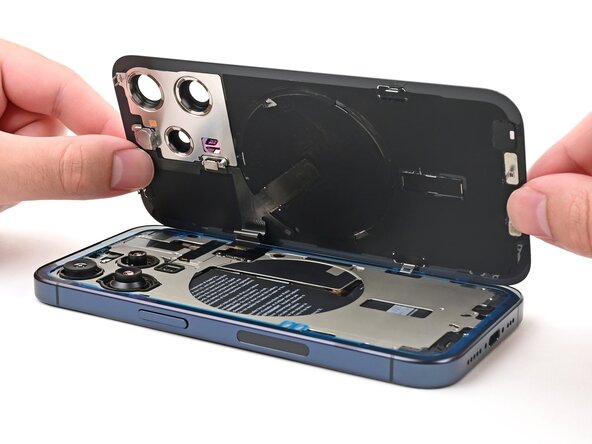
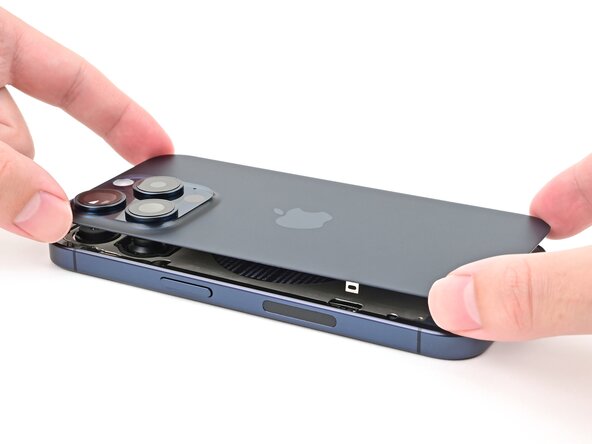
Set the back glass on the right edge of the iPhone frame and use one hand to hold it in place.
-
-
-
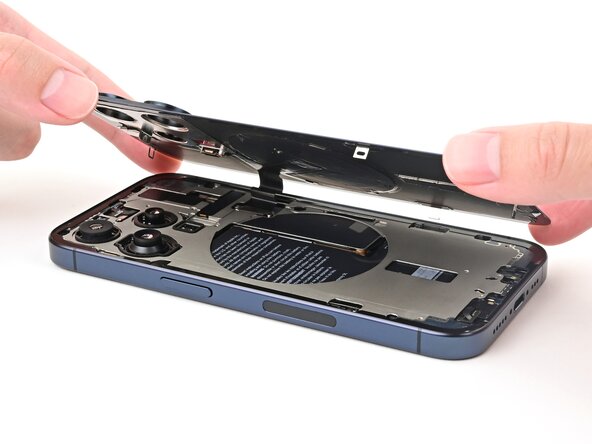
Use the flat end of a spudger or your finger to connect the back glass press connector.
-
-
-
Use tweezers to slide the tab on the wireless charging connector cover into its slot on the board and set it into place.
-
Use a tri-point Y000 driver to install the 1.0 mm‑long screw securing the wireless charging connector cover.
-
-
-
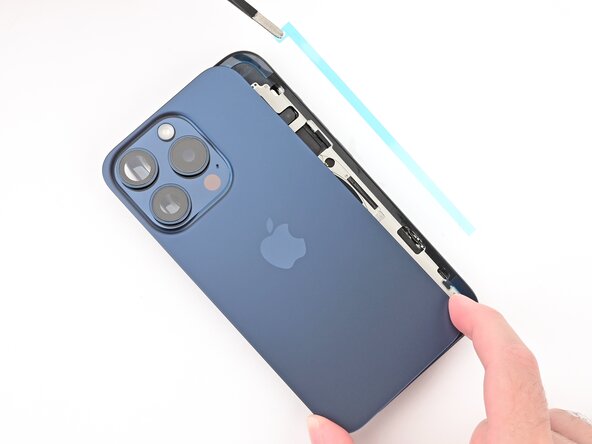
Hold the back glass over the phone so you can access the narrow liner covering the adhesive on the right edge of the frame.
-
Use tweezers to remove the narrow liner on the right edge.
-
-
-
Align the back glass over the frame and press it into place.
-
-
-
Firmly press along the edges of the phone to compress the adhesive and engage the clips.
-
-
-
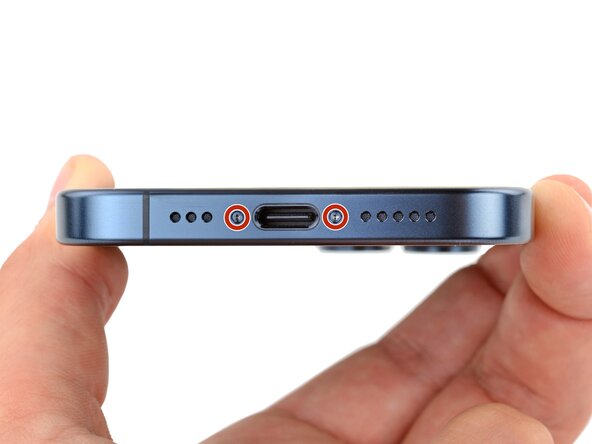
Use a P2 pentalobe screwdriver to install the two 7 mm‑long screws on either side of the charging port.
-
-
-
To help the adhesive bond, apply heat to the edges of the back glass using a hair dryer or heat gun until it's hot to the touch.
-
-