
AC Capacitor for A/C Condenser Unit Replacement

Devin Ceruti and 2 other contributors
Last updated on Mar 4, 2025
Views: 3K
View statistics:
- Past 24 Hours:
- 1
- Past 7 Days:
- 23
- Past 30 Days:
- 109
- All Time:
- 3,037
Comments: 0
No one has left comments on this guide. Will you be first?
Go to guide commentsCompleted: 3 4
3 people have marked this guide "completed." Will you be next?
4 people have marked this guide "completed." Including you — great job!
Favorites: 1 2
1 person has favorited (and subscribed to) this guide. Will you be next?
2 people have favorited (and subscribed to) this guide — including you!
Featured Student Guide
This guide has been the hard work of our awesome students and is found to be exceptionally cool by the iFixit staff.
Introduction
Go to step 1 ↓This guide demonstrates how to quickly and safely replace the run capacitor in your residential condenser unit. The average life span of an AC capacitor is about 8-10 years. A way to check if the capacitor is dead is to look for a visual cue. Usually, it will have a bulging appearance on the top of the cylinder, similar to a can bursting open at the top.
Check the ratings on your old capacitor in the condenser unit so you can buy the correct replacement capacitor. The condenser unit that appears in this guide is a Goodman model. The model number for the condenser unit is GSX130481BC. The capacitor for this unit was rated at 45/5 uf and 370 or 440 Volts.
This guide is only for replacing the AC capacitor in a condenser unit. If you believe that there is a different issue with the condenser unit, look for the condenser model number and research troubleshooting guides. Another option is to hire a HVAC technician.
When following this guide, please always remember safety first. Remember to turn the power off before you start and turn it back on only after you have everything reassembled.
What you need
Parts
Tools


-
-
-
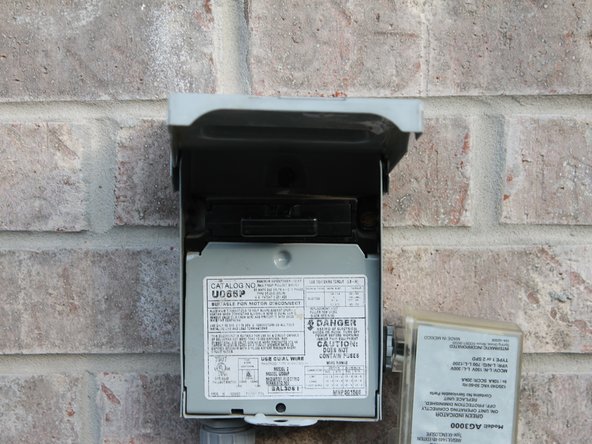
Go to the condenser unit outside the house and locate the breaker panel connected to the unit.
 Ask FixBot
-
-
-
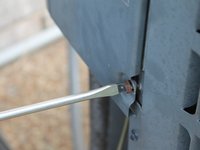
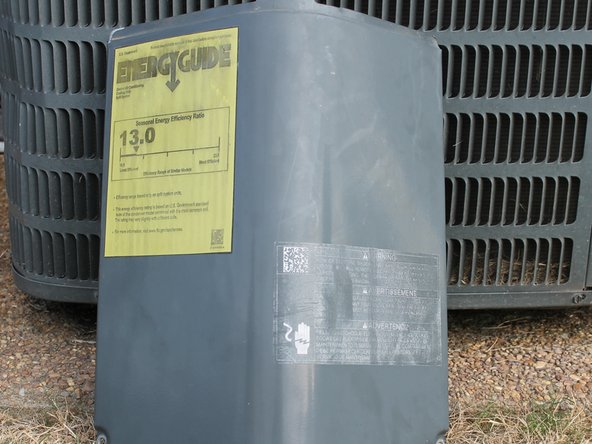
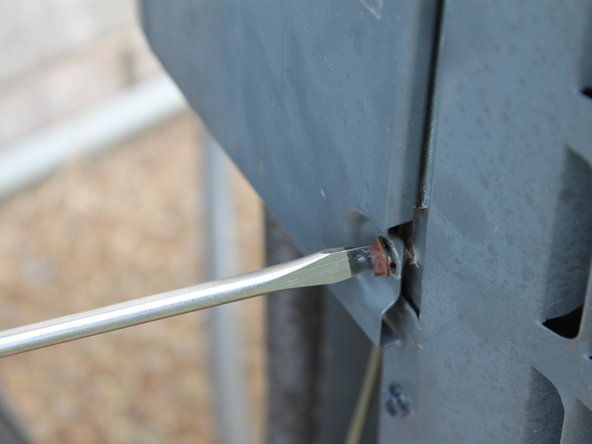
Locate the metal sheet cover hiding the capacitor and unscrew the panel from the condenser unit using the screwdriver or the drill bit
-
Usually, there are two screws on the bottom of the electrical panel that are the screws holding the panel to the condenser unit.
-
-
-
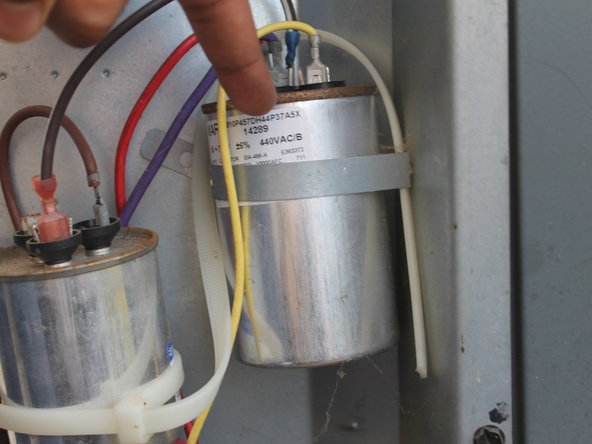
Some condenser units have 1 run capacitor, some have 2. Steps are the same for each but you have to buy replacements for each capacitor.
-
Take pictures or remember where each colored wire is connected, and pull each wire straight up to disconnect from capacitor.
-
-
-
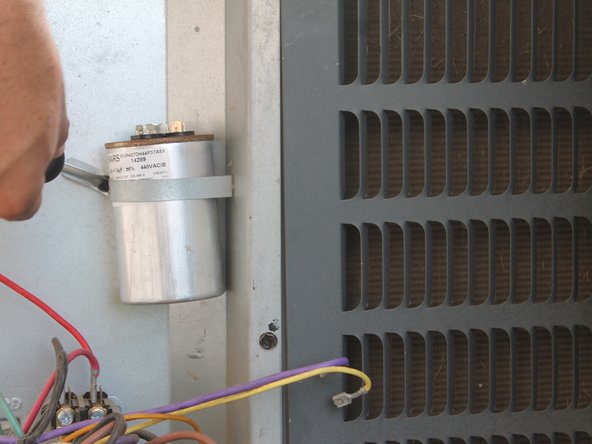
Locate the bracket holding the capacitor to the condenser unit and unscrew it.
-
-
-
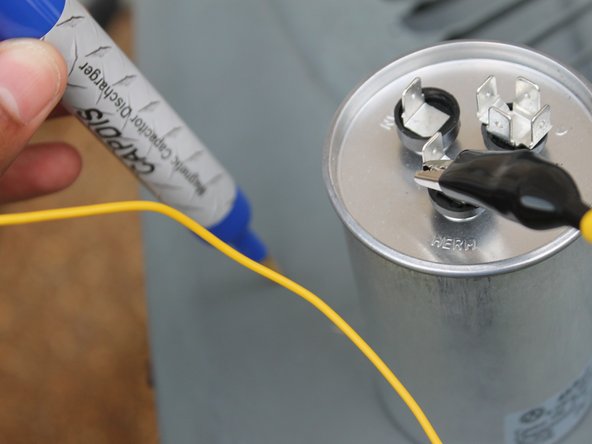
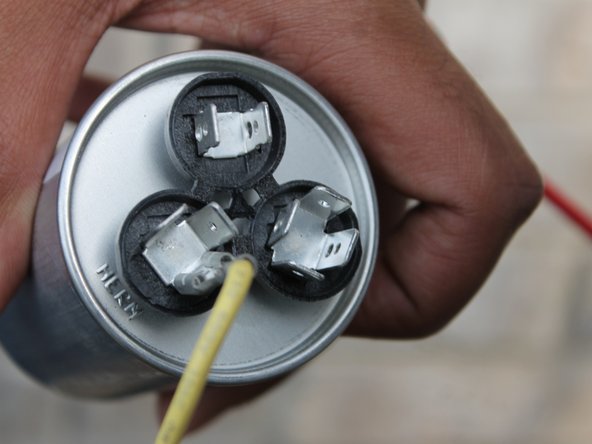
Using the capacitor discharge pen, connect wire lead to the common terminal of the capacitor, the 'C' side of the capacitor. Then touch the brass tip of the capactior to any nearby ground, frame, or chassis.
-
Repeat these steps with the herm side and then the fan side of the capacitor to a nearby ground, frame, or chassis.
-
After discharging the capacitor, you can safely dispose of the capacitor responsibly.
-
-
-
With the new capacitor, plug in the color wires to each terminal the wires were connected to on the old capacitor.
-
-
-
-
Put the capacitor against the unit, align the bracket to the screw socket, and screw it the bracket.
-
-
-
Put the electrical panel back into place, and screw it back onto the condenser unit.
-
-
-
Put the fuse back into the breaker panel.
-
The circuit should be on once the fuse is plugged back into the panel.
-
-
















Follow these instructions and replacing the capacitor will be easy.
Cancel: I did not complete this guide.
3 other people completed this guide.

Team

University of Memphis, Team 1-2, Cameron Fall 2022 Member of University of Memphis, Team 1-2, Cameron Fall 2022
UM-CAMERON-F22S1G2
3 Members
12 Guides authored
