Free Shipping on Domestic Orders $75+

This teardown is not a repair guide. To repair your sphero bb-8, use our service manual.

    1. Sphero BB-8 Teardown, Remove the head of the robot.: step 1, image 1 of 1
      • The head is only attached by magnets, so it should come right off if you pull it.

      Ask FixBot

      Add Comment

    2. Sphero BB-8 Teardown, Separate the two halves of the droid's shell.: step 2, image 1 of 1
      • Use a Dremel to cut them apart, but you can also use a hacksaw.

      • Just remember to not cut any internals.

      • If you are scared to cut into your droid, don't worry. You will need to glue the halves together later.

      Ask FixBot

      Add Comment

    3. Sphero BB-8 Teardown, Observe the location of the top wheels.: step 3, image 1 of 1
      • Remember what direction the magnets are facing in. This will come in handy later!

      Ask FixBot

      Add Comment

    4. Sphero BB-8 Teardown, Remove the top wheels.: step 4, image 1 of 1
      • Remove the top wheels to expose the circuit board.

      Ask FixBot

      Add Comment

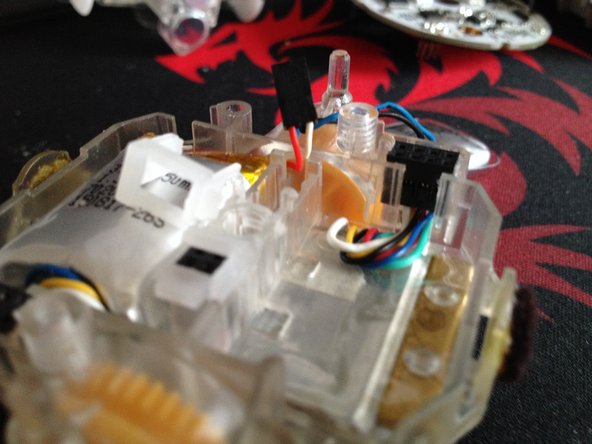
    5. Sphero BB-8 Teardown, Remove the two screws on the top of the logic board.: step 5, image 1 of 1
      • Keep these screws together, they're needed for reassembly.

      Ask FixBot

      Add Comment

    6. Sphero BB-8 Teardown, Remove the logic board.: step 6, image 1 of 1
      • Pry up on the edges a little bit.

      • A cable may come out with the board, and will have to be unplugged.

      Ask FixBot

      Add Comment

    7. Sphero BB-8 Teardown, Remove the battery cover.: step 7, image 1 of 1
      • Pry up the edges of the cover to remove it.

      • Be careful not to puncture or damage the battery as it may cause serious injury.

      Ask FixBot

      Add Comment

    8. Sphero BB-8 Teardown, If your droid is old, your batteries may be inflated like this.: step 8, image 1 of 1
      • If your batteries swollen they should be replaced.

      Ask FixBot

      Add Comment

    9. Sphero BB-8 Teardown, Remove the batteries from the chassis.: step 9, image 1 of 2 Sphero BB-8 Teardown, Remove the batteries from the chassis.: step 9, image 2 of 2
      • The batteries are linked together, so make sure not to rip the wire connecting them.

      Ask FixBot

      Add Comment

    10. Sphero BB-8 Teardown, Replace Batteries: step 10, image 1 of 1
      • The batteries are 350mah.

      Ask FixBot

      Add Comment

      • You might have to sand the halves of the droid shell before gluing them together.

      Ask FixBot

      Add Comment

Christian Greene

Member since: 03/22/22

217 Reputation

1 Guide authored

1 Guide Comment

I’ve had this little guy for 8 years now and the batteries are shot. Thanks to your guide, I was confident enough to pry the little bugger open and get to the batteries. While it was simple to do, you never know if that one wrong move is going to destroy something or not. Pry here? Lift here? Give it a twist than a bop? Etc. thanks again!

John Giallanza - Reply Share

Add Comment

View Statistics:

Past 24 Hours: 9

Past 7 Days: 43

Past 30 Days: 161

All Time: 5,181