
Samsung Galaxy A71 Charging Board Replacement

Last updated on Sep 4, 2022
Views: 28K
View statistics:
- Past 24 Hours:
- 7
- Past 7 Days:
- 86
- Past 30 Days:
- 315
- All Time:
- 27,772
Comments: 13
5 comments on steps, 8 guide comments.
Go to guide commentsCompleted: 22 23
22 people have marked this guide "completed." Will you be next?
23 people have marked this guide "completed." Including you — great job!
Favorites: 1 2
1 person has favorited (and subscribed to) this guide. Will you be next?
2 people have favorited (and subscribed to) this guide — including you!
Action Shots
Be an action hero! This guide needs images that better demonstrate how to perform specific actions.
Needs Better Images
Better photos will improve this guide. Help out by taking, editing, or uploading new ones!
Community-Contributed Guide
An awesome member of our community made this guide. It was not created by iFixit staff.
Introduction
Go to step 1 ↓Hello and welcome! This is a guide to help you replace your charging board in the Samsung Galaxy A71.,
What you need
Tools
-
Spudger4.9
-
-


Video Overview
Samsung A71 Charging Port Replacement
-
-
-
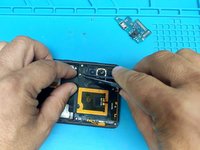
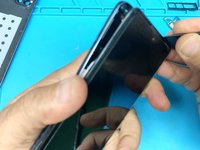
Now we are going to separate the back cover. First, warm up the device to soften the adhesive, then use a plastic spudger to open up the rest of the device.
-
-
-
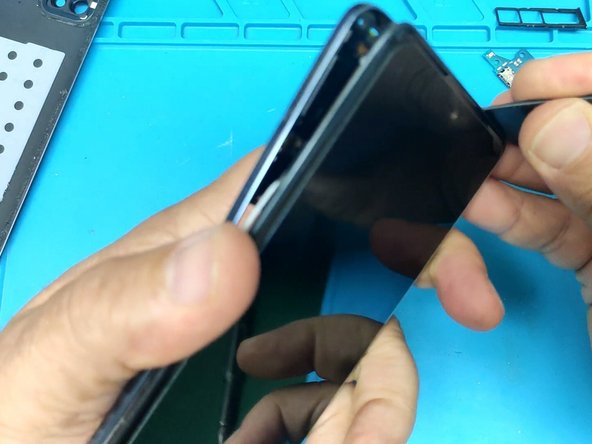
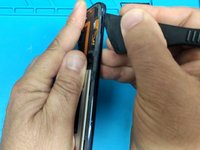
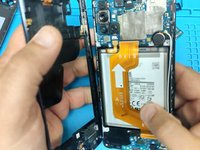
Use your spudger once again to separate the middle frame. Be careful to take your time here as well so you don't damage anything.
-
-
-
-
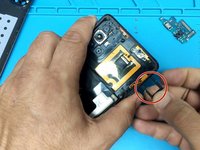
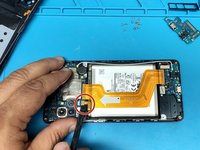
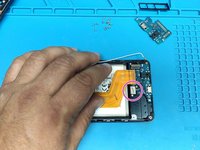
Disconnect the battery. Make sure not to puncture it.
-
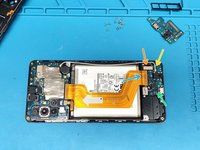
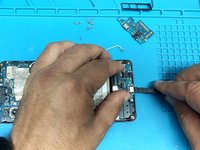
One by one disconnect:
-
Display flex cable.
-
Coaxial antenna connector.
-
Fingerprint Sensor.
-
Main flex cable.
-
Remove the two Phillips screws securing the Fingerprint sensor.
-
-
-
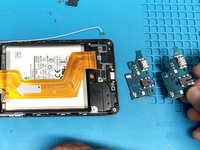
Carefully pry out the old charging board, and put in the new one.
-


 Ask FixBot








To reassemble your device, follow these instructions in reverse order.
Cancel: I did not complete this guide.
22 other people completed this guide.

Team

8 Guide Comments
Great guide! I recommend removing the Fingerprint Sensor as a whole. It will make it easier to remove the board, as the charging board has some adhesive, so you will need to pull a bit harder.
When screwing the sensor back, make sure to not tighten each screw all the way at first, but instead alternate between tightening one screw and the other. This will make sure that the sensor is properly aligned! This fixed the issue I was facing with reading some fingerprints after I had my screen replaced by a third party repair shop a couple of months ago. Two birds with one stone!
The guide was very excellent, however after putting the components all in place and booting back into the OS, the finger print reader refused to work anymore (both the original and a replacement one) and as far as i could tell there was no damage to where the reader connects. However, a more important issue is that with the replacement board my phone refused to recognize having the sim card inserted. If there is any software nonsense I have to go through it would be appreciated to have a pointer but at the end I had to fix the USB C port on the original board and reinstall it.
My sims no service after they made my old charger port. Is there any help please?
