
Gigabyte A320M-S2H Processor Replacement

Eshan Chuhan and 2 other contributors
Last updated on Jun 14, 2021
Views: 5K
View statistics:
- Past 24 Hours:
- 6
- Past 7 Days:
- 45
- Past 30 Days:
- 163
- All Time:
- 4,952
Comments: 1
1 guide comment.
Go to guide commentsCompleted: 5 6
5 people have marked this guide "completed." Will you be next?
6 people have marked this guide "completed." Including you — great job!
Favorites: 0 1
No one has favorited (and subscribed to) this guide. Will you be the first?
1 person has favorited (and subscribed to) this guide — and that's you!
Introduction
Go to step 1 ↓If your personal computer is experiencing stalled bootup and frozen black screens issues it can be vital to explore your motherboards CPU. Once you have identified the problem to be CPU bound utilize this guide to successfully replace the damaged or worn out part. The CPU is a core aspect of many electronic devices as it handles all the computers desired instructions. As such a damaged CPU will prevent the personal computer from effectively running. It can be noted that in some cases a build up of dust and dirt may interfere with the CPU. As such check and clean the motherboard with a recommended ESD-safe brush. If that does not fix the issue follow our replacement guide utilizing thermal paste and anti-static wristband and mat. Finally, before starting be sure to fully power of the desktop or personal device making sure that no further external power source is connected.
What you need
Tools
-
-
-
-
Anti-Static Mat4.9


-
-
-
Turn off the computer by unplugging the power cord from the wall outlet.
-
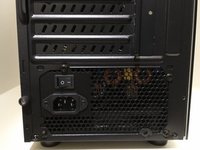
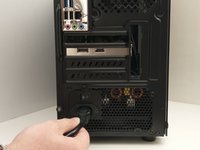
Remove the power supply cable from the computer.
-
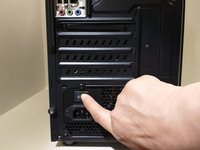
Change the power switch on the back of the computer to the “off” position.
 Ask FixBot
-
-
-
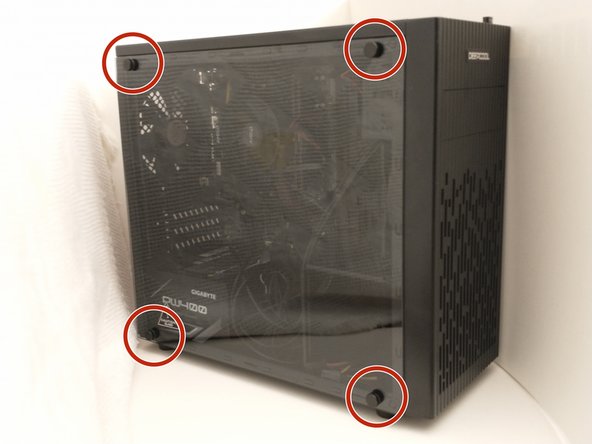
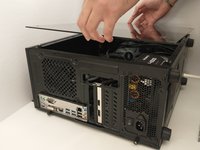
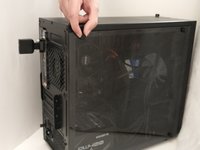
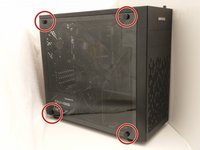
Place the computer on its right side and unclamp the left panel by turning the screws.
-
Remove the side panel.
-
-
-
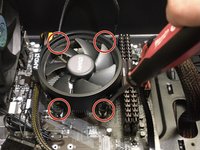
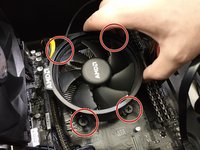
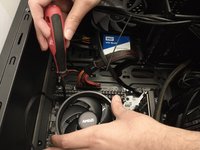
Using a Phillips #0 screwdriver, carefully remove the four screws located in each of the CPU cooler's four corners.
-
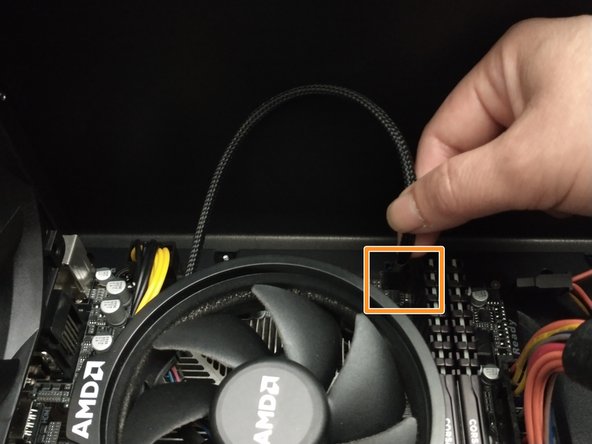
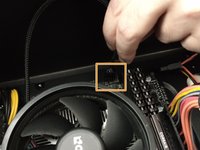
Disconnect the fan's power cable from the motherboard.
-
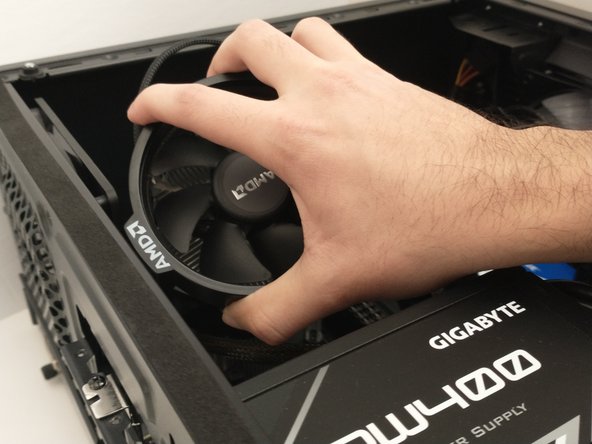
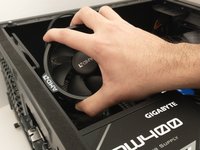
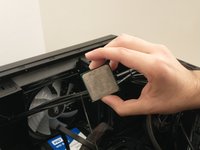
Gently lift and removed the CPU fan from the motherboard.
-
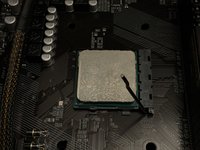
Be sure to clean off the portion of the underside of the fan that was in contact with the CPU off using isopropyl alcohol. This will remove any old thermal paste to ensure a clean connection during reinstallation.
-
-
-
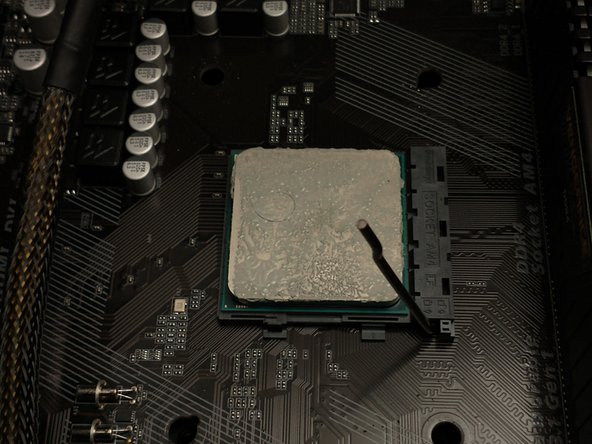
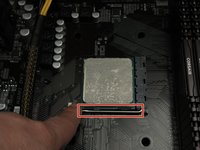
Lift the retention arm to unsecure the CPU.
-
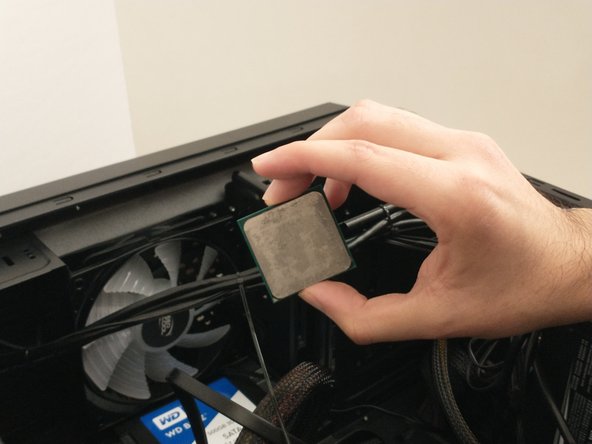
Carefully remove the CPU from the socket.
-
-
-
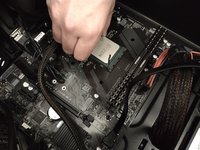
Find the right way to plug in the processor and gently place it in the slot.
-
Lock the retention arm to secure the CPU.
-
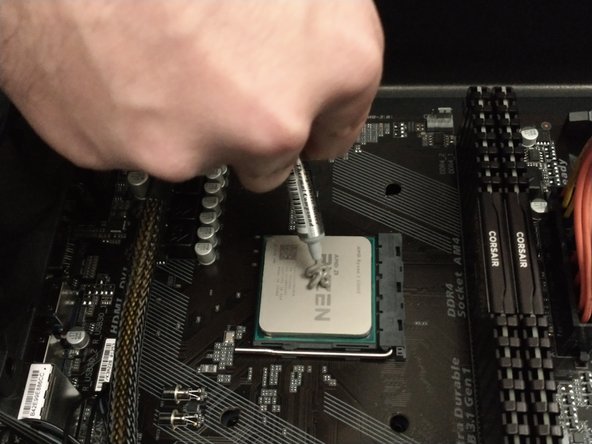
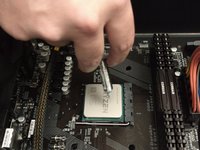
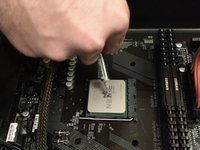
Apply a small amount of thermal paste onto the new processor.
-
-
-
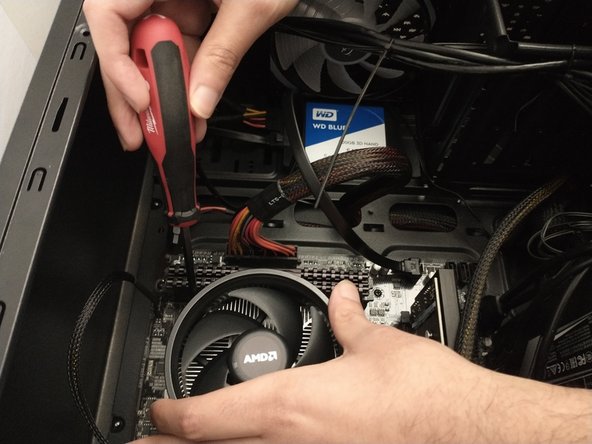
Place the CPU cooler on top of the CPU and using a Phillips #0 screwdriver to tighten the four 10 mm screws in place.
-
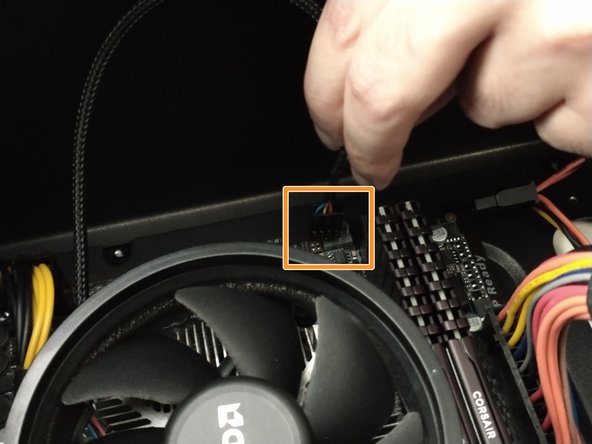
Reconnect the fan connector to the motherboard.
-
-
-
-
Place back the side panel and attach the screws in their proper spaces.
-
Place the computer upright.
-
-
-
Attach the power cord and plug it in.
-
Change the power switch to “on” position.
-
-










When complete, the computer should boot and display the appropriate operating system.
Cancel: I did not complete this guide.
5 other people completed this guide.

Team

York University, Team S16-G2, Turner Winter 2021 Member of York University, Team S16-G2, Turner Winter 2021
YORK-TURNER-W21S16G2
3 Members
12 Guides authored
