Introduction
Use this guide to replace the home button in a 12.9" iPad Pro.
Parts of this guide were shot with a Wi-Fi model and as such the internals may look slightly different from the LTE model. The procedure is the same for both models except where noted.
What you need
-
-
Remove all packing tape.
-
Peel any adhesive liners from the flex cables and press the cables in place onto the display panel.
-
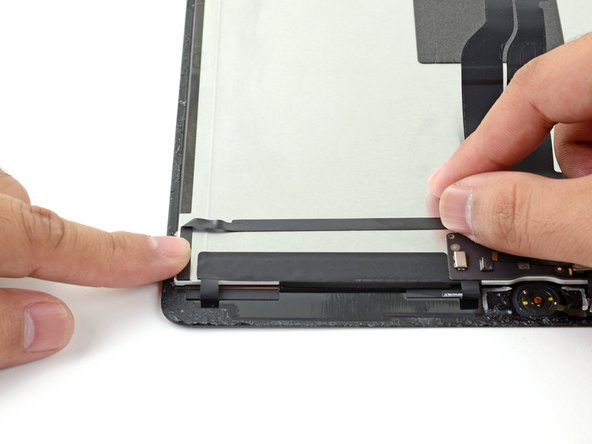
Fold and connect the flex cable in the bottom left corner of the screen.
-
Don't peel and expose the perimeter adhesive until you've tested your repair and are ready to seal up the iPad.
-
-
-
-
Use an iOpener, heat gun, or hair dryer to soften the adhesive under the cable before you pry it up.
-
Starting from the ZIF connector, use the blade on a halberd spudger or the edge of an opening pick to separate the home button cable from the adhesive holding it in place. Stop when you reach the home button.
-
-
-
Gently pry off the home button cover by inserting the hook of a halberd spudger or the flat edge of a regular spudger between the cover and the LCD, and gently prying towards the bottom edge of the iPad.
-
-
-
Remove the home button bracket.
-
Scrape off as much of the old adhesive residue as you can, then clean it with acetone or high-concentration (90% or greater) isopropyl alcohol.
-
Secure the bracket with hot-melt glue, superglue, or high-strength double-sided tape. Make sure the bracket is aligned correctly before allowing your adhesive to cure, or the home button will not click when pressed.
-