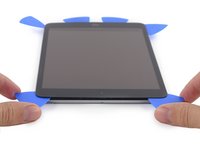
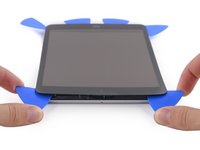
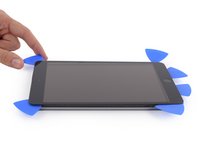
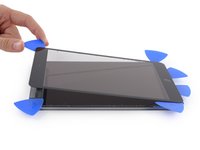
Free Shipping on Domestic Orders $75+

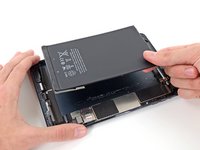
iPad Mini CDMA Battery Replacement

What you need

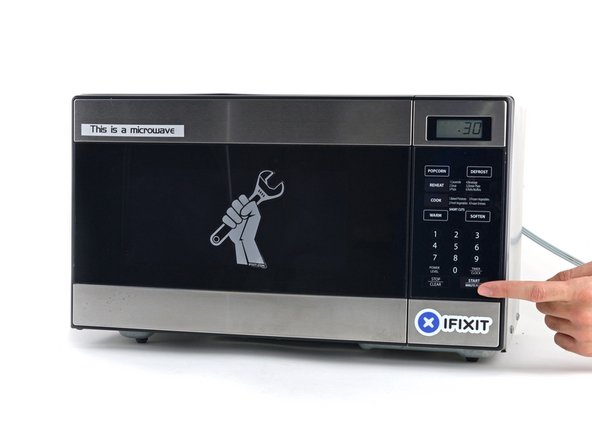
  1. iPad Mini CDMA Battery Replacement, iOpener Heating: step 1, image 1 of 2 iPad Mini CDMA Battery Replacement, iOpener Heating: step 1, image 2 of 2
    • We recommend that you clean your microwave before proceeding, as any nasty gunk on the bottom may end up stuck to the iOpener.

    • Place the iOpener in the center of the microwave.

    • For carousel microwaves: Make sure the plate spins freely. If your iOpener gets stuck, it may overheat and burn.

    Ask FixBot
  2. iPad Mini CDMA Battery Replacement: step 2, image 1 of 1
    • Heat the iOpener for thirty seconds.

    • Depending on the wattage of your microwave, more or less time may be required. The iOpener is sufficiently heated when it's barely too hot to touch.

    • Throughout the repair procedure, as the iOpener cools, reheat it in the microwave for an additional thirty seconds at a time.

    • Be careful not to overheat the iOpener during the repair. Overheating may cause the iOpener to burst. Do not attempt to heat over 100˚C (212˚F).

    • Never touch the iOpener if it appears swollen.

    • If the iOpener is still too hot in the middle to touch, continue using it while waiting for it to cool down some more before reheating. A properly heated iOpener should stay warm for up to 10 minutes.

    Ask FixBot
  3. iPad Mini CDMA Battery Replacement: step 3, image 1 of 1
    • Remove the iOpener from the microwave, holding it by one of the two flat ends to avoid the hot center.

    • The iOpener will be very hot, so be careful when handling it. Use an oven mitt if necessary.

    Ask FixBot
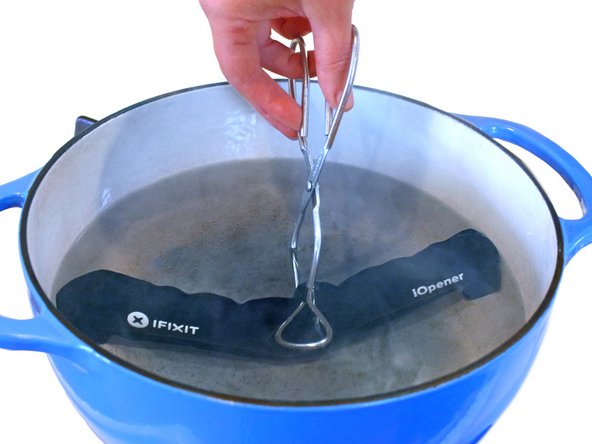
  4. iPad Mini CDMA Battery Replacement, Alternate iOpener heating method: step 4, image 1 of 2 iPad Mini CDMA Battery Replacement, Alternate iOpener heating method: step 4, image 2 of 2
    • If you don't have a microwave, follow this step to heat your iOpener in boiling water.

    • Fill a pot or pan with enough water to fully submerge an iOpener.

    • Heat the water to a boil. Turn off the heat.

    • Place an iOpener into the hot water for 2-3 minutes. Make sure the iOpener is fully submerged in the water.

    • Use tongs to extract the heated iOpener from the hot water.

    • Thoroughly dry the iOpener with a towel.

    • The iOpener will be very hot, so be careful to hold it only by the end tabs.

    • Your iOpener is ready for use! If you need to reheat the iOpener, heat the water to a boil, turn off the heat, and place the iOpener in the water for 2-3 minutes.

    Ask FixBot
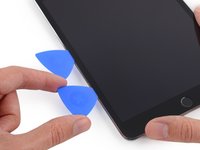
  5. iPad Mini CDMA Battery Replacement, Front Panel: step 5, image 1 of 3 iPad Mini CDMA Battery Replacement, Front Panel: step 5, image 2 of 3 iPad Mini CDMA Battery Replacement, Front Panel: step 5, image 3 of 3
    • If your display glass is cracked, keep further breakage contained and prevent bodily harm during your repair by taping the glass.

    • Lay overlapping strips of clear packing tape over the iPad's display until the whole face is covered.

    • This will keep glass shards contained and provide structural integrity when prying and lifting the display.

    • Do your best to follow the rest of the guide as described. However, once the glass is broken, it will likely continue to crack as you work, and you may need to use a metal prying tool to scoop the glass out.

    • Wear safety glasses to protect your eyes, and be careful not to damage the LCD screen.

    Ask FixBot
  6. iPad Mini CDMA Battery Replacement: step 6, image 1 of 1
    • Handling it by the tab, place the heated iOpener on the side of the iPad to the left of the home button assembly.

    • Let the iOpener sit for about five minutes to soften the adhesive beneath the glass.

    Ask FixBot
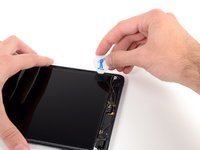
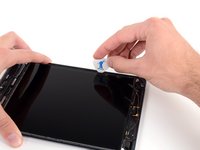
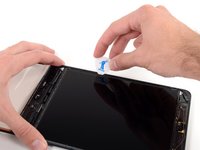
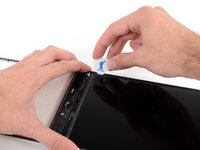
  7. iPad Mini CDMA Battery Replacement: step 7, image 1 of 3 iPad Mini CDMA Battery Replacement: step 7, image 2 of 3 iPad Mini CDMA Battery Replacement: step 7, image 3 of 3
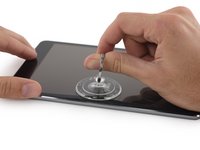
    • Carefully place a suction cup halfway up the heated side.

    • Be sure the cup is completely flat on the screen to get a tight seal.

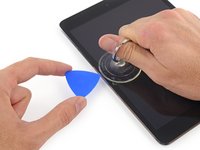
    • While holding the iPad down with one hand, pull up on the suction cup to slightly separate the front panel glass from from the rear case.

    • Be careful to only lift the glass enough to insert an opening pick—any more and you may risk cracking the glass.

    Ask FixBot
  8. iPad Mini CDMA Battery Replacement: step 8, image 1 of 3 iPad Mini CDMA Battery Replacement: step 8, image 2 of 3 iPad Mini CDMA Battery Replacement: step 8, image 3 of 3
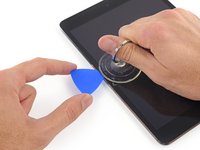
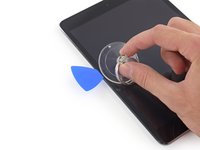
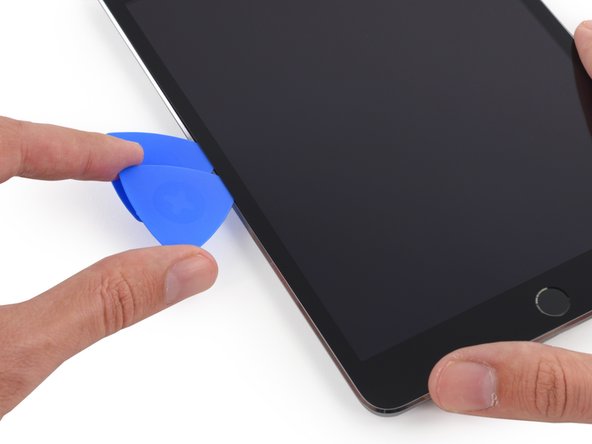
    • While holding the glass up with the suction cup, slide the point of an opening pick into the gap between the glass and body of the iPad.

    • Don't insert the opening pick any deeper than the black bezel on the side of the display. Inserting the pick too far may damage the LCD.

    • Pull the suction cup's plastic nub to release the vacuum seal and remove the suction cup from the display assembly.

    Ask FixBot

  9. iPad Mini CDMA Battery Replacement: step 9, image 1 of 1
    • Reheat and reapply the iOpener.

    • Be careful not to overheat the iOpener during the repair procedure. Always wait at least ten minutes before reheating the iOpener.

    • Let it rest for a few minutes to reheat the left edge of the iPad.

    Ask FixBot
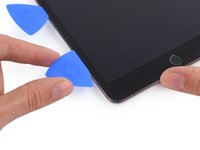
  10. iPad Mini CDMA Battery Replacement: step 10, image 1 of 3 iPad Mini CDMA Battery Replacement: step 10, image 2 of 3 iPad Mini CDMA Battery Replacement: step 10, image 3 of 3
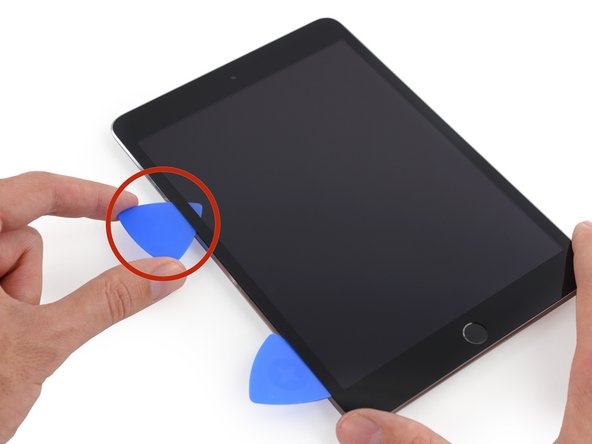
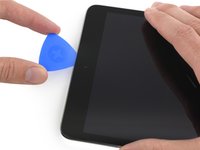
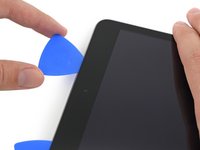
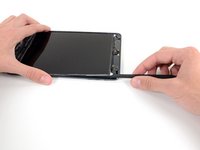
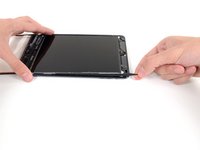
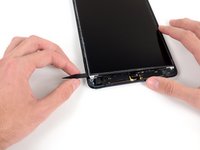
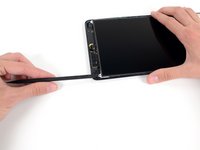
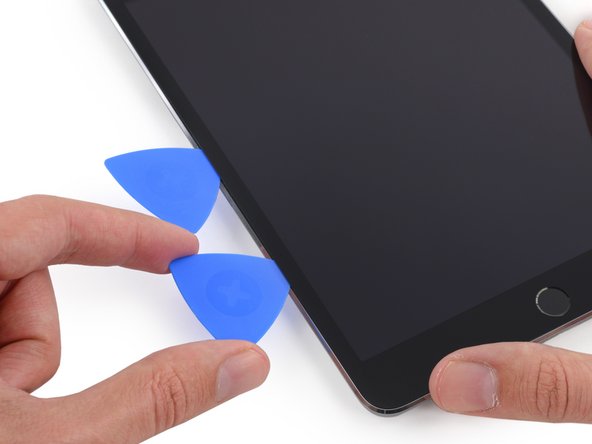
    • Place a second opening pick alongside the first and slide the pick down along the edge of the iPad, releasing the adhesive as you go.

    • Throughout the rest of the procedure, if you encounter significant resistance to sliding picks beneath the glass, stop and reheat the section you're working on. Forcing the picks risks cracking the glass.

    Ask FixBot
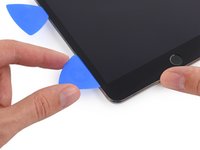
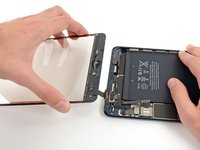
  11. iPad Mini CDMA Battery Replacement: step 11, image 1 of 3 iPad Mini CDMA Battery Replacement: step 11, image 2 of 3 iPad Mini CDMA Battery Replacement: step 11, image 3 of 3
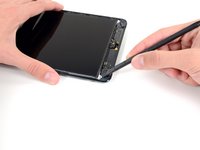
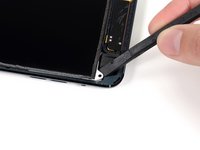
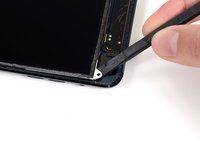
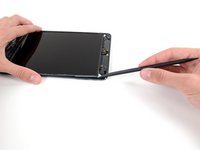
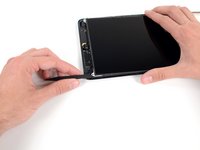
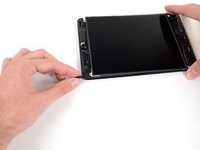
    • Continue moving the opening pick down the side of the display to release the adhesive.

    • If the opening pick gets stuck in the adhesive, "roll" the pick along the side of the iPad, continuing to release the adhesive.

    Ask FixBot
  12. iPad Mini CDMA Battery Replacement: step 12, image 1 of 3 iPad Mini CDMA Battery Replacement: step 12, image 2 of 3 iPad Mini CDMA Battery Replacement: step 12, image 3 of 3
    • Take the first pick you inserted and slide it up toward the top corner of the iPad.

    • If you can see the tip of the opening pick through the front glass, don't panic—just pull the pick out a little bit. Most likely, everything will be fine, but try to avoid this as it may deposit adhesive on the front of the LCD that is difficult to clean off.

    Ask FixBot
  13. iPad Mini CDMA Battery Replacement: step 13, image 1 of 1
    • Reheat the iOpener and place it on the top edge of the iPad, over the front-facing camera.

    • Be careful not to overheat the iOpener during the repair procedure. Wait at least ten minutes before reheating the iOpener.

    • If you have a flexible iOpener, you can bend it to heat both the upper left corner and the upper edge at the same time.

    Ask FixBot
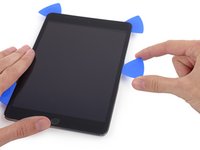
  14. iPad Mini CDMA Battery Replacement: step 14, image 1 of 3 iPad Mini CDMA Battery Replacement: step 14, image 2 of 3 iPad Mini CDMA Battery Replacement: step 14, image 3 of 3
    • Slide the opening pick around the top left corner of the iPad to separate the adhesive.

    Ask FixBot
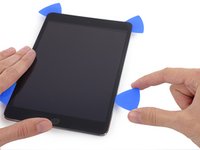
  15. iPad Mini CDMA Battery Replacement: step 15, image 1 of 3 iPad Mini CDMA Battery Replacement: step 15, image 2 of 3 iPad Mini CDMA Battery Replacement: step 15, image 3 of 3
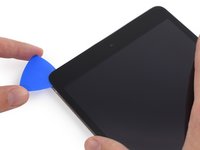
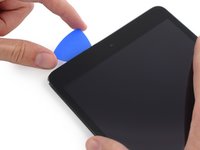
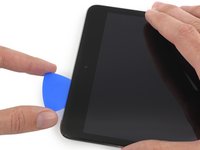
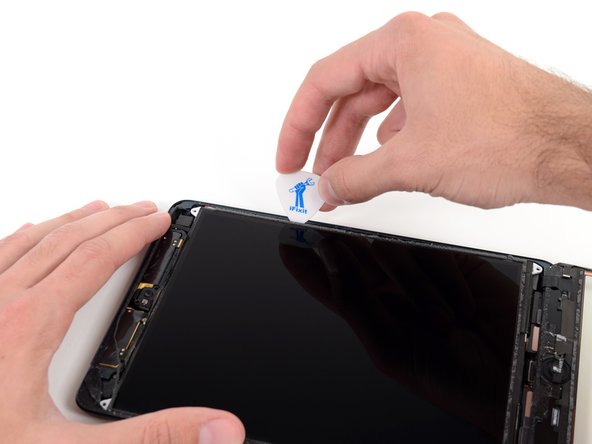
    • Slide the opening pick along the top edge of the iPad, stopping just before you reach the camera.

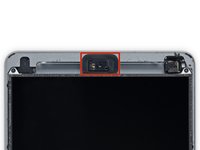
    • The third image shows where the front-facing camera and housing are in the iPad.

    • Avoid sliding the opening pick over the front-facing camera, as you may smear adhesive onto the lens or damage the camera. The following steps will detail how to best avoid disturbing the front-facing camera.

    Ask FixBot
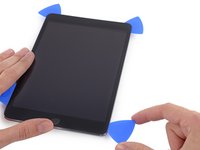
  16. iPad Mini CDMA Battery Replacement: step 16, image 1 of 3 iPad Mini CDMA Battery Replacement: step 16, image 2 of 3 iPad Mini CDMA Battery Replacement: step 16, image 3 of 3
    • Pull the pick out slightly, and slide the very tip gently along the top of the front-facing camera section of the top edge.

    Ask FixBot
  17. iPad Mini CDMA Battery Replacement: step 17, image 1 of 3 iPad Mini CDMA Battery Replacement: step 17, image 2 of 3 iPad Mini CDMA Battery Replacement: step 17, image 3 of 3
    • Leave the opening pick in the iPad slightly past the front-facing camera.

    • Take a second pick and insert it to the left of the camera, where the first pick just was. Slide it back to the corner to completely cut any remaining adhesive.

    • Leave the second pick in place to prevent the corner adhesive from re-sealing as it cools.

    Ask FixBot
  18. iPad Mini CDMA Battery Replacement: step 18, image 1 of 3 iPad Mini CDMA Battery Replacement: step 18, image 2 of 3 iPad Mini CDMA Battery Replacement: step 18, image 3 of 3
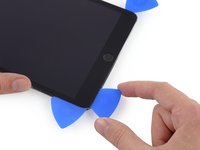
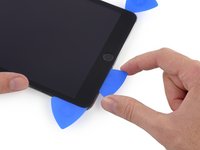
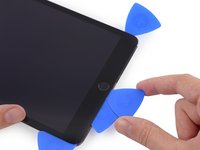
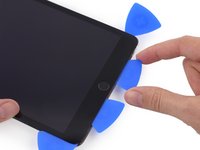
    • Insert the previous pick deeper into the iPad and slide it away from the camera toward the corner.

    Ask FixBot
  19. iPad Mini CDMA Battery Replacement: step 19, image 1 of 1
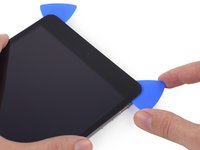
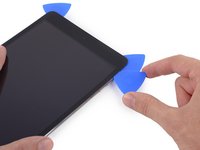
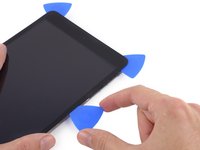
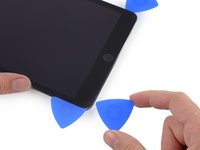
    • Leave the three picks in the corners of the iPad to prevent re-adhering of the front panel adhesive.

    • Reheat the iOpener and place it on the remaining long side of the iPad—along the volume and lock buttons.

    Ask FixBot
  20. iPad Mini CDMA Battery Replacement: step 20, image 1 of 2 iPad Mini CDMA Battery Replacement: step 20, image 2 of 2
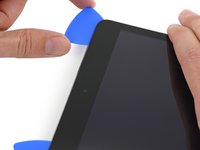
    • Slide the top right opening pick around the corner to fully release the top edge of the glass.

    • Leave this pick in place to keep the adhesive from re-sealing itself, and grab a new pick for the next step.

    Ask FixBot
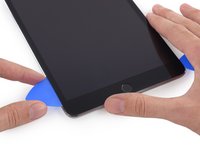
  21. iPad Mini CDMA Battery Replacement: step 21, image 1 of 3 iPad Mini CDMA Battery Replacement: step 21, image 2 of 3 iPad Mini CDMA Battery Replacement: step 21, image 3 of 3
    • Insert a new opening pick and slide it to the middle of the right edge of the iPad, releasing the adhesive as you go.

    Ask FixBot
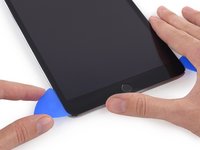
  22. iPad Mini CDMA Battery Replacement: step 22, image 1 of 3 iPad Mini CDMA Battery Replacement: step 22, image 2 of 3 iPad Mini CDMA Battery Replacement: step 22, image 3 of 3
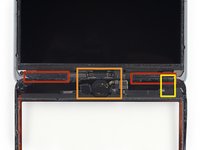
    • Continue to slide the pick down the right edge of the iPad, releasing the adhesive.
    Ask FixBot
  23. iPad Mini CDMA Battery Replacement: step 23, image 1 of 1
    • Leave the opening picks in place and reheat the iOpener.

    • Remember not to overheat the iOpener—no more than once every ten minutes.

    • Set the reheated iOpener on the home button end of the iPad and let it rest for a few minutes to soften the adhesive beneath the glass.

    Ask FixBot
  24. iPad Mini CDMA Battery Replacement: step 24, image 1 of 3 iPad Mini CDMA Battery Replacement: step 24, image 2 of 3 iPad Mini CDMA Battery Replacement: step 24, image 3 of 3
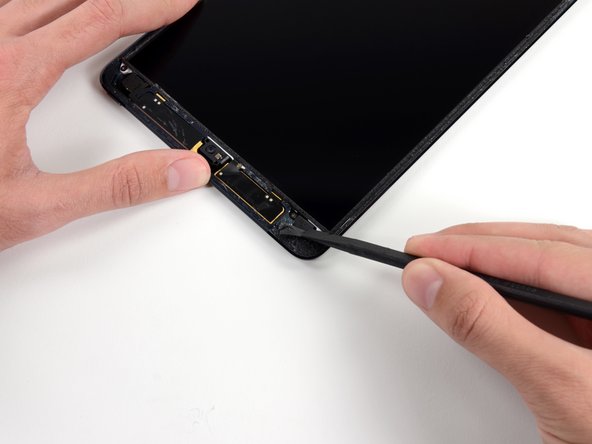
    • Slide the lower left pick to the lower left corner to cut the adhesive on that corner.

    • Leave the pick at the corner. Do not pry any farther, and do not remove the pick from the iPad.

    • There are quite a few things to avoid beneath the lower bezel, so study the third image closely:

    • Antennas

    • Home button cavity

    • Digitizer cable

    • The following steps will direct you where to pry to avoid damage to these components. Only apply heat and pry where directed.

    Ask FixBot
  25. iPad Mini CDMA Battery Replacement: step 25, image 1 of 3 iPad Mini CDMA Battery Replacement: step 25, image 2 of 3 iPad Mini CDMA Battery Replacement: step 25, image 3 of 3
    • Leave the pick from the last step in place to prevent the adhesive from re-sealing.

    • With a new pick, slice gently over the left-hand antenna, stopping before the home button.

    • Only slide the pick from the outer edge toward the center of the iPad. Do not move the pick back toward the outer edge, as moving in this direction may damage the antenna.

    • If you need to slide the pick over the lower section more than once, remove it and re-insert at the outer edge, and slide inwards.

    • Leave the pick in place before moving on.

    Ask FixBot
  26. iPad Mini CDMA Battery Replacement: step 26, image 1 of 3 iPad Mini CDMA Battery Replacement: step 26, image 2 of 3 iPad Mini CDMA Battery Replacement: step 26, image 3 of 3
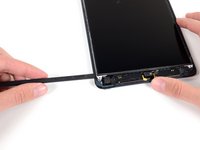
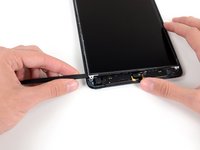
    • Insert the tip of one last pick next to the previous step's pick, and slide it beneath the home button.

    • Stop about an inch from the right-hand side to avoid cutting the digitizer cable.

    • Insert the pick slightly deeper and work it back toward the home button.

    • Again, be sure to only slide the pick toward the center of the iPad when it is fully inserted; otherwise you may damage the antenna beneath the glass.

    Ask FixBot
  27. iPad Mini CDMA Battery Replacement: step 27, image 1 of 1
    • Reheat and reapply the iOpener to the top bezel of the iPad.

    Ask FixBot
  28. iPad Mini CDMA Battery Replacement: step 28, image 1 of 2 iPad Mini CDMA Battery Replacement: step 28, image 2 of 2
    • Be very careful with this step. Take your time and ensure the adhesive is hot and soft, and that you've been through all of the adhesive with an opening pick. Don't be afraid to stop and reheat.

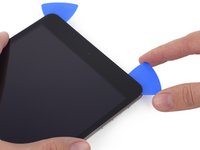
    • At the top of the iPad opposite the home button, you should have a pick lodged into each corner. Twist the picks to lift the glass slightly, separating the last of the adhesive along all four edges.

    • If you encounter a significant amount of resistance, stop twisting. Leave the picks in place, reheat, and reapply the iOpener to the problem areas, and run a pick through the sticking point one more time.

    Ask FixBot
  29. iPad Mini CDMA Battery Replacement: step 29, image 1 of 2 iPad Mini CDMA Battery Replacement: step 29, image 2 of 2
    • Lift slowly and gently to further detach the adhesive along the lower edge.

    Ask FixBot
  30. iPad Mini CDMA Battery Replacement: step 30, image 1 of 2 iPad Mini CDMA Battery Replacement: step 30, image 2 of 2
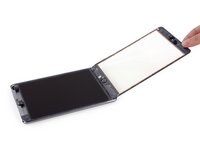
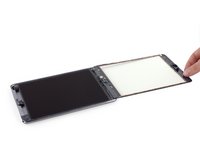
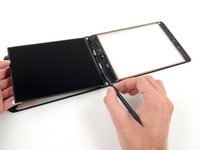
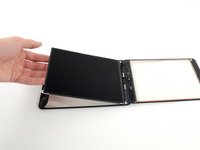
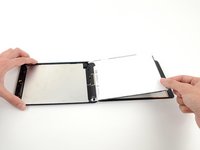
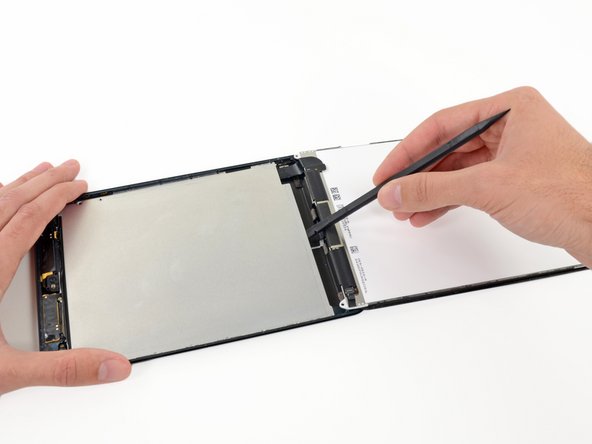
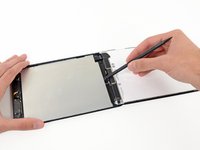
    • Once all of the adhesive has been separated, open the front glass like a page in a book and rest it on your workspace.

    • If reusing the front panel assembly during reassembly, you will need to replace the display adhesive. Use our display adhesive application guide to reapply your display adhesive and reseal your device.

    Ask FixBot
  31. iPad Mini CDMA Battery Replacement: step 31, image 1 of 3 iPad Mini CDMA Battery Replacement: step 31, image 2 of 3 iPad Mini CDMA Battery Replacement: step 31, image 3 of 3
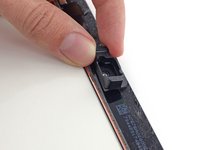
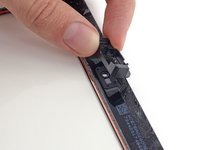
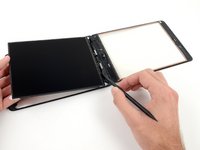
    • The front-facing camera housing may stick to the front panel; peel up the housing and place it back over the camera to protect it.

    • Rock the camera housing up on one edge to free it from the adhesive and remove it from the front panel.

    • Return the front-facing camera housing to its recess in the rear case.

    Ask FixBot
  32. iPad Mini CDMA Battery Replacement, LCD Assembly: step 32, image 1 of 3 iPad Mini CDMA Battery Replacement, LCD Assembly: step 32, image 2 of 3 iPad Mini CDMA Battery Replacement, LCD Assembly: step 32, image 3 of 3
    Tool used on this step:
    Tweezers
    $4.99
    Buy
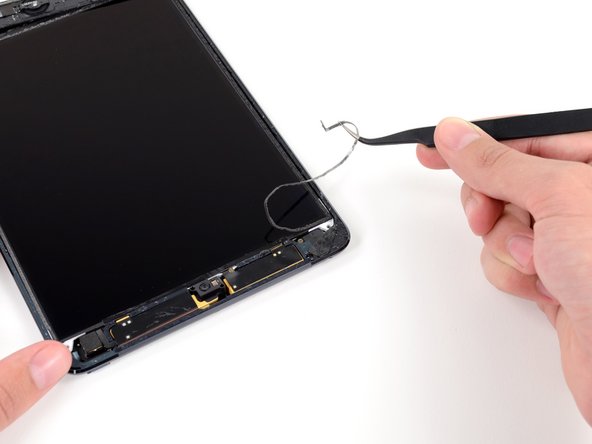
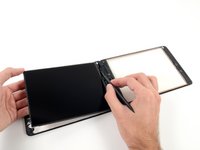
    • Small pieces of foam tape cover the top and bottom right-hand screws securing the LCD to the rear case.

    • Use tweezers to peel up and remove the rectangular piece of foam tape covering the top right LCD screw.

    • Remove the triangular tape covering the lower right LCD screw.

    Ask FixBot
  33. iPad Mini CDMA Battery Replacement: step 33, image 1 of 2 iPad Mini CDMA Battery Replacement: step 33, image 2 of 2
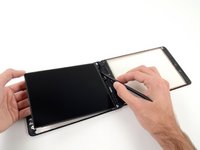
    • The top left LCD screw may be covered by adhesive tape from the front panel.

    • If the tape is present, use the flat end of a spudger to pry the tape up and away, exposing the LCD screw beneath.

    Ask FixBot
  34. iPad Mini CDMA Battery Replacement: step 34, image 1 of 1
    • Remove the four 3.9 mm Phillips #000 screws securing the LCD to the rear case.

    Ask FixBot
  35. iPad Mini CDMA Battery Replacement: step 35, image 1 of 2 iPad Mini CDMA Battery Replacement: step 35, image 2 of 2
    • Use a pair of tweezers to peel up the small piece of tape connecting the LCD frame to the right speaker.

    Ask FixBot
  36. iPad Mini CDMA Battery Replacement: step 36, image 1 of 3 iPad Mini CDMA Battery Replacement: step 36, image 2 of 3 iPad Mini CDMA Battery Replacement: step 36, image 3 of 3
    • A thin strip of foam tape on the LCD frame is covering a piece of tape connecting the LCD to the panel beneath it. To proceed, you'll have to break and peel up some of the foam tape to expose the tape hidden beneath.

    • Use a pair of thin tweezers to pull up the top of the foam tape surrounding the LCD.

    • Be careful not to touch the LCD with the tweezers, as you may damage the display.

    • Use the tweezers to peel the foam tape up to expose the top of the LCD.

    Ask FixBot
  37. iPad Mini CDMA Battery Replacement: step 37, image 1 of 3 iPad Mini CDMA Battery Replacement: step 37, image 2 of 3 iPad Mini CDMA Battery Replacement: step 37, image 3 of 3
    • Insert the tip of a spudger between the LCD frame and the tape on the top of the LCD.

    • Slide the spudger along the space between the LCD frame and tape, separating the tape from the LCD frame.

    Ask FixBot
  38. iPad Mini CDMA Battery Replacement: step 38, image 1 of 2 iPad Mini CDMA Battery Replacement: step 38, image 2 of 2
    • The LCD is glued to the metal LCD shield plate behind it along the top, left, and right edges. In order to safely loosen this adhesive, you'll be using a guitar pick to shift the LCD a couple of millimeters left and right several times.

    • Insert a guitar pick into the gap between the LCD and rear case, near the top of the left side of the LCD.

    • Bend the pick slightly away from the iPad, just enough to spread the gap between the LCD and rear case.

    Ask FixBot
  39. iPad Mini CDMA Battery Replacement: step 39, image 1 of 3 iPad Mini CDMA Battery Replacement: step 39, image 2 of 3 iPad Mini CDMA Battery Replacement: step 39, image 3 of 3
    • Insert the guitar pick into three more locations down the left side of the LCD and bend it over in each location, to slide the LCD over to the right side of the rear case.

    Ask FixBot
  40. iPad Mini CDMA Battery Replacement: step 40, image 1 of 3 iPad Mini CDMA Battery Replacement: step 40, image 2 of 3 iPad Mini CDMA Battery Replacement: step 40, image 3 of 3
    • Now switch to the right side of the LCD, and pry with the guitar pick in several places along the side to shift the LCD back to the left.

    • Repeat this and the previous step a few times, until the LCD is easily moved left and right.

    Ask FixBot
  41. iPad Mini CDMA Battery Replacement: step 41, image 1 of 3 iPad Mini CDMA Battery Replacement: step 41, image 2 of 3 iPad Mini CDMA Battery Replacement: step 41, image 3 of 3
    • In the next few steps, you'll be sliding a spudger between the LCD and the metal backing plate to fully separate the LCD from the adhesive beneath.

    • Insert the flat end of a spudger between the LCD frame and the metal backing plate.

    • Be sure to get the spudger between the LCD frame and backing plate, and not beneath the plate. Prying up on the plate will damage it, because it is screwed down to the rear case beneath the LCD.

    Ask FixBot
  42. iPad Mini CDMA Battery Replacement: step 42, image 1 of 3 iPad Mini CDMA Battery Replacement: step 42, image 2 of 3 iPad Mini CDMA Battery Replacement: step 42, image 3 of 3
    • Starting at the top right of the device, slide the spudger in between the LCD frame and metal backing plate, which will separate the adhesive as you push.

    • The goal is to separate the adhesive, not to pry the LCD up, so keep the pointed tip of the spudger as low as possible to prevent bending the LCD.

    • If inserting the spudger causes the corner of the LCD to bend up, repeat the steps with the guitar pick to further loosen the adhesive.

    Ask FixBot
  43. iPad Mini CDMA Battery Replacement: step 43, image 1 of 3 iPad Mini CDMA Battery Replacement: step 43, image 2 of 3 iPad Mini CDMA Battery Replacement: step 43, image 3 of 3
    • Repeat the previous procedure along the top of the LCD.

    • Insert the flat end of the spudger between the LCD frame and metal backing plate and gently push the spudger in across the top of the device, separating adhesive.

    Ask FixBot
  44. iPad Mini CDMA Battery Replacement: step 44, image 1 of 3 iPad Mini CDMA Battery Replacement: step 44, image 2 of 3 iPad Mini CDMA Battery Replacement: step 44, image 3 of 3
    • Continue with the left side of the LCD: insert the flat end of the spudger between the LCD and shield plate and insert the spudger as far as it will go.

    • At this point the LCD should be loosened from the adhesive holding it. If it is not, re-insert the spudger on the right side or top to fully free the LCD.

    Ask FixBot
  45. iPad Mini CDMA Battery Replacement: step 45, image 1 of 1
    • Lift the LCD up a couple inches from the rear case to ensure it's free from the adhesive.

    Ask FixBot
  46. iPad Mini CDMA Battery Replacement: step 46, image 1 of 2 iPad Mini CDMA Battery Replacement: step 46, image 2 of 2
    • Two wide strips of tape connect the LCD to the speakers.

    • While holding the LCD with one hand, Insert the flat end of a spudger into the gap between this tape and the left speaker.

    • Gently pull the LCD away from the speakers while rotating the spudger outward to separate the tape from the speaker.

    Ask FixBot
  47. iPad Mini CDMA Battery Replacement: step 47, image 1 of 2 iPad Mini CDMA Battery Replacement: step 47, image 2 of 2
    • Insert the flat end of the spudger into the gap between the right speaker and the LCD tape.

    • While pulling the LCD away from the speakers, rotate the spudger outward, widening the gap and releasing the tape from the speaker.

    Ask FixBot
  48. iPad Mini CDMA Battery Replacement: step 48, image 1 of 2 iPad Mini CDMA Battery Replacement: step 48, image 2 of 2
    • Flip the LCD over and rest it on top of the front panel glass.

    • Do not attempt to remove the LCD from the iPad, as it is still connected by its data cable.

    Ask FixBot
  49. iPad Mini CDMA Battery Replacement, LCD Shield Plate: step 49, image 1 of 1
    • Remove the following screws securing the LCD shield plate to the rear case of the iPad:

    • Two 2.6 mm Phillips #00

    • Thirteen 1.7 mm Phillips #00

    • One additional 1.7 mm Phillips #00 on some devices.

    Ask FixBot
  50. iPad Mini CDMA Battery Replacement: step 50, image 1 of 2 iPad Mini CDMA Battery Replacement: step 50, image 2 of 2
    • Insert the flat end of a spudger underneath the center of the LCD shield plate from the bottom end of the iPad.

    • Pry up on the spudger to free the plate from the sides of the rear case.

    Ask FixBot
  51. iPad Mini CDMA Battery Replacement: step 51, image 1 of 1
    • Remove the LCD shield plate from the iPad.

    Ask FixBot
  52. iPad Mini CDMA Battery Replacement, Battery Connector: step 52, image 1 of 1
    • Remove the three 1.3 mm Phillips #00 screws securing the connector shield to the logic board.

    • Be sure to not substitute these three screws with any other screws, specifically the screws securing the LCD shield plate to the rear case of the iPad. Any slightly longer screws may strip the screw holes and result in irreparable damage to the logic board.

    Ask FixBot
  53. iPad Mini CDMA Battery Replacement: step 53, image 1 of 1
    Tool used on this step:
    Tweezers
    $4.99
    Buy
    • Use a pair of tweezers to grasp and remove the connector shield from the iPad.

    Ask FixBot
  54. iPad Mini CDMA Battery Replacement: step 54, image 1 of 2 iPad Mini CDMA Battery Replacement: step 54, image 2 of 2
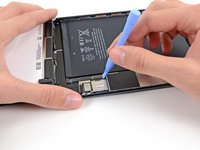
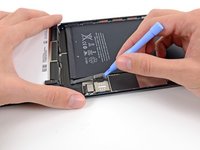
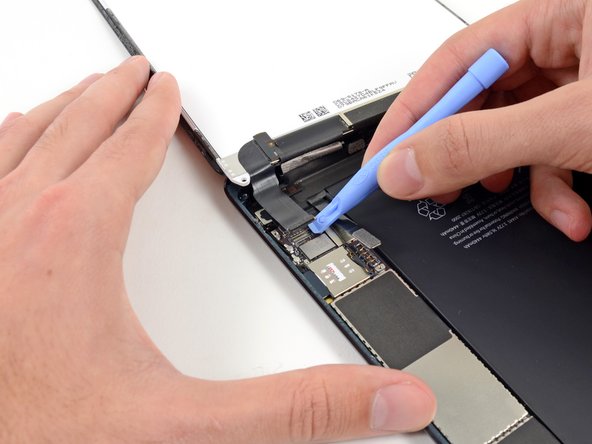
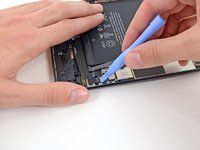
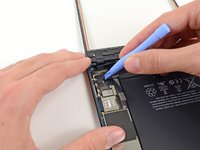
    • Use a plastic opening tool to gently pry the battery connector up from its socket on the logic board.

    • Be very careful to only pry up on the battery connector and not on the socket itself. If you pry up on the logic board socket, you may break the connector entirely.

    Ask FixBot
  55. iPad Mini CDMA Battery Replacement, LCD: step 55, image 1 of 2 iPad Mini CDMA Battery Replacement, LCD: step 55, image 2 of 2
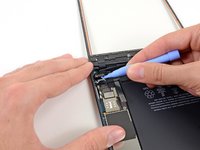
    • Use a plastic opening tool to pry the LCD connector from its socket on the logic board.

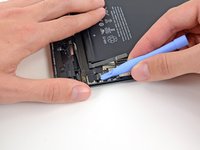
    • Do not pry against the large IC next to the connector, or you may break it. Gently pry from the side of the connector as shown.

    Ask FixBot
  56. iPad Mini CDMA Battery Replacement: step 56, image 1 of 3 iPad Mini CDMA Battery Replacement: step 56, image 2 of 3 iPad Mini CDMA Battery Replacement: step 56, image 3 of 3
    • The LCD is still connected to the rest of the iPad by two wide strips of adhesive tape that run up from the inside of the rear case to the front bottom LCD frame.

    • While holding the LCD with one hand, insert the flat end of a spudger between the LCD and tape on the iPad's right side.

    • Slide the spudger outward, separating the tape, while gently lifting up on the LCD to pull it away from the tape.

    • It may help to twist the spudger, to spread the gap the rest of the way and separate the LCD from the tape.

    Ask FixBot
  57. iPad Mini CDMA Battery Replacement: step 57, image 1 of 3 iPad Mini CDMA Battery Replacement: step 57, image 2 of 3 iPad Mini CDMA Battery Replacement: step 57, image 3 of 3
    • While still holding the LCD up with one hand, move on to the iPad's left side and repeat the previous step's procedure to separate the second piece of tape.

    • Insert the flat end of a spudger between the LCD frame and tape, and slide outward while gently lifting up on the LCD.

    Ask FixBot
  58. iPad Mini CDMA Battery Replacement: step 58, image 1 of 2 iPad Mini CDMA Battery Replacement: step 58, image 2 of 2
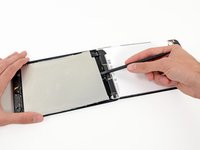
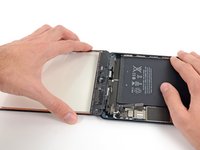
    • Lift and remove the LCD from the iPad Mini.

    Ask FixBot
  59. iPad Mini CDMA Battery Replacement, Front Panel Assembly: step 59, image 1 of 2 iPad Mini CDMA Battery Replacement, Front Panel Assembly: step 59, image 2 of 2
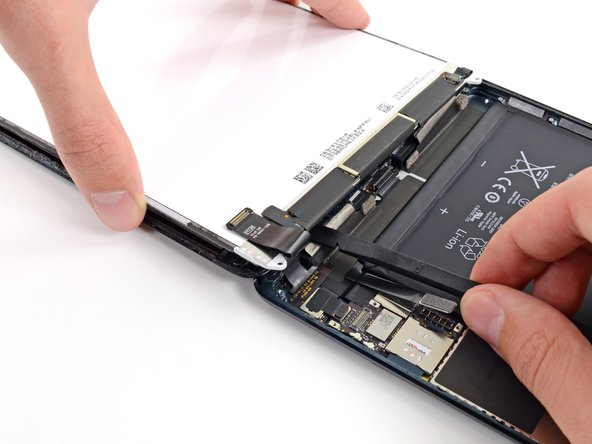
    • Be very careful to pry evenly on the digitizer connector, and not on the socket at all. The socket and connector are very delicate and if you damage either, your digitizer won't work.

    • To minimize stress on the socket, try prying under the short edge of the connector, rather than the long edge which is shown in these images.

    • Gently pry the digitizer connector up from its socket on the logic board.

    Ask FixBot
  60. iPad Mini CDMA Battery Replacement: step 60, image 1 of 2 iPad Mini CDMA Battery Replacement: step 60, image 2 of 2
    • Gently pry the digitizer cable board up from the rear case.

    Ask FixBot
  61. iPad Mini CDMA Battery Replacement: step 61, image 1 of 2 iPad Mini CDMA Battery Replacement: step 61, image 2 of 2
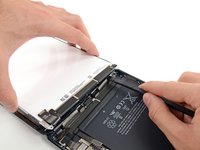
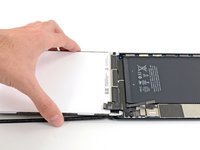
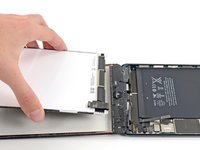
    • Lift and remove the front panel from the iPad.

    Ask FixBot
  62. iPad Mini CDMA Battery Replacement, Battery: step 62, image 1 of 2 iPad Mini CDMA Battery Replacement, Battery: step 62, image 2 of 2
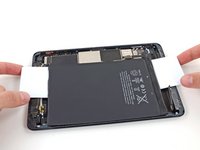
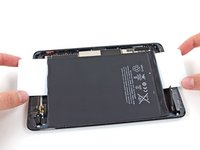
    • Reheat the iOpener in the microwave for one minute.

    • Remember to be careful not to overheat the iOpener during the repair procedure. Wait at least two minutes before reheating the iOpener, and never microwave it for more than one minute.

    • Place the heated iOpener on the back of the iPad, along the center. Let it sit there for 90 seconds to soften the battery adhesive.

    • Move the iOpener to the right of the back of the iPad (the side opposite the rear-facing camera), and let the iOpener sit for another 90 seconds.

    • If the iOpener cools significantly between sittings, reheat it for another minute.

    Ask FixBot
  63. iPad Mini CDMA Battery Replacement: step 63, image 1 of 2 iPad Mini CDMA Battery Replacement: step 63, image 2 of 2
    Tool used on this step:
    Plastic Cards
    $2.99
    Buy
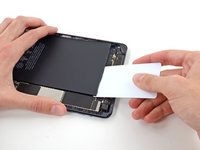
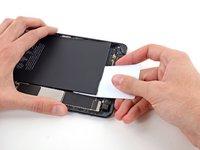
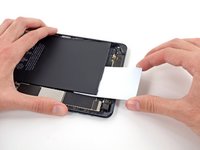
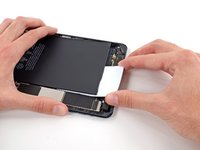
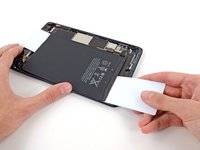
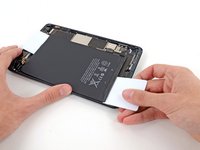
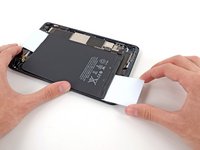
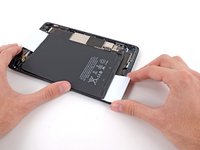
    • Throughout the following procedure, you'll be sliding thin plastic cards between the battery and rear case of the iPad, to separate the adhesive securing the battery in place. Be careful to keep the cards as flat as possible to avoid bending the battery, which may damage it and cause it to release dangerous chemicals.

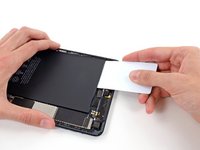
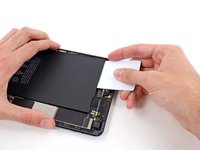
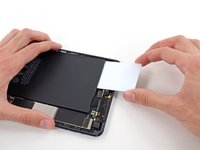
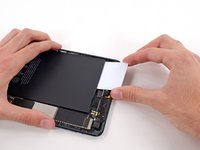
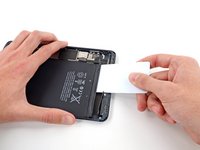
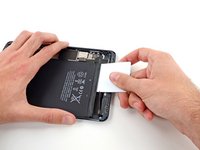
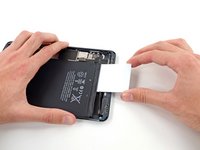
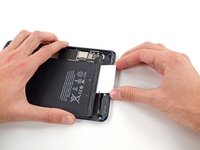
    • Flip the iPad back over and insert a plastic card between the top left battery and the rear case.

    • If you encounter significant resistance, re-heat the iOpener and repeat the previous step to give the adhesive more time to soften.

    Ask FixBot
  64. iPad Mini CDMA Battery Replacement: step 64, image 1 of 2 iPad Mini CDMA Battery Replacement: step 64, image 2 of 2
    • Press the card in further, breaking as much of the adhesive holding in the battery as you can.

    Ask FixBot
  65. iPad Mini CDMA Battery Replacement: step 65, image 1 of 2 iPad Mini CDMA Battery Replacement: step 65, image 2 of 2
    • Remove the plastic card and reinsert it underneath the top right corner of the battery.

    Ask FixBot
  66. iPad Mini CDMA Battery Replacement: step 66, image 1 of 2 iPad Mini CDMA Battery Replacement: step 66, image 2 of 2
    • Again, press the card in further, to break more of the adhesive behind the battery.

    • Leave this card in place to prevent the adhesive from resetting.

    Ask FixBot
  67. iPad Mini CDMA Battery Replacement: step 67, image 1 of 2 iPad Mini CDMA Battery Replacement: step 67, image 2 of 2
    • Insert a second plastic card beneath the bottom left corner of the battery.

    Ask FixBot
  68. iPad Mini CDMA Battery Replacement: step 68, image 1 of 2 iPad Mini CDMA Battery Replacement: step 68, image 2 of 2
    • Slowly push the card in further, breaking more of the adhesive between the battery and the rear case.

    Ask FixBot
  69. iPad Mini CDMA Battery Replacement: step 69, image 1 of 2 iPad Mini CDMA Battery Replacement: step 69, image 2 of 2
    • Remove the card and reinsert it, beneath the bottom right corner of the battery.

    Ask FixBot
  70. iPad Mini CDMA Battery Replacement: step 70, image 1 of 2 iPad Mini CDMA Battery Replacement: step 70, image 2 of 2
    • Push the card further underneath the battery.

    Ask FixBot
  71. iPad Mini CDMA Battery Replacement: step 71, image 1 of 2 iPad Mini CDMA Battery Replacement: step 71, image 2 of 2
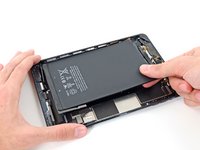
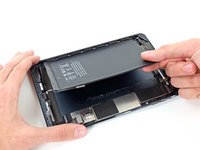
    • Grasp both cards and slowly pull the right side of the battery up about two inches from the rear case.

    • Peel slowly and try to keep the battery as straight as possible.

    Ask FixBot
  72. iPad Mini CDMA Battery Replacement: step 72, image 1 of 1
    • While lifting the right side of the battery up with one hand, use a plastic card to cut any adhesive still holding the battery down to the rear case.

    Ask FixBot
  73. iPad Mini CDMA Battery Replacement: step 73, image 1 of 3 iPad Mini CDMA Battery Replacement: step 73, image 2 of 3 iPad Mini CDMA Battery Replacement: step 73, image 3 of 3
    • Lift and remove the battery from the iPad.

    Ask FixBot
Conclusion

To reassemble your device, follow these instructions in reverse order.

16 other people completed this guide.

1 Guide Comment

After replacing my battery and following these steps, everything worked fine. I did notice that the battery drains very quickly, even when I am not using my iPad. If I don’t use it for a day, it will be completely dead when I come back. I stopped using it for a month, and now it won’t even charge. Does anyone know what could cause the battery to behave this way?

slapstick4235 - Reply Share

Add Comment

View Statistics:

Past 24 Hours: 3

Past 7 Days: 19

Past 30 Days: 128

All Time: 29,285