
iPad Mini 2 LTE Digitizer Replacement

Prerequisite Only
This guide is only intended to be used as a prerequisite for other guides. It's incomplete by itself.

What you need

  1. iPad Mini 2 LTE Digitizer Replacement, Digitizer: step 1, image 1 of 2 iPad Mini 2 LTE Digitizer Replacement, Digitizer: step 1, image 2 of 2
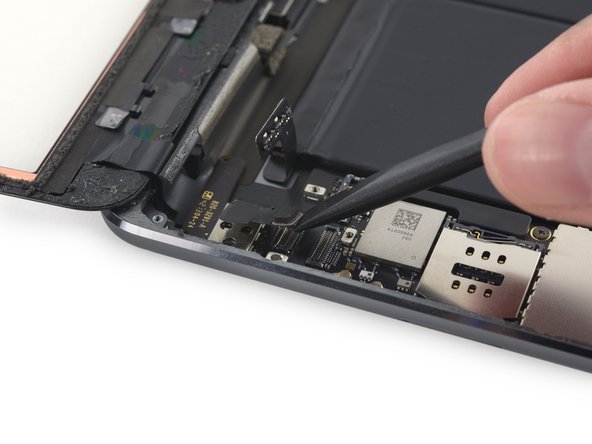
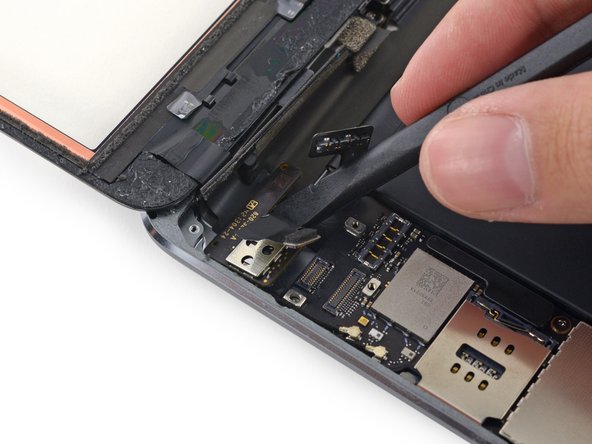
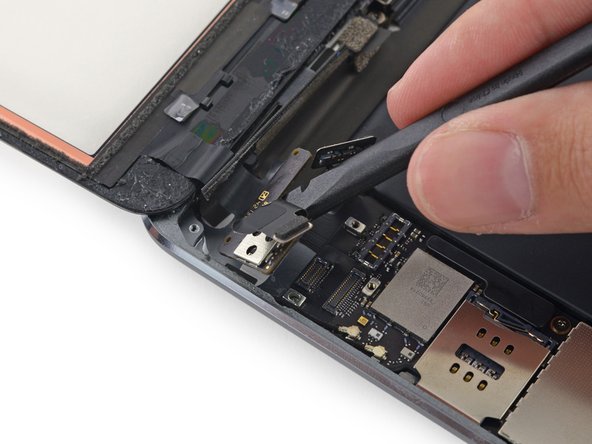
    • Use the flat end of a spudger to lift the digitizer cable connector straight up off of its socket.

  2. iPad Mini 2 LTE Digitizer Replacement: step 2, image 1 of 3 iPad Mini 2 LTE Digitizer Replacement: step 2, image 2 of 3 iPad Mini 2 LTE Digitizer Replacement: step 2, image 3 of 3
    • Slide the spudger under the battery side of the digitizer board to begin separating it from the rear case.

    • Lift the digitizer board up to free the last of the adhesive.

  3. iPad Mini 2 LTE Digitizer Replacement: step 3, image 1 of 1
    • Lift and remove the front panel from the iPad.

Conclusion

To reassemble your device, follow these instructions in reverse order.

Sam Goldheart

Member since: 10/18/12

465,738 Reputation

538 Guides authored

Team

iFixit Member of iFixit

Staff

135 Members

16,767 Guides authored

0 Comments

Add Comment

View Statistics:

Past 24 Hours: 0

Past 7 Days: 0

Past 30 Days: 0

All Time: 47