Free Shipping on Domestic Orders $75+

Samsung Galaxy Tab E 8.0 Audio Jack Replacement

What you need

    1. Samsung Galaxy Tab E 8.0 Audio Jack Replacement, Back Panel: step 1, image 1 of 2 Samsung Galaxy Tab E 8.0 Audio Jack Replacement, Back Panel: step 1, image 2 of 2
      • Use the iFixit Opening Tool to pry off the back case, moving the tool around the screen.

      • Make sure the device is off and the SD card is removed before taking off the back casing.

      Ask FixBot

      Add Comment

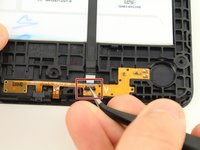
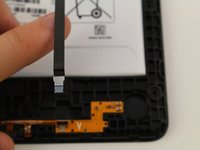
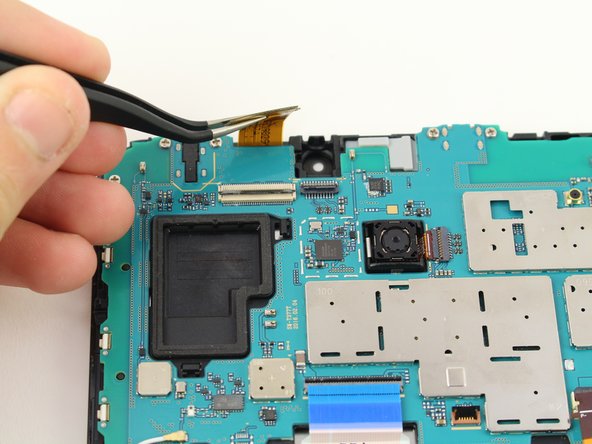
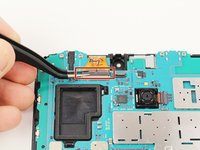
    1. Samsung Galaxy Tab E 8.0 Audio Jack Replacement, Back Camera: step 2, image 1 of 2 Samsung Galaxy Tab E 8.0 Audio Jack Replacement, Back Camera: step 2, image 2 of 2
      Tool used on this step:
      Tweezers
      $4.99
      Buy
      • Use the tweezers to lift the switch connecting the back camera to the motherboard.

      • Use your hand to remove the back camera from the motherboard.

      Ask FixBot

      Add Comment

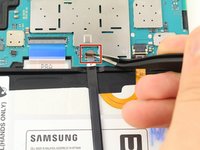
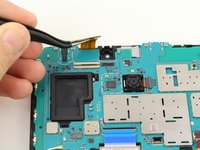
    1. Samsung Galaxy Tab E 8.0 Audio Jack Replacement, Front Camera: step 3, image 1 of 3 Samsung Galaxy Tab E 8.0 Audio Jack Replacement, Front Camera: step 3, image 2 of 3 Samsung Galaxy Tab E 8.0 Audio Jack Replacement, Front Camera: step 3, image 3 of 3
      Tool used on this step:
      Tweezers
      $4.99
      Buy
      • Use the tweezers to lift the switch connecting the front camera to the motherboard.

      • Remove the front camera from the motherboard by lifting with the tweezers.

      Ask FixBot

      Add Comment

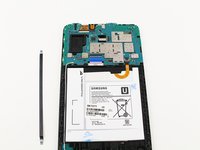
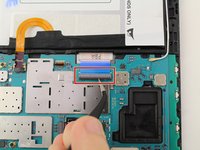
    1. Samsung Galaxy Tab E 8.0 Audio Jack Replacement, Motherboard: step 4, image 1 of 2 Samsung Galaxy Tab E 8.0 Audio Jack Replacement, Motherboard: step 4, image 2 of 2
      Tool used on this step:
      Tweezers
      $4.99
      Buy
      • Use the tweezers to flip the switch on the bottom of the strap that goes over the battery.

      • Release the strap from the switch by lifting the strap with your hand.

      Ask FixBot

      Add Comment

    2. Samsung Galaxy Tab E 8.0 Audio Jack Replacement: step 5, image 1 of 2 Samsung Galaxy Tab E 8.0 Audio Jack Replacement: step 5, image 2 of 2
      • Use the tweezers to flip the switch that connects the top of the strap to the motherboard.

      • Lift the top end of the strap with your hand and remove the strap completely from the device.

      Ask FixBot

      Add Comment

    3. Samsung Galaxy Tab E 8.0 Audio Jack Replacement: step 6, image 1 of 2 Samsung Galaxy Tab E 8.0 Audio Jack Replacement: step 6, image 2 of 2
      • Use the tweezers to flip the switch of the connector.

      • Lift the connector from the motherboard.

      • This connector does not come completely off, but disconnects from the motherboard.

      Ask FixBot

      Add Comment

    4. Samsung Galaxy Tab E 8.0 Audio Jack Replacement: step 7, image 1 of 2 Samsung Galaxy Tab E 8.0 Audio Jack Replacement: step 7, image 2 of 2
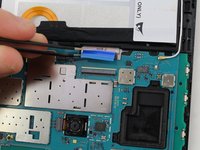
      • Use the tweezers to flip the switch of the blue connector on the motherboard.

      • Lift the connector from the motherboard.

      • This switch can detach from the device, but just needs to disconnect from the motherboard.

      • Ensure the blue ribbon cable is not under the motherboard upon reassembly.

      Ask FixBot

      Add Comment

    5. Samsung Galaxy Tab E 8.0 Audio Jack Replacement: step 8, image 1 of 2 Samsung Galaxy Tab E 8.0 Audio Jack Replacement: step 8, image 2 of 2
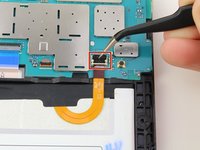
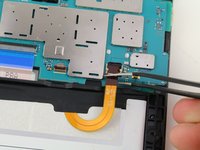
      • Use the tweezers to flip the switch of the connector that runs from the battery to the motherboard.

      • Lift the connector from the motherboard.

      • This switch can detach from the device, but just needs to disconnect from the motherboard.

      Ask FixBot

      Add Comment

    6. Samsung Galaxy Tab E 8.0 Audio Jack Replacement: step 9, image 1 of 2 Samsung Galaxy Tab E 8.0 Audio Jack Replacement: step 9, image 2 of 2
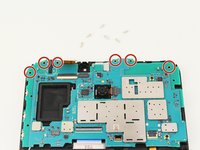
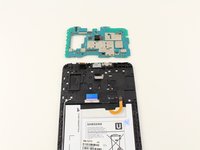
      • Use a JIS #00 screwdriver to remove the six 4.5mm screws at the top of the motherboard.

      • Lift the motherboard with your hand to detach the motherboard from the device.

      Ask FixBot

      Add Comment

    1. Samsung Galaxy Tab E 8.0 Audio Jack Replacement, Audio Jack: step 10, image 1 of 1
      • Use the soldering tool to remove the audio jack.

      Ask FixBot

      Add Comment

Conclusion

To reassemble your device, follow these instructions in reverse order.

Cancel: I did not complete this guide.

One other person completed this guide.

Christian Bloemhof

Member since: 10/08/18

1,174 Reputation

7 Guides authored

Team

Cal Poly, Team S13-G4, White Fall 2018 Member of Cal Poly, Team S13-G4, White Fall 2018

CPSU-WHITE-F18S13G4

4 Members

96 Guides authored

0 Guide Comments

Add Comment

View Statistics:

Past 24 Hours: 1

Past 7 Days: 11

Past 30 Days: 25

All Time: 1,121