Free Shipping on Domestic Orders $75+

iPad 3 4G Power & Volume Button Assembly Replacement

Prerequisite Only
This is a prerequisite-only guide! This guide is part of another procedure and isn’t meant to be used alone.

What you need

    1. iPad 3 4G Power & Volume Button Assembly Replacement, Power & Volume Button Assembly: step 1, image 1 of 1
      • Remove the following screws securing the power & volume button cable to the aluminum frame:

      • Two 5.5 mm Phillips #0

      • One 2.6 mm Phillips #0

      • Two 2.6 mm Phillips #0

      • The two screws located on top are angled into the aluminum frame. Be sure to always hold the screwdriver in line with the screw.

      Ask FixBot

      Add Comment

    2. iPad 3 4G Power & Volume Button Assembly Replacement: step 2, image 1 of 1
      • Remove the piece of plastic covering the volume buttons.

      Ask FixBot

      Add Comment

    3. iPad 3 4G Power & Volume Button Assembly Replacement: step 3, image 1 of 1
      • Remove the single 2.6 mm Phillips #00 screw holding the volume button frame to the aluminum frame.

      • This screw is angled into the aluminum frame. Be sure to always hold the screwdriver in line with the screw.

      Ask FixBot

      Add Comment

    4. iPad 3 4G Power & Volume Button Assembly Replacement: step 4, image 1 of 2 iPad 3 4G Power & Volume Button Assembly Replacement: step 4, image 2 of 2
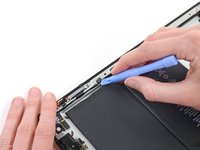
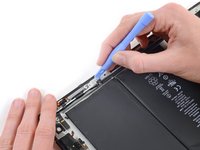
      • Wedge the edge of a plastic opening tool underneath the sleep/wake sensor, being careful to not damage the fragile cable.

      • Move the plastic opening tool around the sensor, releasing the adhesive.

      Ask FixBot

      Add Comment

    5. iPad 3 4G Power & Volume Button Assembly Replacement: step 5, image 1 of 2 iPad 3 4G Power & Volume Button Assembly Replacement: step 5, image 2 of 2
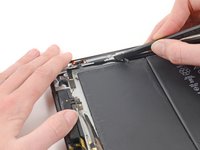
      • Slide a spudger underneath the power & volume cables, releasing the adhesive.

      Ask FixBot

      Add Comment

    6. iPad 3 4G Power & Volume Button Assembly Replacement: step 6, image 1 of 2 iPad 3 4G Power & Volume Button Assembly Replacement: step 6, image 2 of 2
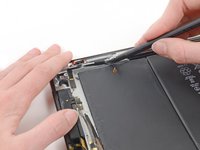
      • Using the tip of the spudger rather that the wide edge, release the adhesive underneath the volume button branch of the ribbon cable.

      Ask FixBot

      Add Comment

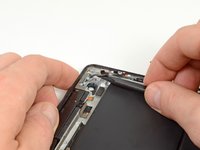
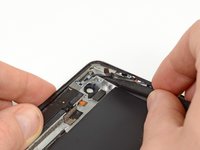
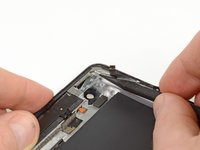
    7. iPad 3 4G Power & Volume Button Assembly Replacement: step 7, image 1 of 3 iPad 3 4G Power & Volume Button Assembly Replacement: step 7, image 2 of 3 iPad 3 4G Power & Volume Button Assembly Replacement: step 7, image 3 of 3
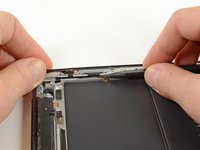
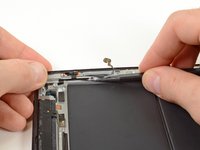
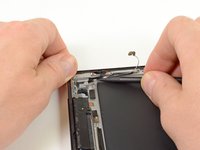
      • Continue sliding the tip of the spudger toward the top of the iPad, releasing the adhesive.

      Ask FixBot

      Add Comment

    8. iPad 3 4G Power & Volume Button Assembly Replacement: step 8, image 1 of 2 iPad 3 4G Power & Volume Button Assembly Replacement: step 8, image 2 of 2
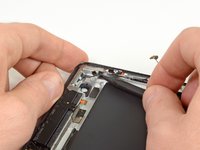
      • With the tip of the spudger still underneath the ribbon cable, gently lift the power button out of its socket in the aluminum frame.

      Ask FixBot

      Add Comment

    9. iPad 3 4G Power & Volume Button Assembly Replacement: step 9, image 1 of 2 iPad 3 4G Power & Volume Button Assembly Replacement: step 9, image 2 of 2
      • Holding the power & volume button cable with with both hands, carefully pull the volume buttons and lock switch from their sockets in the aluminum frame.

      • Lift and remove the power & volume button cable out of the rear aluminum case.

      Ask FixBot

      Add Comment

Conclusion

To reassemble your device, follow these instructions in reverse order.

Cancel: I did not complete this guide.

Brett Hartt

Member since: 04/12/10

132,484 Reputation

144 Guides authored

Team

iFixit Member of iFixit

Staff

122 Members

72,401 Guides authored

0 Guide Comments

Add Comment

View Statistics:

Past 24 Hours: 0

Past 7 Days: 2

Past 30 Days: 21

All Time: 572