Free Shipping on Domestic Orders $75+

iPad 10 Battery Installation

Prerequisite Only
This is a prerequisite-only guide! This guide is part of another procedure and isn’t meant to be used alone.

What you need

    1. iPad 10 Battery Installation, Clean the frame: step 1, image 1 of 2 iPad 10 Battery Installation, Clean the frame: step 1, image 2 of 2
      Tool used on this step:
      Adhesive Cleanup Kit (Set of 12)
      $7.99
      Buy
      • Use high-concentration isopropyl alcohol (>90%) and a microfiber or lint-free cloth to clean any adhesive residue from the iPad frame.

      • Alternatively, use our adhesive cleanup kit.

      Ask FixBot

      Add Comment

    2. iPad 10 Battery Installation, Expose the battery adhesive: step 2, image 1 of 2 iPad 10 Battery Installation, Expose the battery adhesive: step 2, image 2 of 2
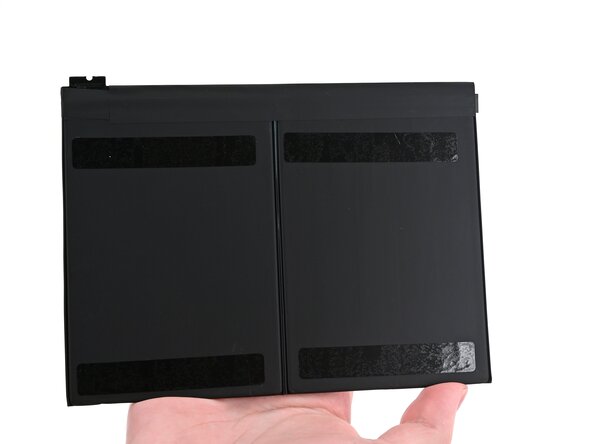
      • Remove any liners on the bottom of the battery to expose the battery adhesive.

      Ask FixBot

      Add Comment

    3. iPad 10 Battery Installation, Install the battery: step 3, image 1 of 3 iPad 10 Battery Installation, Install the battery: step 3, image 2 of 3 iPad 10 Battery Installation, Install the battery: step 3, image 3 of 3
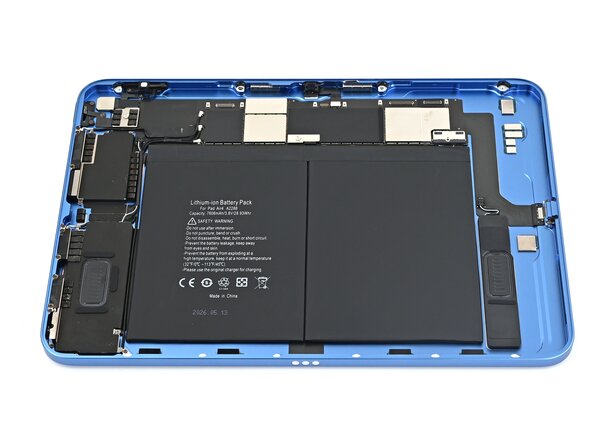
      • Slide the battery connector fully into its socket on the board and set the battery in place.

      Ask FixBot

      Add Comment

    4. iPad 10 Battery Installation: step 4, image 1 of 3 iPad 10 Battery Installation: step 4, image 2 of 3 iPad 10 Battery Installation: step 4, image 3 of 3
      • Press along the battery to help the battery adhesive bond to the frame of the iPad.

      Ask FixBot

      Add Comment

    5. iPad 10 Battery Installation, Remove the top battery liner: step 5, image 1 of 3 iPad 10 Battery Installation, Remove the top battery liner: step 5, image 2 of 3 iPad 10 Battery Installation, Remove the top battery liner: step 5, image 3 of 3
      • Remove any liners off the top of the battery.

      Ask FixBot

      Add Comment

    6. iPad 10 Battery Installation, Install the battery connector screw: step 6, image 1 of 1
      • Use a JIS 00 screwdriver to install the 1.7 mm‑long screw securing the battery connector.

      Ask FixBot

      Add Comment

Finish Line

Cancel: I did not complete this guide.

Nick Schultz

Member since: 03/24/24

65,240 Reputation

343 Guides authored

0 Guide Comments

Add Comment

View Statistics:

Past 24 Hours: 0

Past 7 Days: 2

Past 30 Days: 2

All Time: 17