Introduction
Follow this guide to replace the PRAM battery in an iMac Intel 21.5" EMC 3068. The PRAM battery is located on the back side of the logic board, so replacing it requires completely removing the logic board.
What you need
-
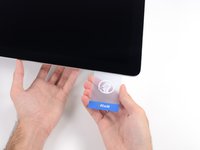
Tool used on this step:iMac Intel 21.5" Cardboard Service Wedge$4.99
-
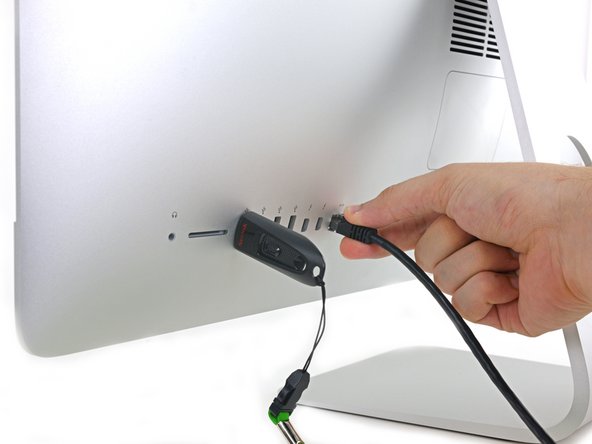
Before beginning any work on your iMac: Unplug the computer and press and hold the power button for ten seconds to discharge the power supply's capacitors.
-
-
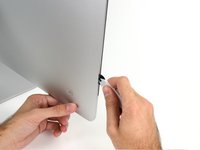
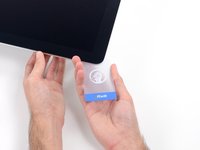
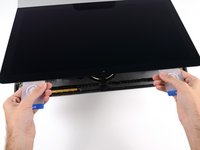
Tool used on this step:Plastic Cards$2.99
-
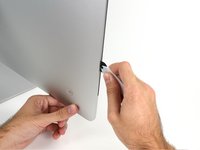
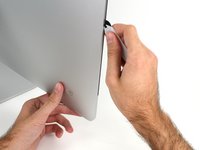
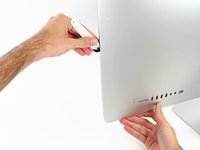
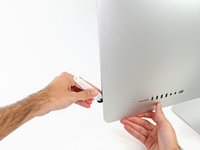
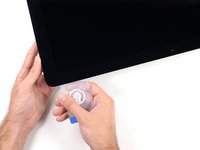
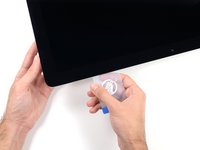
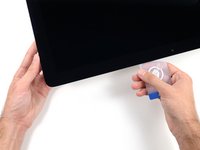
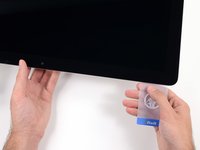
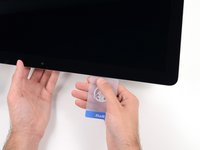
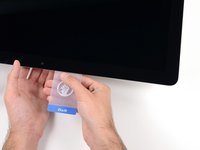
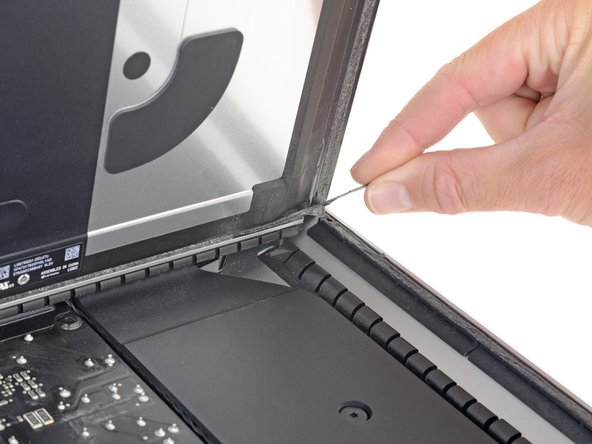
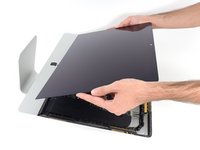
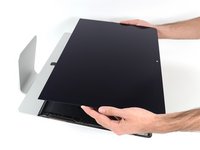
Starting from the top right corner of the iMac, wedge a plastic card between the display and frame.
-
-
-
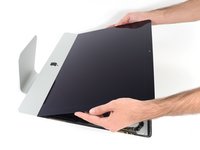
Hold the display with one hand while using your other hand to unplug the display power cable.
-
-
-
-
Remove the following five Phillips screws holding the lower support bracket in place:
-
Four 3.2 mm screws
-
One 1.7 mm screw
-
-
-
Remove the following T10 Torx screws securing the hard drive brackets to the iMac:
-
Two 21 mm screws
-
One 9 mm screw
-
One 27 mm screw
-
-
-
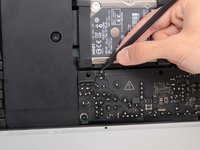
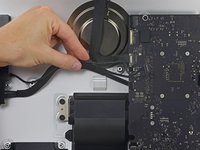
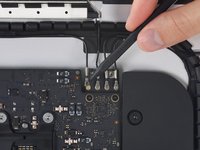
Use the tip of a spudger to push each side of the power button cable connector and gently walk it out of its socket.
-
-
-
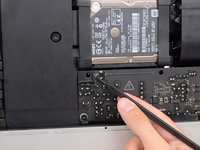
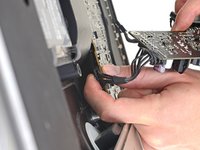
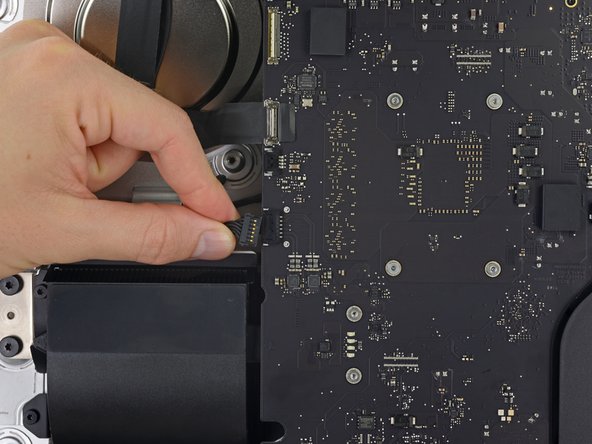
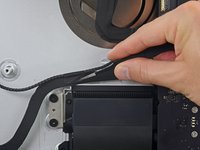
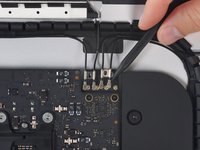
To disconnect the cable, squeeze the release clip on the back side of the connector, behind the logic board, and pull the connector straight out.
-
-
-
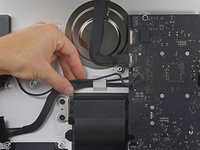
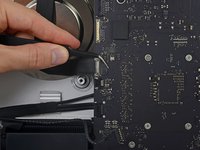
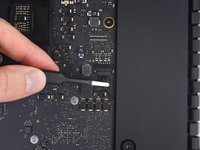
Use the flat end of a spudger to press the release clip on the side of the AC inlet cable connector inward.
-
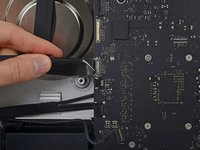
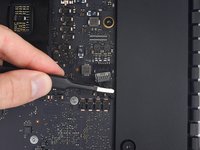
While pressing on the release clip with the spudger, grasp the AC inlet cable, and pull the connector straight out of its socket.
-
-
-
Lift the hard drive from the edge nearest the logic board and pull it slightly out of its recess.
-
-
-
Remove the 7.3 mm T8 Torx screw securing the hard drive tray to the rear enclosure.
-
-
-
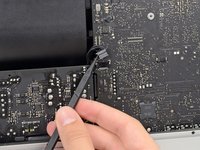
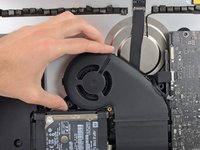
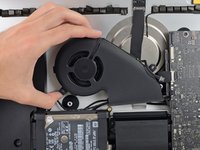
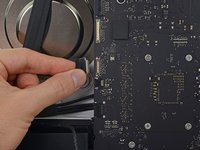
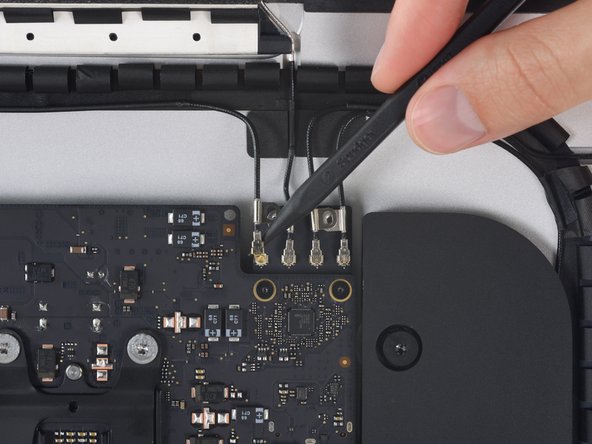
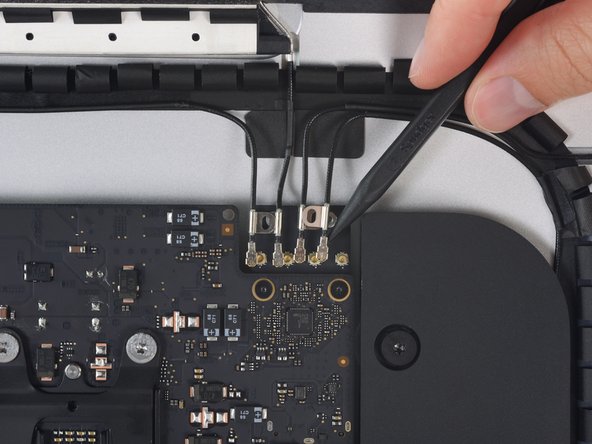
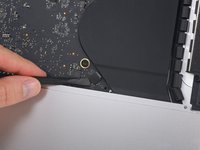
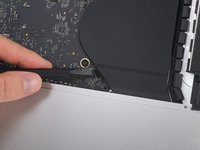
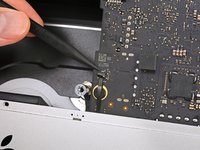
Gently pull the left speaker cable straight out of its socket on the logic board.
-
-
-
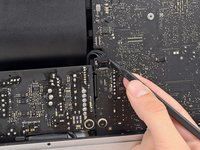
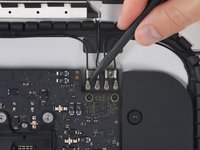
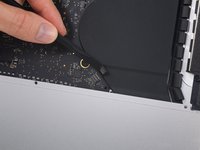
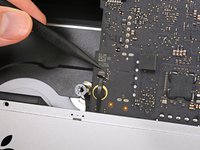
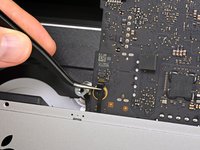
Use the tip of a spudger to flip open the retaining flap on the microphone ribbon cable ZIF socket.
-
Gently pull the microphone ribbon cable straight out of its socket.
-
-
-
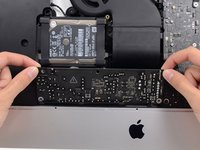
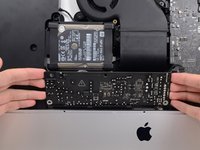
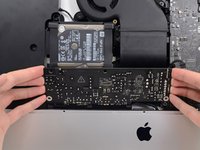
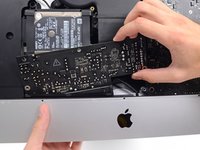
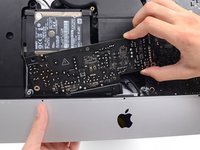
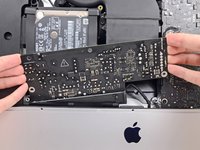
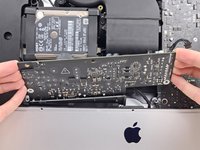
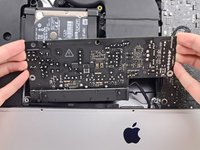
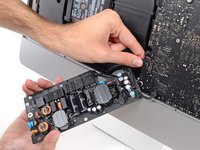
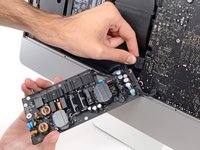
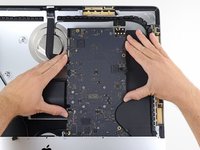
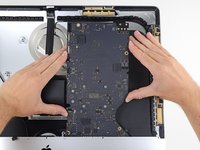
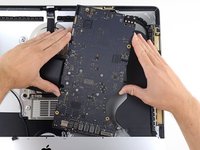
Handling the board by the edges, flip the logic board over to access the PRAM battery.
-
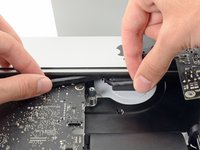
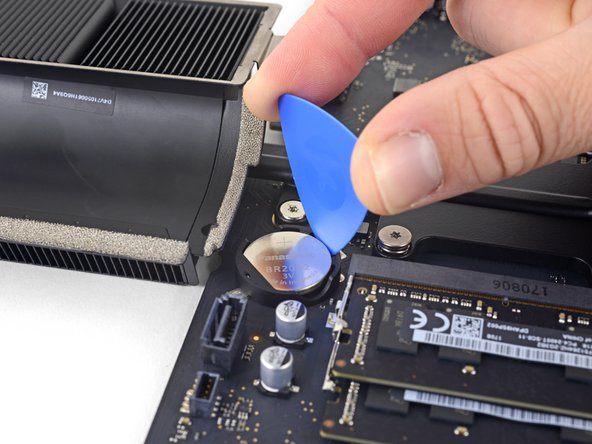
On the side between the two plastic nubs (opposite the spring contact), gently slide an opening pick in between the battery socket wall and the battery.
-
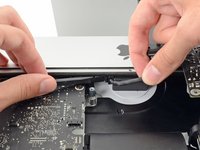
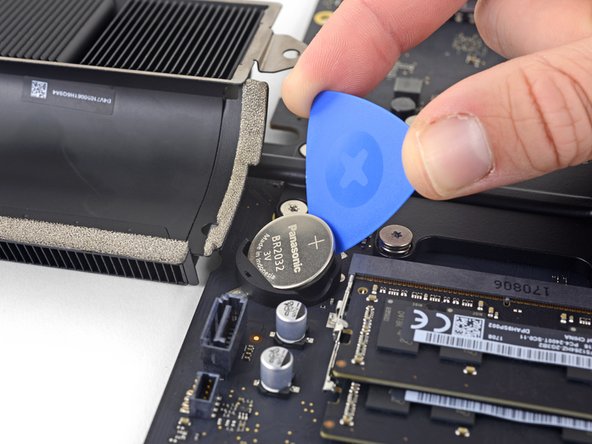
Use the opening pick to slide the battery away from the two plastic nubs.
-
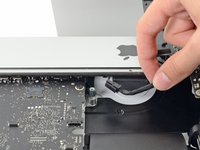
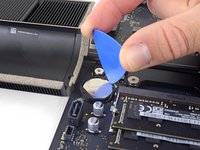
Once the battery's edge clears the two nubs, use the opening pick to tilt the battery up out of its socket.
-


To reassemble your device, follow these instructions in reverse order.
Cancel: I did not complete this guide.
3 other people completed this guide.
