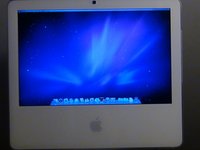
iMac Intel 17" UniMac V4 Adapter Kit

What you need

  1. iMac Intel 17" UniMac V4 Adapter Kit, Access Door: step 1, image 1 of 2 iMac Intel 17" UniMac V4 Adapter Kit, Access Door: step 1, image 2 of 2
    • Loosen the two captive Phillips screws securing the access door to the iMac.

    • Remove the access door from the iMac.

    • Before beginning the repair, unplug the computer and press and hold the power switch for 20-30 seconds, to discharge internal capacitors.

  2. iMac Intel 17" UniMac V4 Adapter Kit, Front Bezel: step 2, image 1 of 1
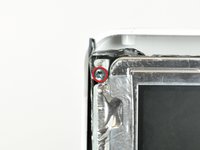
    • Remove the following four screws:

    • Three 6 mm T8 Torx.

    • One 8 mm T8 Torx.

  3. iMac Intel 17" UniMac V4 Adapter Kit: step 3, image 1 of 2 iMac Intel 17" UniMac V4 Adapter Kit: step 3, image 2 of 2
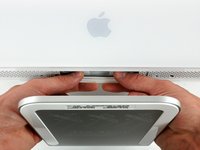
    • Flip your iMac over and lay it stand-side down on a flat surface.

    • To lift the front bezel off the iMac, simultaneously:

    • Use your thumbs to press in the RAM arms and hold the iMac down.

    • Use your index fingers to pull the small bridge of material on the front bezel toward yourself.

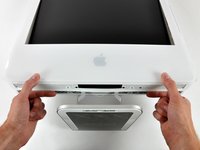
    • Pull the Front bezel up with your index fingers.

    • Once the small bridge of material has cleared the RAM arms, lift the front bezel by its lower edge just enough to clear the bottom edge of the rear case.

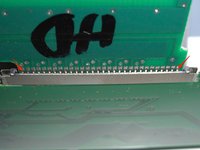
  4. iMac Intel 17" UniMac V4 Adapter Kit: step 4, image 1 of 3 iMac Intel 17" UniMac V4 Adapter Kit: step 4, image 2 of 3 iMac Intel 17" UniMac V4 Adapter Kit: step 4, image 3 of 3
    Tool used on this step:
    Plastic Cards
    $2.99
    Buy
    • Re-orient your iMac so it sits upright on the stand.

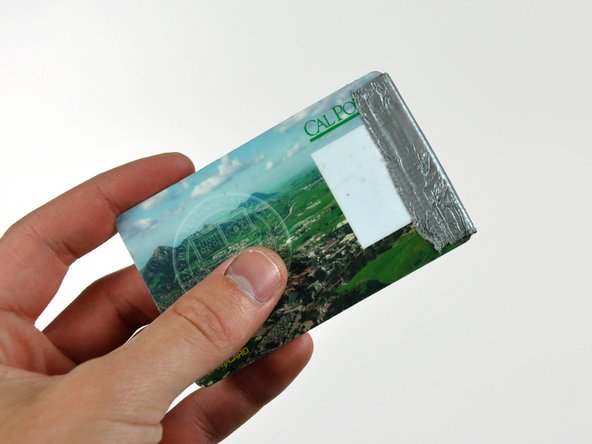
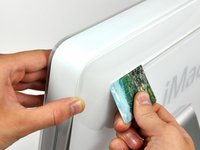
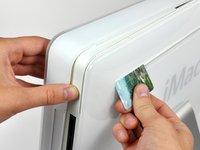
    • Insert a plastic card up into the corner of the air vent slot near the top of the rear case.

    • Push the card toward the top of the iMac to release the front bezel latch.

    • Pull the front bezel away from the rear case.

    • Repeat this process for the other side of the front bezel.

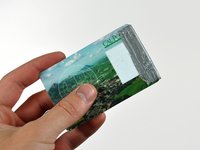
    • It may be necessary to apply several layers of duct tape to the top of the access card to aid in releasing the latches.

    • If the bezel refuses to release, try pressing the lower edge back onto the rear case and repeat this opening process.

  5. iMac Intel 17" UniMac V4 Adapter Kit: step 5, image 1 of 1
    • Lay your iMac stand-side down on a table.

    • Lift the front bezel from its lower edge and rotate it away from the rest of your iMac, minding the RAM arms that may get caught.

    • Lay the front bezel above the rest of the iMac.

  6. iMac Intel 17" UniMac V4 Adapter Kit: step 6, image 1 of 1
    • If necessary, remove the piece of kapton tape(it is ok to toss this) wrapped around the microphone and camera cables.

  7. iMac Intel 17" UniMac V4 Adapter Kit: step 7, image 1 of 2 iMac Intel 17" UniMac V4 Adapter Kit: step 7, image 2 of 2
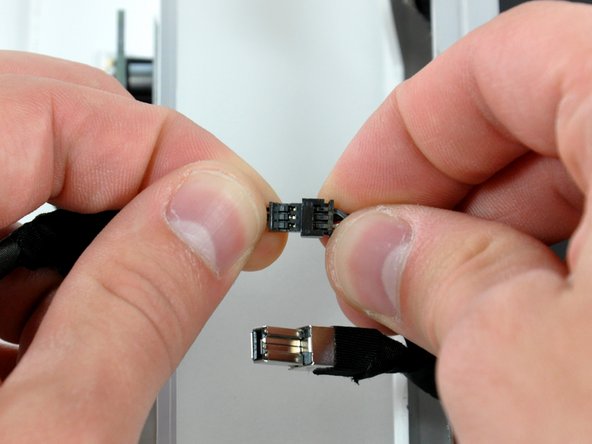
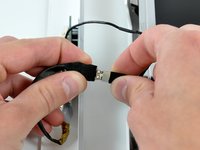
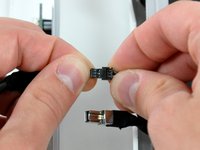
    • Disconnect both the camera and microphone cables.

  8. iMac Intel 17" UniMac V4 Adapter Kit, Display: step 8, image 1 of 1
    • Peel up the lower EMI shield from the rear case.

    • It is only necessary to peel the shield up from three sides. Leave it attached to the display.

    • We have found it helpful to tape the EMI shield against the display to keep it out of the way.

  9. iMac Intel 17" UniMac V4 Adapter Kit: step 9, image 1 of 2 iMac Intel 17" UniMac V4 Adapter Kit: step 9, image 2 of 2
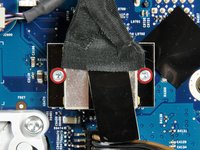
    • Remove the two 4.8 mm T6 Torx screws securing the display data cable to the logic board.

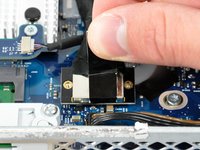
    • Grab the display data cable connector by its black tab and pull it straight up off the logic board.

  10. iMac Intel 17" UniMac V4 Adapter Kit: step 10, image 1 of 1
    • Inverter cable on 24inch iMac pulls off to the left.

    • Pull the inverter cable connector straight up off its socket on the logic board.

  11. iMac Intel 17" UniMac V4 Adapter Kit: step 11, image 1 of 1
    • Peel back the aluminum EMI tape from the two vertical edges of the display.

    • During reassembly, it is helpful to use several small strips of tape to hold the EMI shielding along the left and right edges of the display footprint out of the way before lowering the display into the rear case of your iMac.

  12. iMac Intel 17" UniMac V4 Adapter Kit: step 12, image 1 of 2 iMac Intel 17" UniMac V4 Adapter Kit: step 12, image 2 of 2
    Tool used on this step:
    TR10 Torx Security Screwdriver
    $5.99
    Buy
    • Allow the EMI shield to hang down from the display.

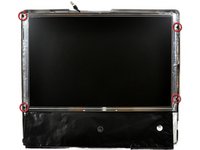
    • Remove the four 8 mm with 2 mm thick head coarse-thread T10 Torx screws securing the display to the rear case.

    • These screws are recessed, so a thin screwdriver such as this is essential for removal. Bit drivers tend to be too short for this application.

    • It is strongly recommended to use a magnetized screwdriver so the screws won't fall into the iMac.

  13. iMac Intel 17" UniMac V4 Adapter Kit: step 13, image 1 of 1
    • Lift the display from its lower edge and pull it toward yourself to peel off the EMI shield attached to its top edge.

    • Be mindful of any cables that may get caught during removal.

  14. iMac Intel 17" UniMac V4 Adapter Kit, UniMac V4 Adapter Kit: step 14, image 1 of 2 iMac Intel 17" UniMac V4 Adapter Kit, UniMac V4 Adapter Kit: step 14, image 2 of 2
    • What you will need to complete this install:

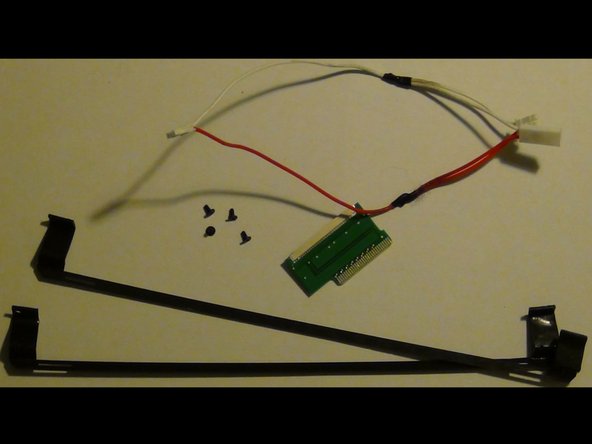
    • Contents of UniMac V4 Adapter Kit:

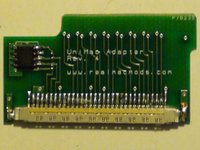
    • UniMac V4 Adapter

    • Mounting brackets

    • CCFL Adapter

    • Phillips Screws

    • Required tools listed prior, compatible LCD panel, insulation tape (clear packing tape works well)

  15. iMac Intel 17" UniMac V4 Adapter Kit: step 15, image 1 of 3 iMac Intel 17" UniMac V4 Adapter Kit: step 15, image 2 of 3 iMac Intel 17" UniMac V4 Adapter Kit: step 15, image 3 of 3
    • Remove both metal brackets from the original LCD screen.

    • Remove 2 torx screws from each side. Each bracket should then be easily removed.

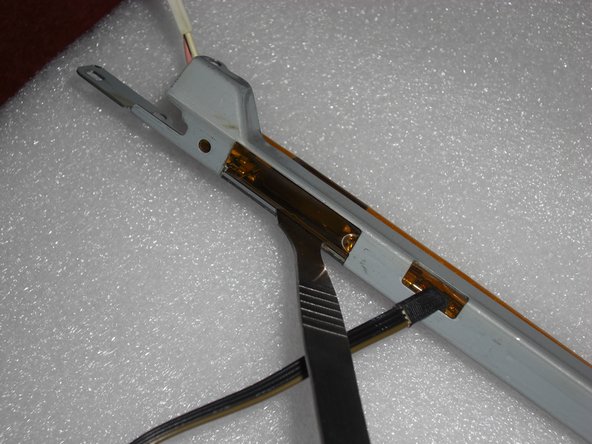
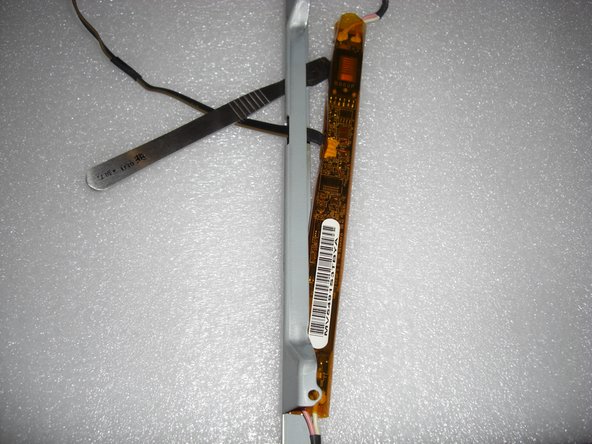
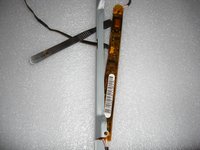
    • Remove the LCD inverter from the metal bracket. It is held in with some light adhesive.

    • You can use a spudger to lift the inverter board slightly. Then it will come out easily.

  16. iMac Intel 17" UniMac V4 Adapter Kit: step 16, image 1 of 2 iMac Intel 17" UniMac V4 Adapter Kit: step 16, image 2 of 2
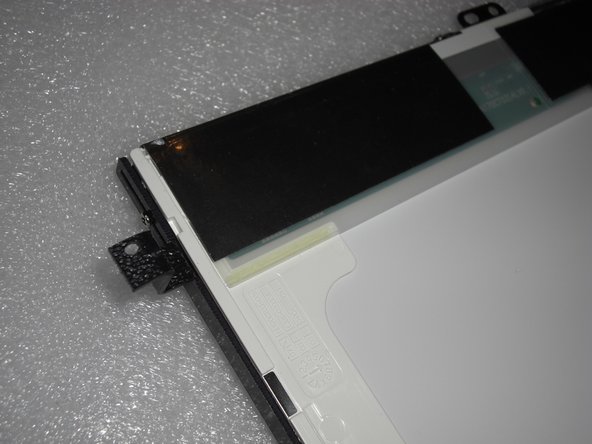
    • Attach the included plastic adapters to the replacement LCD screen.

    • These must be used because the replacement screen is likely much thinner than the OEM panel.

    • The adapter with the larger leg space has to be mounted on the "right" side of the LCD. That's where the LVDS connector is located.

    • The brackets screw directly to the screen using the included phillips screws.

  17. iMac Intel 17" UniMac V4 Adapter Kit: step 17, image 1 of 3 iMac Intel 17" UniMac V4 Adapter Kit: step 17, image 2 of 3 iMac Intel 17" UniMac V4 Adapter Kit: step 17, image 3 of 3
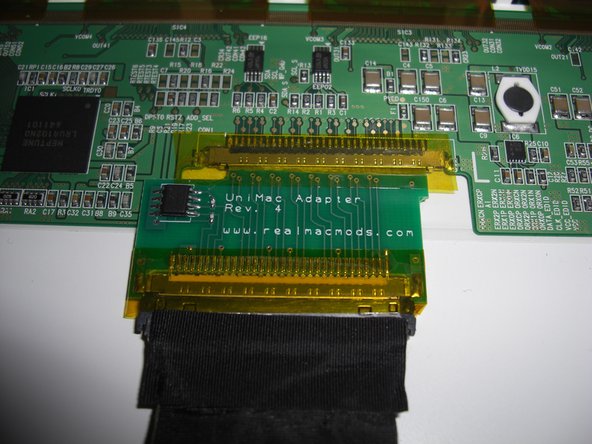
    • Attach the UniMac V4 Adapter to the LCD screen.

    • Simply clip it into the LVDS socket.

    • Ensure a solid connection and then put a piece of packing tape over the adapter.

    • Attach the LVDS cable, that you removed earlier, to the UniMac V4 Adapter. Ensure a solid connection and put a piece of packing tape over it.

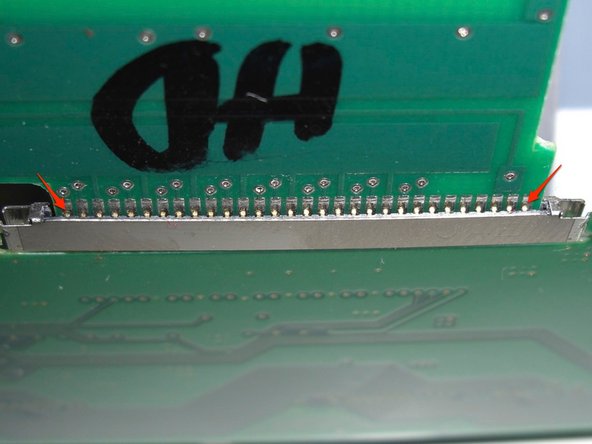
    • Check the contact alignment. The contact springs have to be all in the right place! Generally, if the most outer pins are properly seated, the other pins will fit, too.

  18. iMac Intel 17" UniMac V4 Adapter Kit: step 18, image 1 of 2 iMac Intel 17" UniMac V4 Adapter Kit: step 18, image 2 of 2
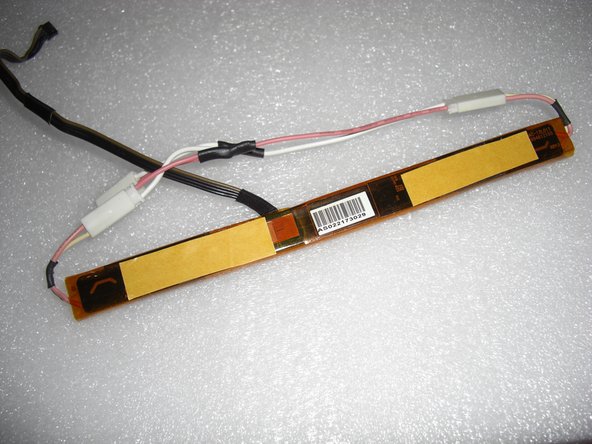
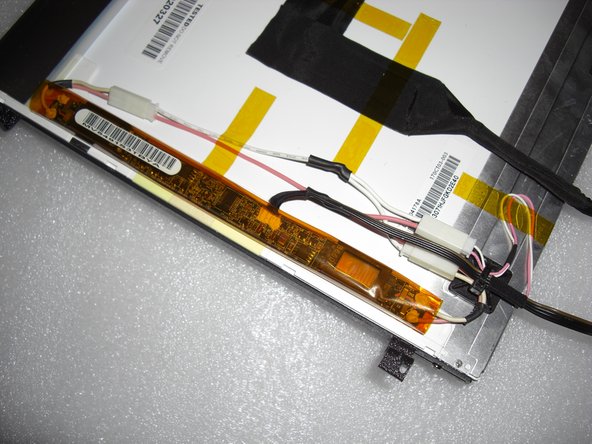
    • Attach the included CCFL adapter to the original inverter board.

    • Apply some self adhesive tape at the bottom of the board.

  19. iMac Intel 17" UniMac V4 Adapter Kit: step 19, image 1 of 2 iMac Intel 17" UniMac V4 Adapter Kit: step 19, image 2 of 2
    • Fix the LVDS cable with some adhesive tape. This reduces mechanical force applied to the UniMac Adapter and makes the modification more stable.

    • Now place the inverter board at the left side of the LCD. There's enough room between the CD-ROM drive and the LCD, so there's the optimal place.

    • You should now have a fully assembled display ready for install.

    • Be very careful not to apply too much force when attaching the adhesive tape. The back of the LCD is very sensitive!

    • Vertical alignment:

    • Each bracket utilizes 2 screws mounted through 2 slots. This allows a few inches of movement up or down.

    • You will likely need to go back and make adjustments after the install.

    • Just loosen the 2 screws and slide the bracket up or down as needed and then tighten screws.

    • Mounting screen:

    • Mount the screen using the original torx screws used the mount the OEM panel.

    • Plug the LVDS cable into the logic board.

    • Reassembly and test:

    • Double check everything and once you are confident everything went well, install the front bezel.

    • Attach the power cable, and hit the power button.

    • You should now be greeted by a white screen and the Apple logo.

    • It should now be apparent if any alignment adjustments need to be made.

  20. iMac Intel 17" UniMac V4 Adapter Kit: step 23, image 1 of 2 iMac Intel 17" UniMac V4 Adapter Kit: step 23, image 2 of 2
    • Trouble:

    • Should you have any install issues please contact Adam@realmacmods.com for assistance.

Finish Line

5 other people completed this guide.

senordingdong

Member since: 08/17/11

478 Reputation

2 Guides authored

2 Comments

Very easy repair. Thank you!

Chris - Reply

My replacement screen has two wired out puts to put into the ccfl adaptor. The screen is one known to work.

Is correct?

social.media - Reply

Add Comment

View Statistics:

Past 24 Hours: 2

Past 7 Days: 9

Past 30 Days: 38

All Time: 20,199