Introduction
This guide provides step-by-step instructions for replacing the screen of the iHome iBT230. The screen allows the user to clearly see the time display.
What you need
-
-
Remove the four 5.5 mm Phillips Head #00 screws from the bottom of the iBT230.
 Ask FixBot
-
-
-
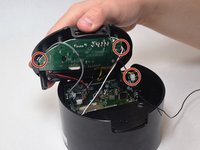
Grip the top of the iBT230 by placing your thumb on the back of the iBT230, where the USB port is located. Pull up, and you should notice different colored wires connected to the Main Motherboard.
-
-
-
-
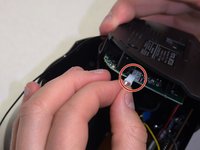
Unplug the connectors from all sides of the iBT230, and unplug the wire that is connected to the screen.
-
-
-
Unscrew the four 5.5 mm Phillips #00 face panel screws from the front screen.
-
-
-
Once the four 5.5 mm Phillips #00 face panel screws come out, slide the screen out vertically. Set the screen aside.
-
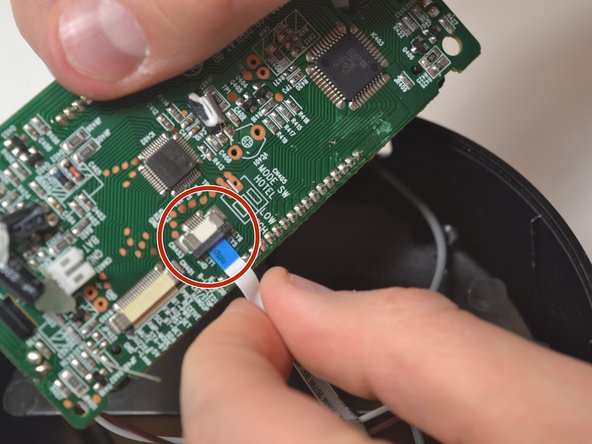
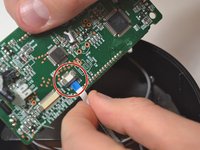
Disconnect the blue tipped ribbon, from the back of the screen.
-


To reassemble your device, follow these instructions in reverse order.
Cancel: I did not complete this guide.
One other person completed this guide.
Team

UW Tacoma, Team S3-G6, Liner Spring 2017 Member of UW Tacoma, Team S3-G6, Liner Spring 2017
UWT-LINER-S17S3G6
4 Members
3 Guides authored