Introduction
These steps go through opening bObi's cover then on to removal of floor and ledge detection sensors. To close bObi, refer to the guide: Closing bObi's Cover Post-Repair
What you need
-
-
Remove bObi’s front wheel to access one of the screws holding bObi together.
-
Uninstall the larger screw that sits deeper in the wheel compartment.
 Ask FixBot
-
-
-
Remove bObi's dustbin.
-
Uninstall the 2 screws close to the bin and 2 smaller screws above her main brushes.
-
-
-
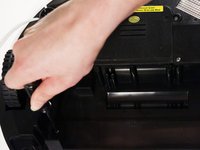
Lift the brush holder. To detach completely, unplug it from bObi.
-
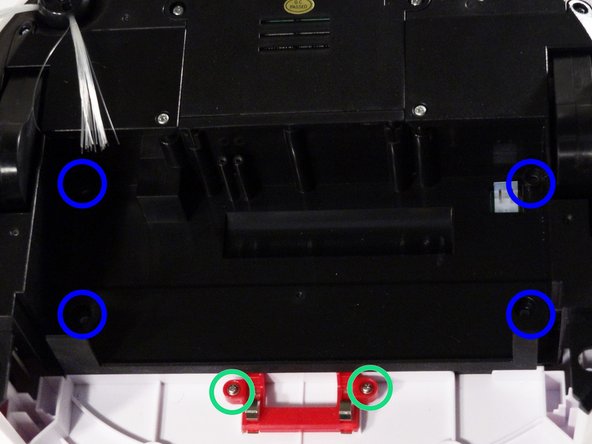
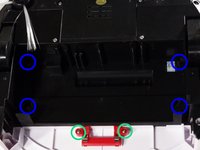
Remove the two screws on the dustbin contact point holder inside bObi.
-
There are 4 screws beneath the main brushes. Uninstall these, and open bObi up to expose her main circuit board.
-
-
-
-
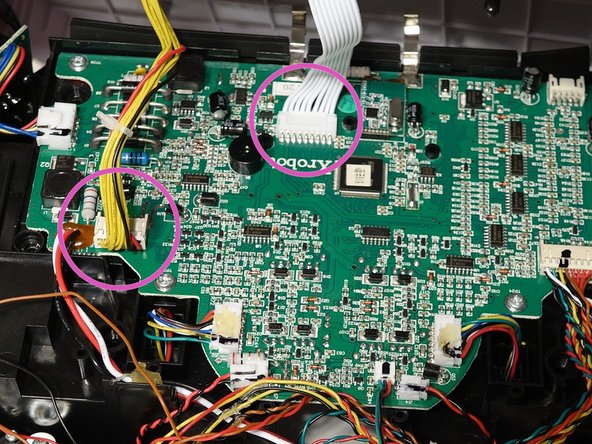
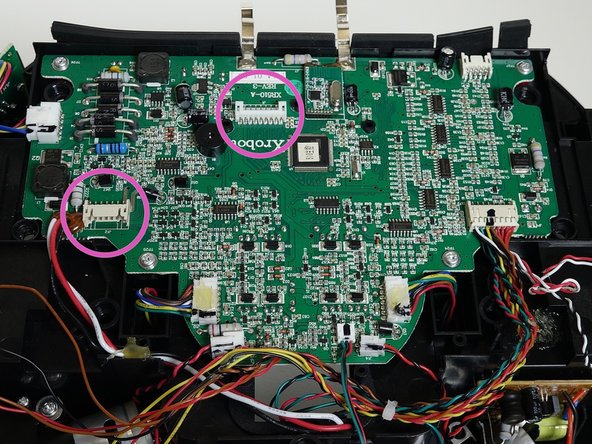
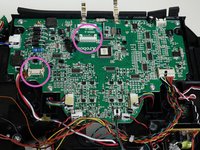
Detach the two circuit plugs connecting bObi's cover to the main board and the cover will be completely removed.
-
-
-
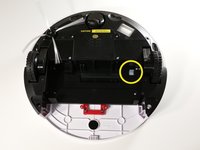
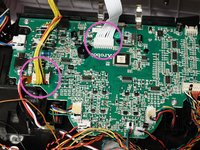
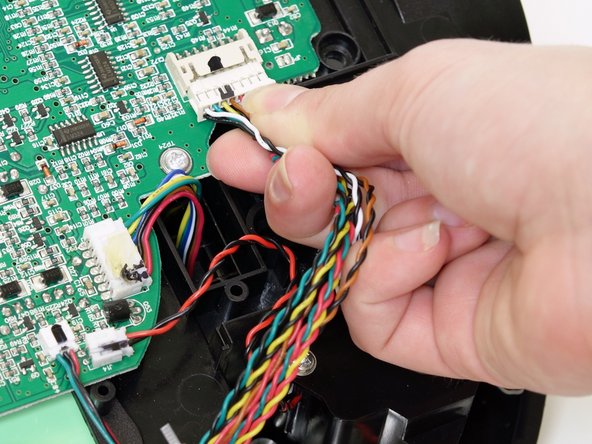
The four floor detecting sensors plug in on the left of bObi’s front wheel. Pull to unplug it.
-
If the wires are glued down to bObi’s frame, simply pull up to detach them, then remove the circuit plug.
-
-
-
There is one screw holding each floor sensor in place. Remove all and lift the sensor pieces out.
-
Do not remove the clear sensor covers from the two centre spaces on bObi.
-
Remove the clear covers on the outer two floor sensors and place them on your replacement pieces.
-
-
-
Place your new ground sensors in the open spaces and install one screw on each. You may add glue or electrical tape to the new wheel’s circuit plug for an extra secure hold while bObi works.
-
Attach the circuit plug to bObi’s main board, and the repair is complete. For instructions on closing bObi, see Closing bObi's Cover Post-Repair
-


To reassemble your device, follow the guide for Closing bObi.