Introduction
Zotac's bare-bones machines come without Internal Storage or RAM. Here's how to install the Internal Storage.
What you need
-
-
-
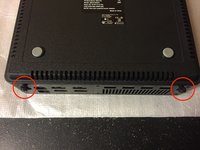
Zotac uses thumb screws to secure the case. No tools required!
-
After you remove the thumb screws, just slide the bottom cover away from you and lift it away.
 Ask FixBot
-
-
-
-
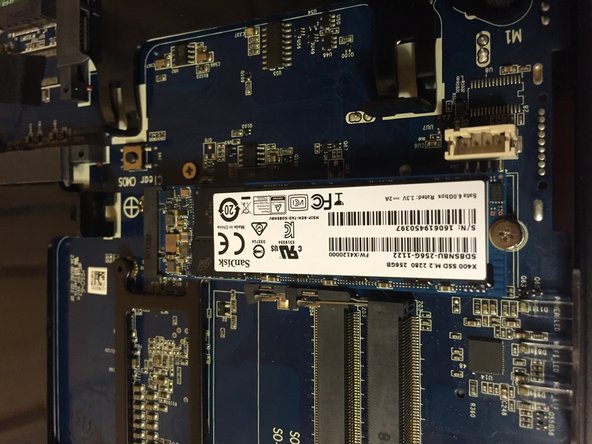
The EN970 has three hard drive connectors: 2 2.5" bays and 1 M.2 bay.
-
There are thumb screws for the 2.5" drives that secure plastic caddies that snap onto your drive
-
-
-
The M.2 drive requires a phillips screwdriver for installation. Your ZBOX should have two screws inserted in two of the three pegs.
-
Remove the screws, insert your drive and use one screw to secure it. Be sure not to over-tighten.
-
-






To reassemble your device, follow these instructions in reverse order.
Cancel: I did not complete this guide.
9 other people completed this guide.

