
Zerotow Remote

Mark Duyvesteyn and one other contributor
Last updated on Jul 8, 2026
Views: 318
View statistics:
- Past 24 Hours:
- 2
- Past 7 Days:
- 11
- Past 30 Days:
- 54
- All Time:
- 318
Comments: 1
1 guide comment.
Go to guide commentsCompleted: 1 2
1 person has marked this guide "completed." Will you be next?
2 people have marked this guide "completed." Including you — great job!
Favorites: 0 1
No one has favorited (and subscribed to) this guide. Will you be the first?
1 person has favorited (and subscribed to) this guide — and that's you!
Community-Contributed Guide
An awesome member of our community made this guide. It was not created by iFixit staff.
Introduction
Go to step 1 ↓Follow this guide to open you remote up and perform basic repairs.
Several problems can be fixed and improvements made to the remote.
- Improve button presses
- Improve range by relocating antenna (older remotes)
- Fix wireless charging
- Loose vibration motor
What you need
Tools


-
-
-
Remove the screws from the perimeter of the remote.
-
Remove the Screws under the buttons first
 Ask FixBot
-
-
-
Use a knife blade or thin scraper to gently separate the cover from the handle assembly.
-
Work slowly around the perimeter until the the cover is free
-
-
-
Gently lift the bottom of the cover
-
With tweezers remove the power plug to the remote. This has the red and black wires to it.
-
-
-
Use tweezers to remove the wireless charger connector. This is a USB micro connector and is very fragile.
-
-
-
Use a syringe with a blunt tip to apply a thin bead of silicone grease to O-ring on the screen.
-
If you do not have a syringe you can use tooth pick or the tweezers to apply the grease.
-
Alternatively you can apply the grease to the handle side of the the remote
-
-
-
Connect the cables as shown
-
On the handle side align the power and charging cables to be as close as possible to their sockets
-
Close the lid and use the tweezer to plug in the power cable first, and then the USB
-
-
-
Once everything is connected, lift up each side of the screen to make sure no cables are going to be pinched.
-
Use tweezers to rearrange the cables if any look like they will be pinched
-
-
-
-
Check all of the remote functionality before screwing it together
-
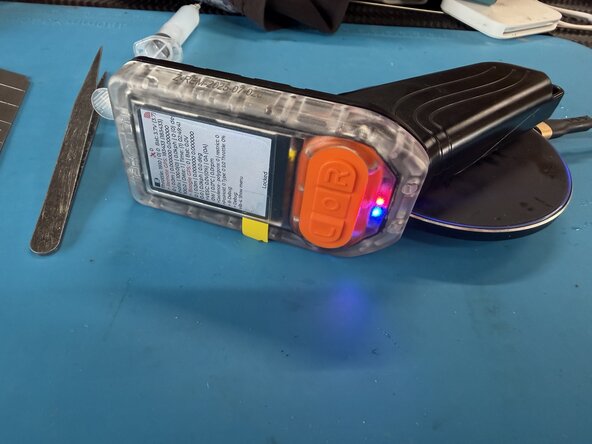
Wireless charging - Blue light turns on when on the charger
-
Throttle works and calibrates
-
Remote GPS works - leave outside for 10 mins and you should see 10+ satellites.
-
Range check to Boogie - greater than 25 meters
-
-
-
Start with the underside screws first, then the two on the front
-
Loosly tighten all the screws in the remote
-
work your way around the remote, tighten the screws a little bit more each time. Do not apply too much force as the screws can strip out the plastic easily.
-
-
-
Submerge the remote in FRESH water for 30 mins to ensure there is no leaks before use in salt water.
-
-



Cancel: I did not complete this guide.
One other person completed this guide.

