
Acer Aspire E1-510-2500 Motherboard Replacement

Sebastian Taylor and 2 other contributors
Last updated on May 7, 2024
Views: 3K
View statistics:
- Past 24 Hours:
- 3
- Past 7 Days:
- 26
- Past 30 Days:
- 110
- All Time:
- 3,042
Comments: 1
1 guide comment.
Go to guide commentsCompleted: 2 3
2 people have marked this guide "completed." Will you be next?
3 people have marked this guide "completed." Including you — great job!
Favorites: 0 1
No one has favorited (and subscribed to) this guide. Will you be the first?
1 person has favorited (and subscribed to) this guide — and that's you!
Incorrect Tools
Help make this guide better by using the correct tools in images and/or text.
Introduction
Go to step 1 ↓The motherboard is a large and central part of a laptop. Most of the components connect or interface with the motherboard in some way. This guide will show you how to remove it correctly.
What you need
Tools
-
Spudger4.9
-


-
-
-
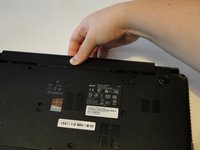
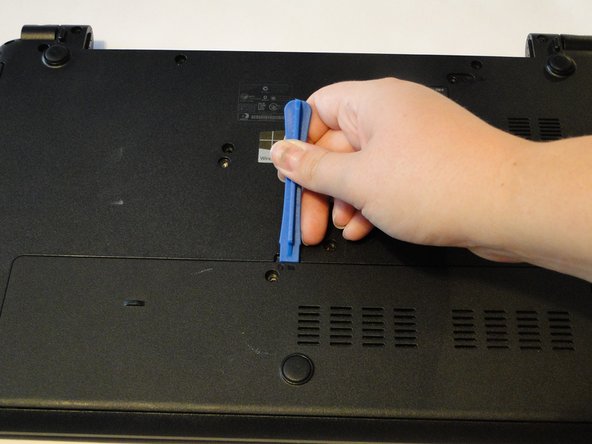
Insert a spudger into the battery release latch.
-
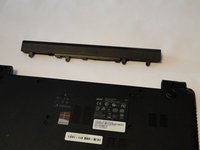
Slide the battery release latch to the right, this will eject the battery for safe removal.
-
-
-
-
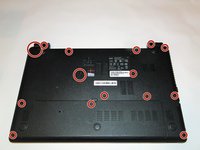
Using a Phillips 1 screwdriver, remove the 17 9 mm screws from the bottom of the laptop, including the one in the back panel.
-
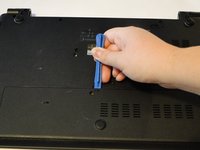
Using a plastic opening tool, carefully remove the back panel.
-
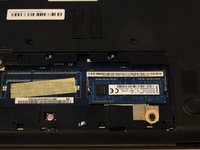
Remove the 9mm screw under the back panel.
-
-
-
Using a plastic opening tool, carefully separate the frame along the edges of the laptop. This should separate the keyboard assembly from the bottom portion of the laptop.
-
-
Tool used on this step:Tweezers$4.99
-
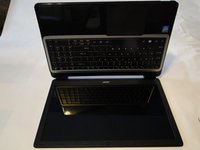
Open the laptop, leaving the screen flat on the table.
-
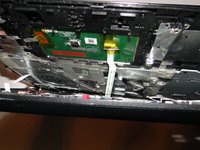
Carefully pull the keyboard assembly out away from the base of the laptop. There should be three connections visible in the gap between the keyboard assembly and the base.
-
Using tweezers, carefully detach the connections from the base.
-
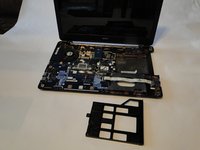
Place the keyboard assembly and the disk tray place holder aside.
-
-
-
-
Remove the six wire connections to the motherboard.
-
Remove the tape connection by lifting the plastic black holding piece and carefully pulling the tape out of it's slot.
-
-
-
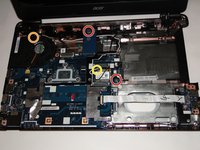
Using a Phillips 1 screwdriver, remove the two 5mm screws from the motherboard.
-
Using a Phillips 1 screwdriver, remove the black 5mm screw from the fan.
-
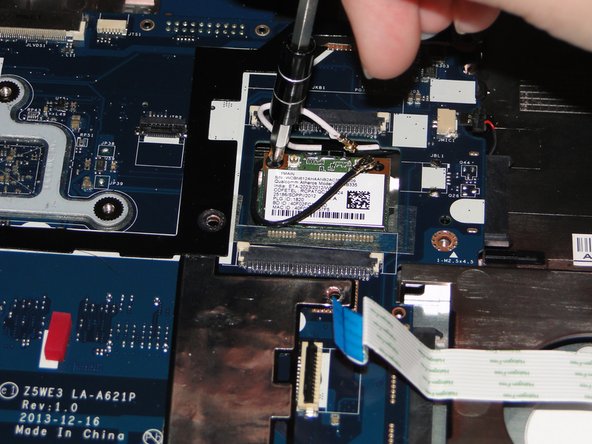
Using a Phillips 1 screwdriver, remove the black 3mm screw from the WiFi card.
-
-

 Ask FixBot









To reassemble your device, follow these instructions in reverse order.
Cancel: I did not complete this guide.
2 other people completed this guide.

Team

UMass Dartmouth, Team S2-G5, Julie Fall 2017 Member of UMass Dartmouth, Team S2-G5, Julie Fall 2017
UMASSD-JULIE-F17S2G5
3 Members
72 Guides authored
1 Guide Comment
The wude blue touchpad ribbon is difficult to use, what is the correct way to remove/replace it?
