Introduction
If you need to learn how to replace the front camera on your ZTE Maven z812 smartphone, follow this guide. The front camera will need to be replaced if it has been damaged and can no longer take pictures.
The front camera on the ZTE Maven z812 is known as the main camera, located on the back interior of the phone. It has 5 mega pixels, featuring auto focus, video calling, and video sharing.
While following the guide, you will need to pay close attention to steps 2 and 4 because you will be working with small, delicate parts. Step 2 requires you to remove 2mm OEm screws to get to the front camera. For step 4, when prying the camera up with the tweezers, make sure to pull gently, ensuring that delicate parts around the camera (e.g ribbon and small screws) aren’t damaged.
Be sure to disconnect the phone from any external power sources before removing or replacing any parts of the phone.
What you need
-
Tool used on this step:Tweezers$4.99
-
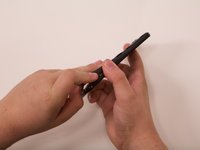
Remove the SIM card from the right side of the device using a pair of tweezers.
-
-
-
-
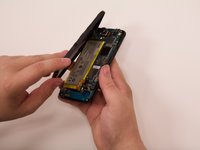
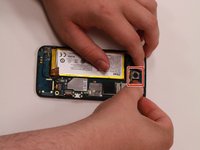
Remove the seven 2mm Phillips #00 screws from the midframe of the device.
-
-
-
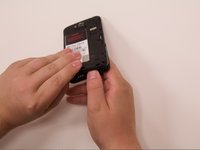
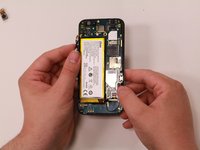
Use an opening tool or fingers to separate the midframe covering the rest of the device starting at the top corner.
-
-
Tool used on this step:Tweezers$4.99
-
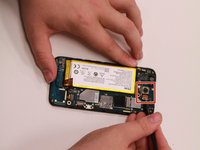
Use a pair of tweezers to carefully detach the ribbon cable connecting the camera to the motherboard.
-
Using the tweezers or your fingers, firmly pull up to remove the camera from the phone.
-


To reassemble your device, follow these instructions in reverse order.
Team

Grand Valley State University, Team S1-G4, DeVasto Fall 2019 Member of Grand Valley State University, Team S1-G4, DeVasto Fall 2019
GVSU-DEVASTO-F19S1G4
4 Members
10 Guides authored