Introduction
Use this guide to help you replace your device's broken or cracked camera lens.
Once you successfully replace the camera lens, your device should now take higher quality pictures and videos.
What you need
-
-
Remove the back cover using the notch at the bottom of the device.
-
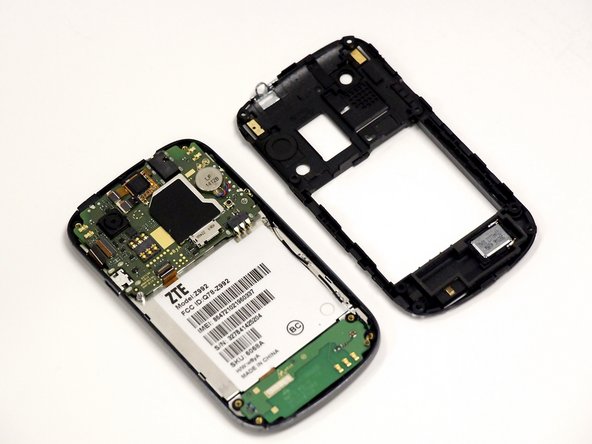
Pull the back cover from the front panel gently to remove it.
 Ask FixBot
-
-
-
Using your J00 screwdriver, unscrew each of the 8 Philips head screws from the black plate of the device.
-
-
-
-
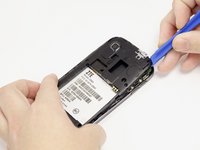
Using the spudger tool, pull up from underneath the back plate and pop off the piece.
-
-
Tool used on this step:Tweezers$4.99
-
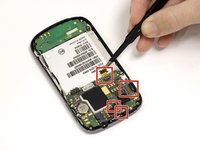
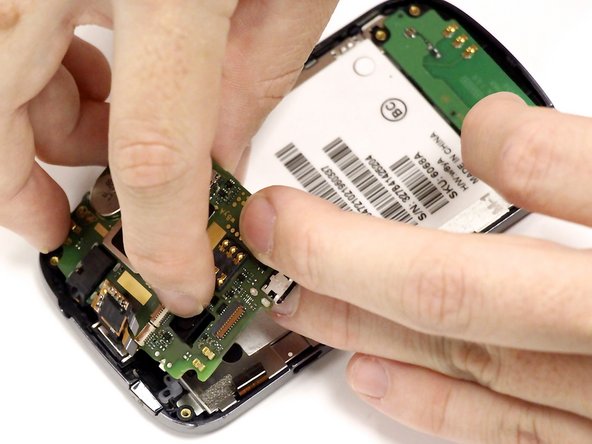
Using the tweezers remove the 4 orange ribbon cables. Do this by lifting their corresponding black connectors and pulling the ribbon out.
-
-
-
On the left side you will see a cellular antenna cable wire. Remove this wire by gently pulling it off.
-
-
-
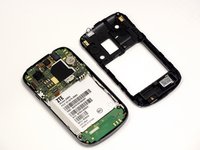
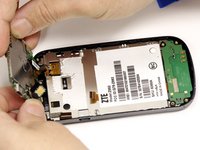
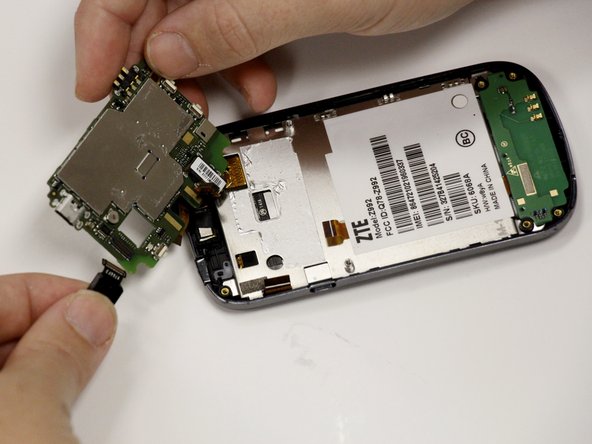
Lift up the motherboard, this may require some force because it is held on by adhesive.
-
This will allow you to access the camera and the camera mount.
-
-
-
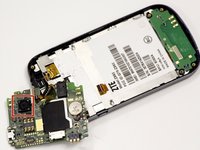
Where you can see the front of the camera lightly push on the camera to remove the camera from its holding. The camera will come through the back.
-
Once out of the holding remove the clip holding it to the underside of the motherboard. Now the camera is removed.
-
Once the old camera is removed replace it with the new camera to complete the repair.
-


To reassemble your device, follow these instructions in reverse order.
Cancel: I did not complete this guide.
5 other people completed this guide.
Team

University of Alabama, Team 1-6, Sydow campbell Fall 2015 Member of University of Alabama, Team 1-6, Sydow campbell Fall 2015
UA-SYDOW CAMPBELL-F15S1G6
5 Members
8 Guides authored