
Yamaha YZF-R6 Fan Relay Replacement

Jose Perez 323 and 4 other contributors
Last updated on Jun 27, 2024
Views: 3.4K
View statistics:
- Past 24 Hours:
- 3
- Past 7 Days:
- 37
- Past 30 Days:
- 172
- All Time:
- 3,351
Comments: 0
No one has left comments on this guide. Will you be first?
Go to guide commentsCompleted: 1 2
1 person has marked this guide "completed." Will you be next?
2 people have marked this guide "completed." Including you — great job!
Favorites: 0 1
No one has favorited (and subscribed to) this guide. Will you be the first?
1 person has favorited (and subscribed to) this guide — and that's you!
Introduction
Go to step 1 ↓Overheating is a common issue with motorcycles, often caused by cooling fan failure. This problem is easy to fix and requires only a few tools. To complete this repair, you will need a #1 Phillips-head screwdriver, a flat-head screwdriver, and a hex key set, specifically with a 10mm Allen key.
What you need
Parts
Tools


-
-
-
Use your motorcycle's key to open the rear seat, and remove the seat to access the tool pouch.
 Ask FixBot
-
-
-
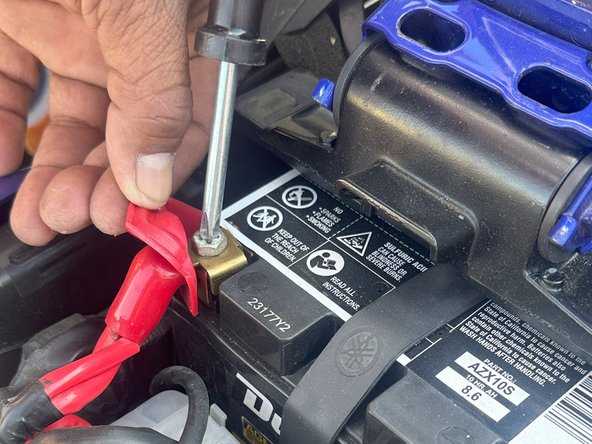
Using a Phillips-head screwdriver, remove the screws attached to the battery terminals.
-
-
-
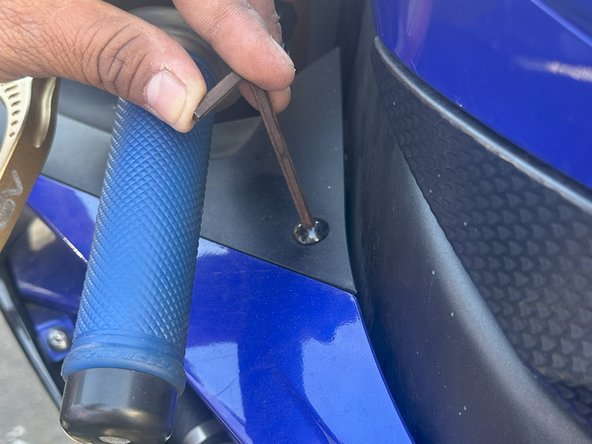
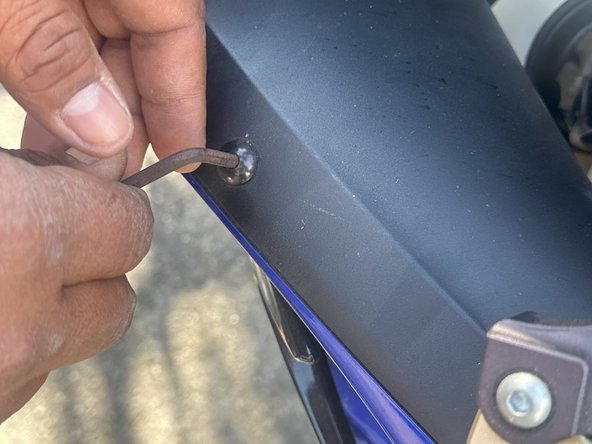
Using the 10mm Allen key, remove the hardware securing the left side fairings.
-
-
-
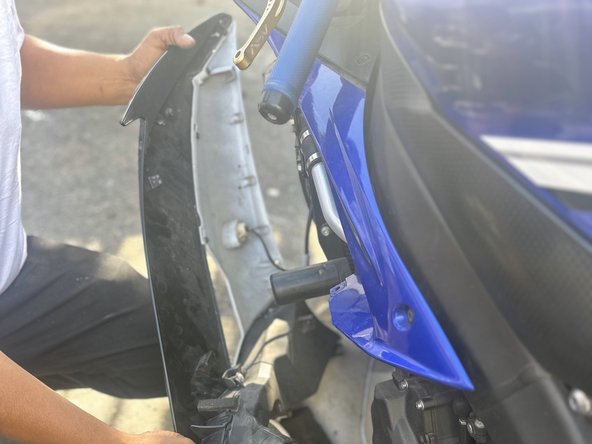
Remove the middle fairing on the left-hand side, and carefully unclip the turn signal cable.
-
-
-
-
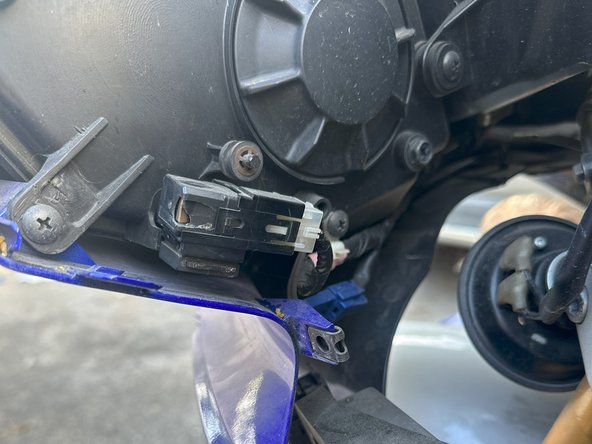
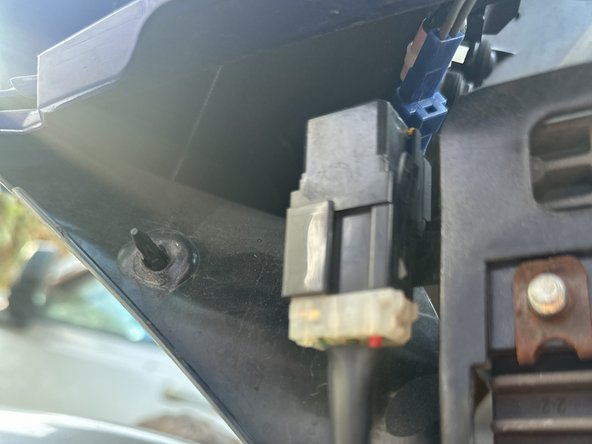
Once you have removed the left-hand cover under the clutch lever, locate the relay assemblies for the lights and cooling fans.
-
-
-
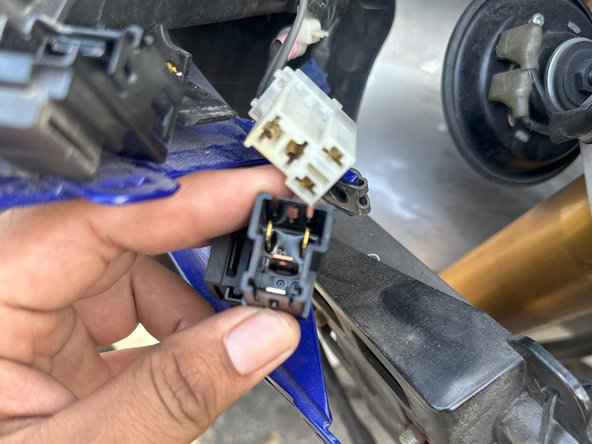
Use a flat-head screwdriver to gently pry the locking mechanism open on the relay assembly. You can remove the relay by itself or with the bracket assembly.
-
-












To reassemble your device, follow these instructions in reverse order.
Cancel: I did not complete this guide.
One other person completed this guide.

Team

CSU Los Angeles, Team 5-18, Kershman Fall 2023 Member of CSU Los Angeles, Team 5-18, Kershman Fall 2023
CSULA-KERSHMAN-F23S5G18
1 Member
12 Guides authored
