Introduction
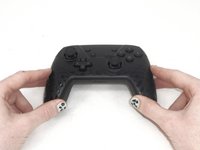
If you need to replace any of the components within the YCCTEAM YCC-SW4001, you will need to remove the front cover first.
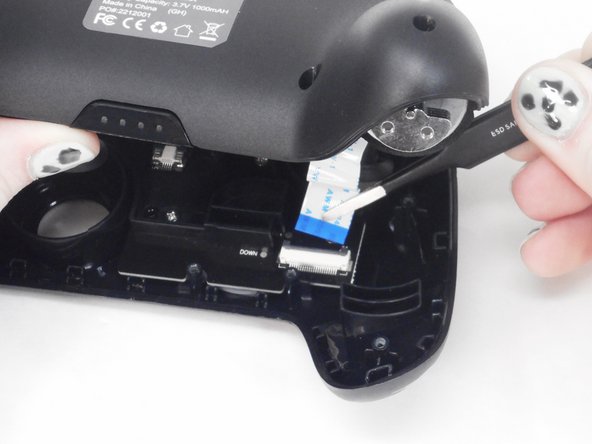
The front cover is an important part of the controller. It includes the ABXY buttons, shoulder buttons, and connects to the back cover via a ribbon cable. This component is often replaced or modified for cosmetic purposes.
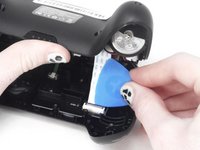
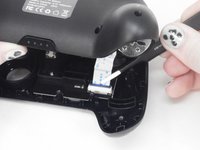
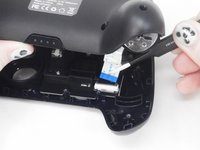
Exercise caution when removing the ribbon cable, as there is a component that needs to be carefully moved and can easily be broken.
What you need
-
-
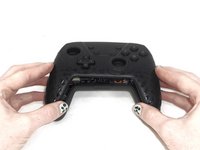
Use a Phillips screwdriver to remove the eight 9.15 mm screws that secure the rear case.
 Ask FixBot
-
-
-
Use a Phillips screwdriver to remove the three 9.15 mm screws from the back of the controller.
-
-
-
-
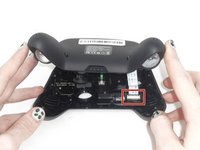
On some models there are two more Phillips head screws on the sides that need to be removed before the front and back panels can be separated.
-
-
-
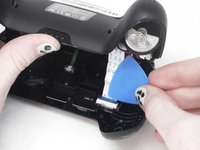
Use the tip of the opening pick to flip up the black locking flap of the ZIF connector.
-


To reassemble your device, follow these instructions in reverse order.
Team

University of Memphis, Team 1-1, Sneed Spring 2024 Member of University of Memphis, Team 1-1, Sneed Spring 2024
UM-SNEED-S24S1G1
3 Members
6 Guides authored