What you need
-
-
Lay the monitor down on a soft surface.
-
Remove the 6 philips size 1 screws along the bottom.
-
-
-
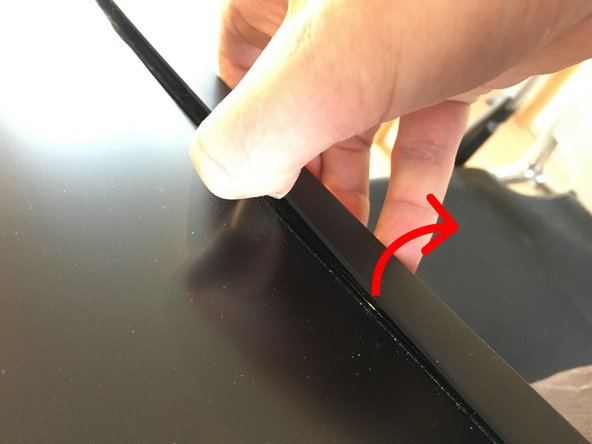
Pry off the bezel by carefully pulling away from the screen and down.
-
-
-
-
Take out the small plastic status led light conductor, so you won't lose it later.
-
-
-
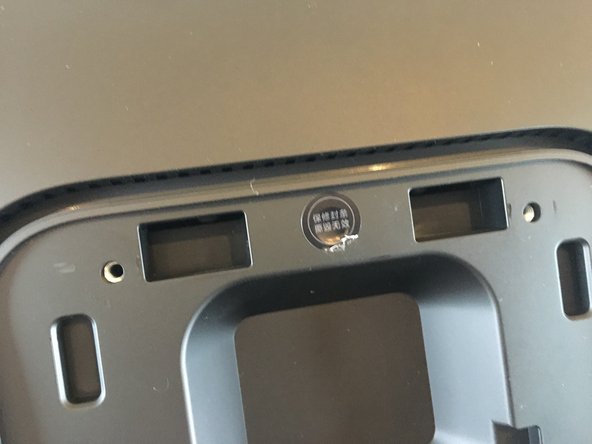
Take out the six philps size 2 screws on the back.
-
One is behind a warrenty sticker. Your warrenty will be void after removing this.
-
-
-
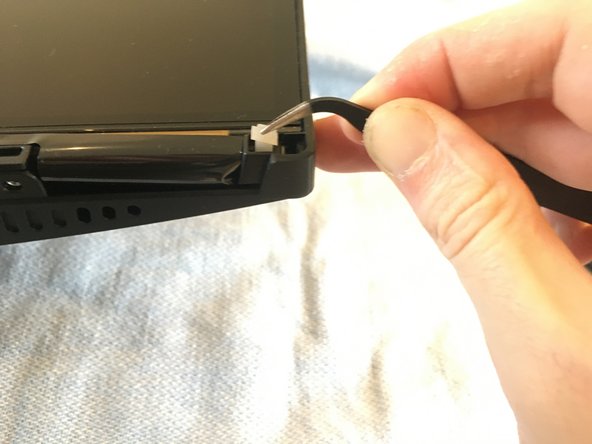
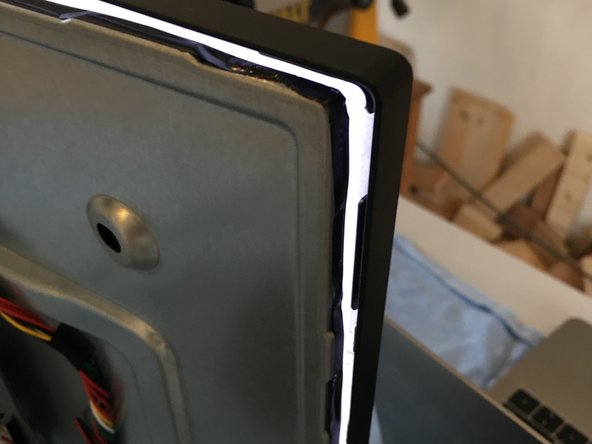
Insert your prying tool between the border piece and back shell. Pry the border outward, and slightly pull up on the back shell to disconnect the clips.
-
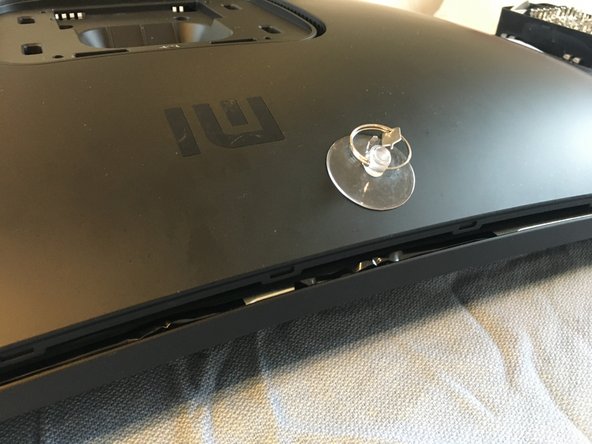
If you have a suction cup, that makes removing the top easier.
-
-
-
Set the panel up straight.
-
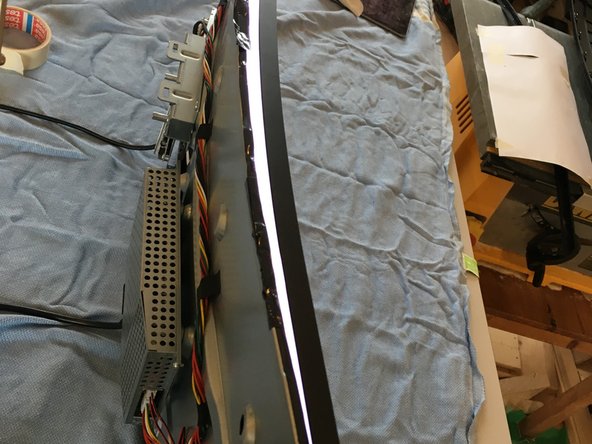
Pull the border slightly out and push it forward to release the plastic clips all around the edge.
-
It's easiest to start at the bottom right or left. You may need the prying tool again for the corner clips.
-
Be careful not to separate the layers too far as they are still connected at the bottom with fragile ribbon cables.
-
You'll be able to peek inbetween the layers to blow out dust or insects that got stuck there.
-
As you can see I had to turn on the monitor in this state to see the dust, but obviously this is not recommended.
-


To reassemble your device, follow these instructions in reverse order.
To reassemble your device, follow these instructions in reverse order.
Cancel: I did not complete this guide.
4 other people completed this guide.

9 Comments
Is there a way to fix up this monitor cracked screen?
I cracked screen as well and searching solution))
gugula12 -
Where can one get a replacement screen?
Same question...is there any store that sells this part ?
cturiel -
Is there any link/store where I can buy the mi 34 inch gaming monitor spare replacement screen? I just broke my one upon 1 week of purchase.