
Sirius Stiletto 2 LCD Display Replacement

Benjamin Her and 2 other contributors
Last updated on Jun 17, 2015
Views: 807
View statistics:
- Past 24 Hours:
- 3
- Past 7 Days:
- 17
- Past 30 Days:
- 93
- All Time:
- 807
Comments: 0
No one has left comments on this guide. Will you be first?
Go to guide commentsCompleted: 1 2
1 person has marked this guide "completed." Will you be next?
2 people have marked this guide "completed." Including you — great job!
Favorites: 1 2
1 person has favorited (and subscribed to) this guide. Will you be next?
2 people have favorited (and subscribed to) this guide — including you!
Introduction
Go to step 1 ↓Replace your LCD display only as a last option. Since the LCD display uses a flexible flat cable(FFC), improperly inserting the cable may cause damage to your device.
What you need
Tools


-
-
-
From the back of the device, slide the back panel downwards to unlock the panel.
-
Lift the panel up, exposing the battery.
 Ask FixBot
-
-
-
-
-
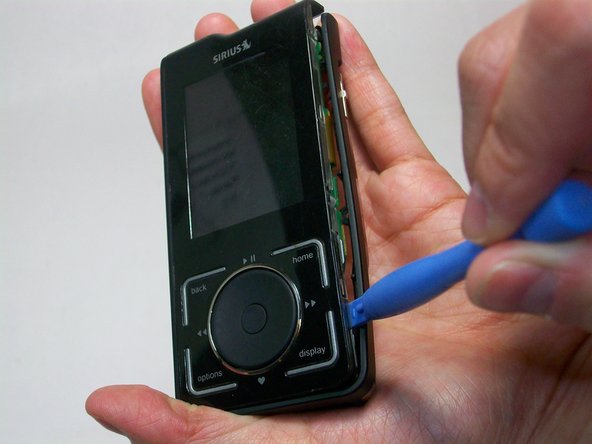
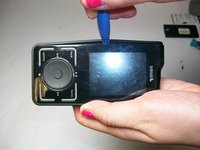
Start by using a plastic opening tool to loosen the front cover from the sides.
-
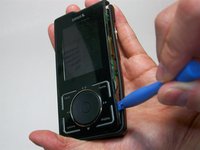
Work your way to the bottom of the cover then the top.
-
Carefully pry the front cover off.
-
-
-
-
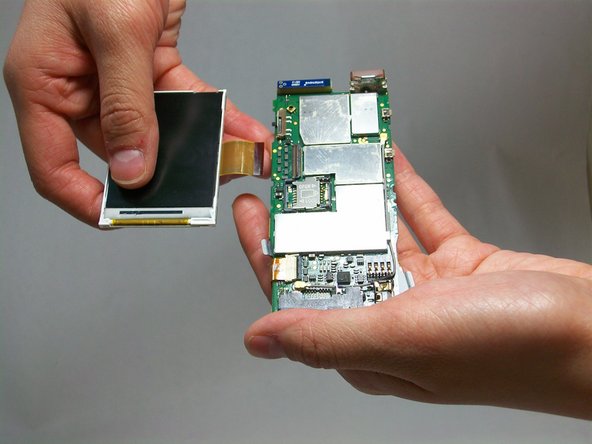
Gently lift the latch on the the ribbon cable connector inward (towards the motherboard).
-
-
-
-
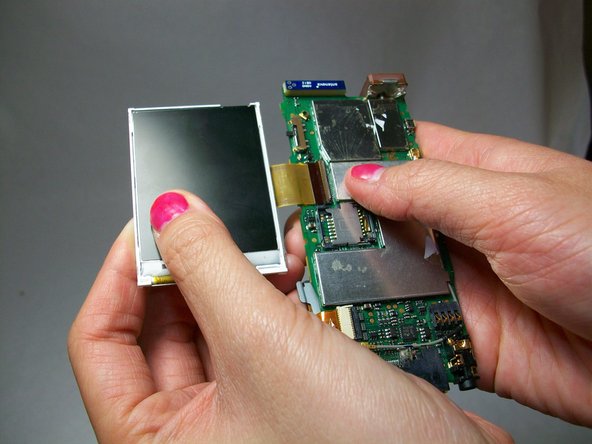
Carefully grip the screen and pull it away from the ribbon connector located on the motherboard.
-
-




To reassemble your device, follow these instructions in reverse order.
Cancel: I did not complete this guide.
One other person completed this guide.

Team

USF Tampa, Team 6-6, Brown Winter 2015 Member of USF Tampa, Team 6-6, Brown Winter 2015
USFT-BROWN-W15S6G6
4 Members
60 Guides authored
