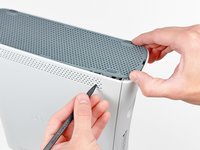
Xbox 360 Lower Case Replacement

What you need

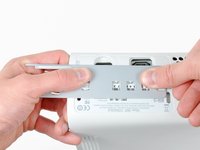
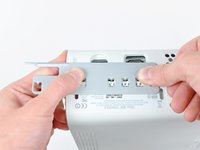
  1. Xbox 360 Lower Case Replacement, Hard Drive: step 1, image 1 of 2 Xbox 360 Lower Case Replacement, Hard Drive: step 1, image 2 of 2
    • Grasp the hard drive assembly and press the release button while lifting its front edge.

    • Remove the hard drive assembly from the top vent.

  2. Xbox 360 Lower Case Replacement, Bottom Vent: step 2, image 1 of 1
    Tool used on this step:
    Xbox 360 Opening Tool
    $4.99
    Buy
    • Stand the console vertically with the bottom edge facing up.

    • Throughout the following opening procedure, the finger of an Xbox 360 opening tool can be used in place of a spudger.

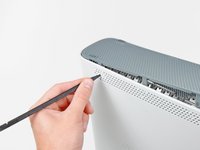
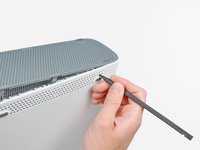
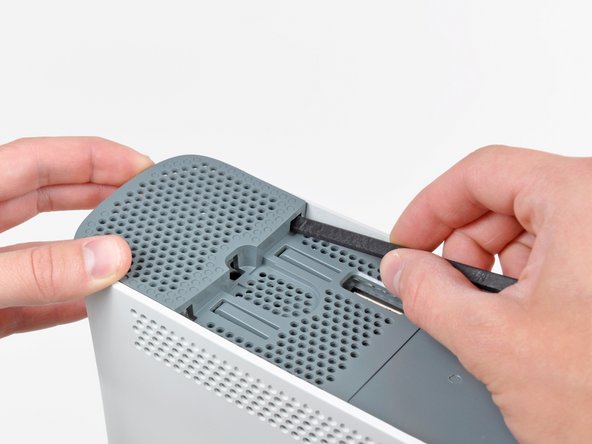
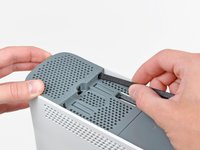
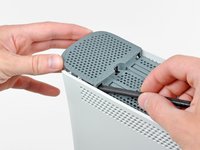
    • Insert the flat end of a spudger or the edge of an Xbox 360 opening tool into the small gap at the front edge of the bottom vent.

    • Pry the front edge of the bottom vent away from the faceplate.

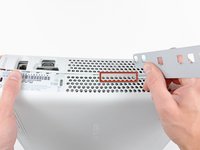
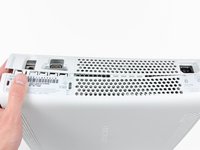
  3. Xbox 360 Lower Case Replacement: step 3, image 1 of 3 Xbox 360 Lower Case Replacement: step 3, image 2 of 3 Xbox 360 Lower Case Replacement: step 3, image 3 of 3
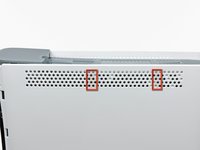
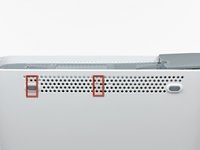
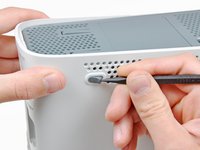
    • In the next few steps, you will use the tip of a spudger or the finger of an Xbox 360 opening tool to release the clips along the left and right sides of the bottom vent. Their locations are highlighted in red.

    • You will insert the tool into the holes molded into the white plastic side case pieces.

  4. Xbox 360 Lower Case Replacement: step 4, image 1 of 2 Xbox 360 Lower Case Replacement: step 4, image 2 of 2
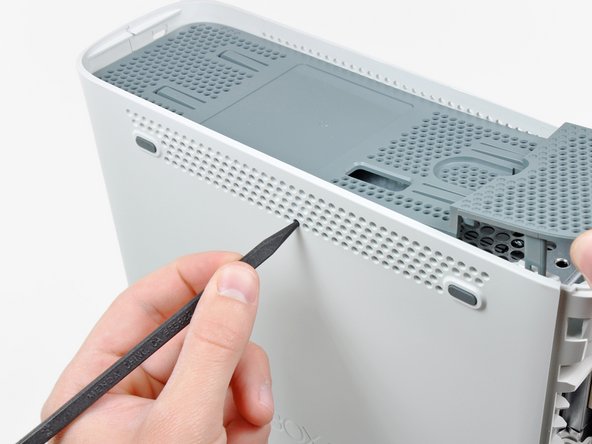
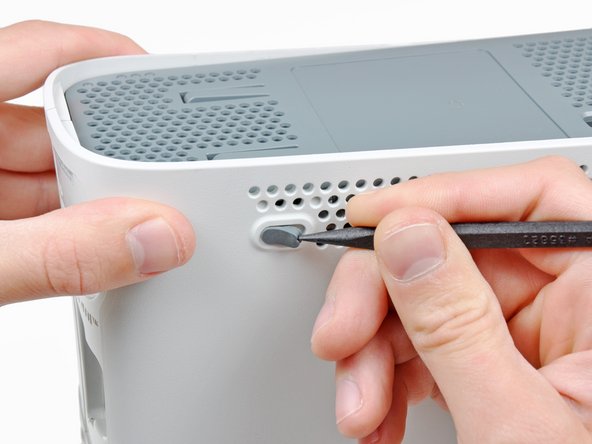
    • To release the clips, work from the front edge of the bottom vent.

    • While slightly lifting the front edge of the bottom vent, use the tip of a spudger to push the clips closest to the front of the bottom vent towards the inside of the console.

  5. Xbox 360 Lower Case Replacement: step 5, image 1 of 2 Xbox 360 Lower Case Replacement: step 5, image 2 of 2
    • Repeat the same process to release the two center clips on the bottom vent.

  6. Xbox 360 Lower Case Replacement: step 6, image 1 of 2 Xbox 360 Lower Case Replacement: step 6, image 2 of 2
    • Use the tip of your spudger to release the clips on the bottom vent nearest the back of the Xbox.

  7. Xbox 360 Lower Case Replacement: step 7, image 1 of 1
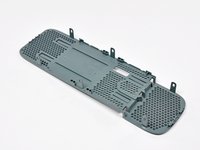
    • Remove the bottom vent from the 360.

  8. Xbox 360 Lower Case Replacement, Faceplate: step 8, image 1 of 2 Xbox 360 Lower Case Replacement, Faceplate: step 8, image 2 of 2
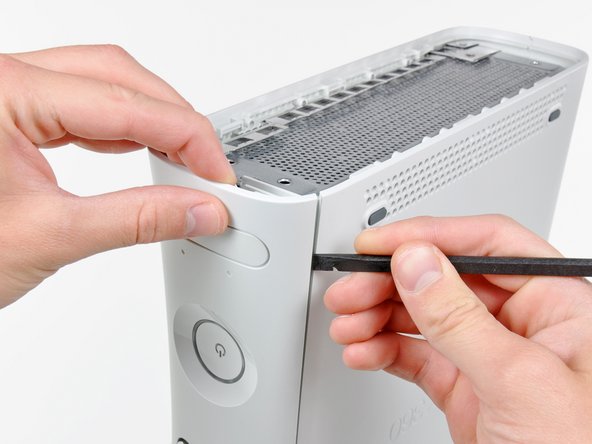
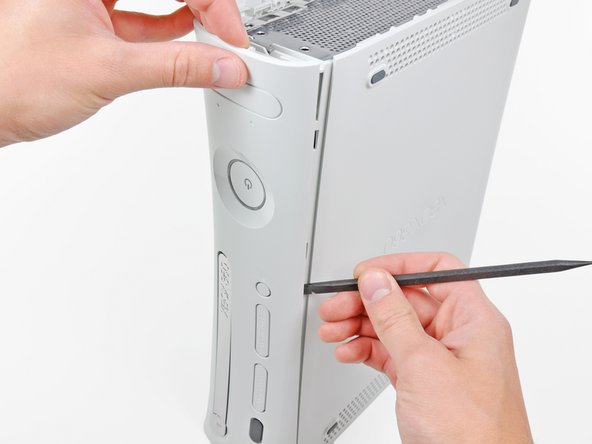
    • Insert the flat edge of a spudger between the faceplate and the outer casing near the power button.

    • Run your spudger along the edge of the faceplate to release the clips securing it to the front of the console.

    • You may also accomplish this task by using the edge of the Xbox 360 opening tool, but it may scratch the plastic case.

    • Alternatively, you can use your hands to carefully pull the faceplate away from the Xbox.

  9. Xbox 360 Lower Case Replacement: step 9, image 1 of 1
    • Repeat the same motions as previously mentioned to release the left side of the faceplate.

  10. Xbox 360 Lower Case Replacement: step 10, image 1 of 1
    • Remove the faceplate from the front face of the console.

  11. Xbox 360 Lower Case Replacement, Top Vent: step 11, image 1 of 2 Xbox 360 Lower Case Replacement, Top Vent: step 11, image 2 of 2
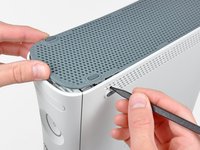
    • Stand the console vertically with the top edge facing up.

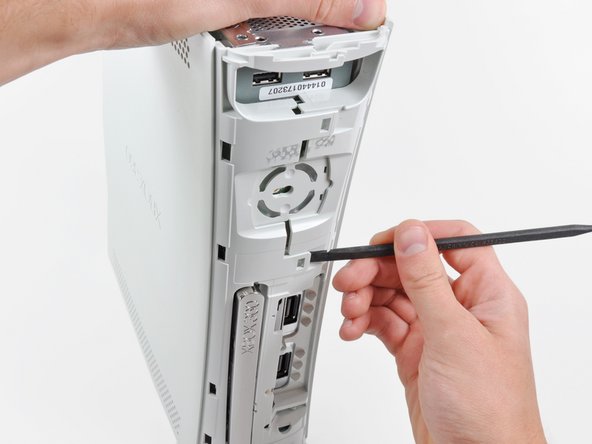
    • The top vent is secured to the console via clips. The first two clips are located underneath the top vent closest to the faceplate, as shown in the pictures.

  12. Xbox 360 Lower Case Replacement: step 12, image 1 of 2 Xbox 360 Lower Case Replacement: step 12, image 2 of 2
    • Insert the flat end of a spudger into the small gaps previously mentioned to release the clips.

    • You may also use the long finger of an Xbox 360 opening tool to accomplish this task.

  13. Xbox 360 Lower Case Replacement: step 13, image 1 of 3 Xbox 360 Lower Case Replacement: step 13, image 2 of 3 Xbox 360 Lower Case Replacement: step 13, image 3 of 3
    • In the next few steps, you will use the tip of a spudger or the finger of an Xbox 360 opening tool to release the clips along the left and right sides of the top vent. Their locations are highlighted in red.

  14. Xbox 360 Lower Case Replacement: step 14, image 1 of 2 Xbox 360 Lower Case Replacement: step 14, image 2 of 2
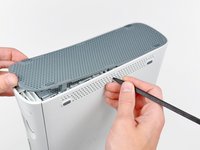
    • To release the clips, work from the middle of the top vent.

    • While slightly lifting the front edge of the top vent, use the tip of a spudger to push the clips closest to the center of the top vent towards the inside of the console.

  15. Xbox 360 Lower Case Replacement: step 15, image 1 of 1
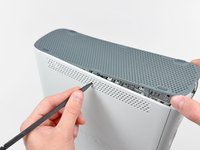
    • Use the tip of your spudger to release the clip on the top vent nearest the back of the Xbox's upper case.

  16. Xbox 360 Lower Case Replacement: step 16, image 1 of 2 Xbox 360 Lower Case Replacement: step 16, image 2 of 2
    • The last clip is hidden underneath the rubber foot nearest the back of the console.

    • Use the tip of your spudger to release the clip on the top vent nearest the back of the Xbox.

    • Remove the top vent from the 360.

  17. Xbox 360 Lower Case Replacement, Lower Case: step 17, image 1 of 1
    • Stand the console vertically with the top edge facing down.

    • Carefully peel the warranty sticker off the console.

  18. Xbox 360 Lower Case Replacement: step 18, image 1 of 3 Xbox 360 Lower Case Replacement: step 18, image 2 of 3 Xbox 360 Lower Case Replacement: step 18, image 3 of 3
    • The upper and lower cases are attached via several latches, located in the front and back of the console. These latches must be disengaged to separate the upper case from the console.

    • Use the flat end of a spudger to release the following latches:

    • Above the front-facing USB ports.

    • Beneath the front-facing USB ports.

    • Above the Memory Unit slots.

  19. Xbox 360 Lower Case Replacement: step 19, image 1 of 1
    • Insert the flat end of a spudger and pry upwards to release the last remaining latch located above the eject button.

  20. Xbox 360 Lower Case Replacement: step 20, image 1 of 1
    • Slightly lift the front portion of the lower case to ensure that the latches in the front have been completely released.

  21. Xbox 360 Lower Case Replacement: step 21, image 1 of 2 Xbox 360 Lower Case Replacement: step 21, image 2 of 2
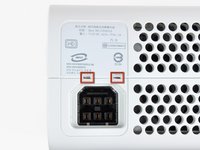
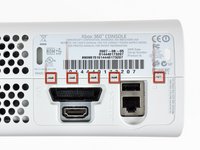
    • The upper and lower cases are held together by seven release latches located on the back of the console. Their locations are highlighted in red.

  22. Xbox 360 Lower Case Replacement: step 22, image 1 of 3 Xbox 360 Lower Case Replacement: step 22, image 2 of 3 Xbox 360 Lower Case Replacement: step 22, image 3 of 3
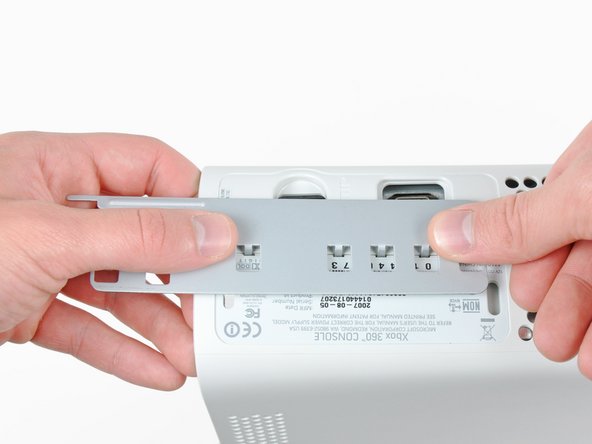
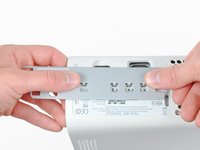
    • Press the Xbox 360 opening tool down into the clips securing the lower case to the upper case near the I/O ports.

    • While pressing down on the tool, push the lower and upper cases apart to separate the retaining clips.

  23. Xbox 360 Lower Case Replacement: step 23, image 1 of 2 Xbox 360 Lower Case Replacement: step 23, image 2 of 2
    • While pushing the upper and lower cases apart, use the tip of a spudger or the finger of an Xbox 360 opening tool to push the long clip highlighted in red toward the center of the 360.

    • The clip should release, leaving the clips near the power connector as the only thing holding the upper and lower cases together.

  24. Xbox 360 Lower Case Replacement: step 24, image 1 of 1
    • Press the Xbox 360 opening tool down into the two remaining clips near the power connector.

    • Push the upper and lower cases apart to fully release the retaining clips.

  25. Xbox 360 Lower Case Replacement: step 25, image 1 of 1
    • Orient the console so that the front portion is facing downwards.

    • Grasp the back portion of the lower case and lift it upwards to separate it from the console.

    • Be careful not to excessively bend the lower case near the power plug, as it can crack easily.

Conclusion

To reassemble your device, follow these instructions in reverse order.

39 other people completed this guide.

One Comment

Can you also use a spudger to release the back clips or will this damage the case?

Nathan - Reply

Add Comment

View Statistics:

Past 24 Hours: 1

Past 7 Days: 19

Past 30 Days: 73

All Time: 14,398