X-Street STR Viper

Prerequisite Only
This guide is only intended to be used as a prerequisite for other guides. It's incomplete by itself.

What you need

  1. X-Street STR Viper, X-Street STR Viper: step 1, image 1 of 1
    • Remove the four 3 mm screws from the bottom panel using a 3 mm Philips #1 screwdriver.

  2. X-Street STR Viper: step 2, image 1 of 1
    • Use the 3 mm Philips #1 screwdriver to remove the three 3 mm screws that connect the front panel with the main underside panel. Also remove the 6 mm front panel screw.

    • Remove the bottom panel by pulling the plastic tabs from either side of the car.

  3. X-Street STR Viper: step 3, image 1 of 2 X-Street STR Viper: step 3, image 2 of 2
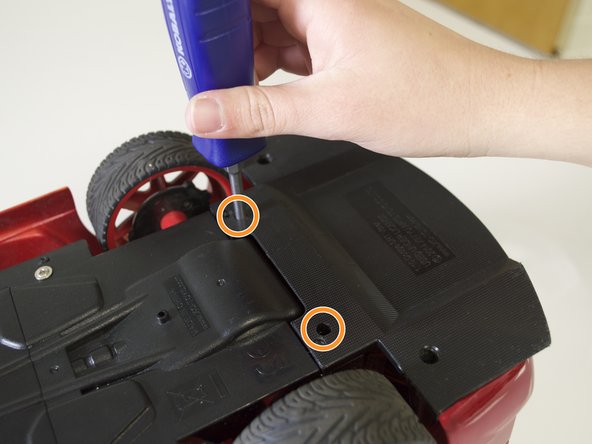
    • Remove the two 6 mm screws and the two 3 mm screws that connect the back panel to the main underside panel.

    • Remove the two 6 mm screws that connect the rear panel to the body of the car.

  4. X-Street STR Viper: step 4, image 1 of 3 X-Street STR Viper: step 4, image 2 of 3 X-Street STR Viper: step 4, image 3 of 3
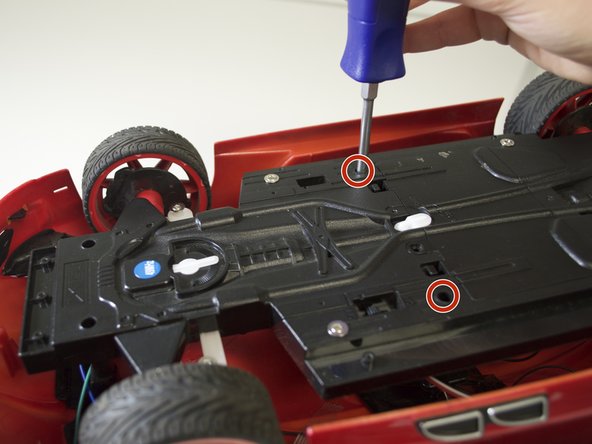
    • Remove the two front 6 mm screws and the two middle 6 mm screws.

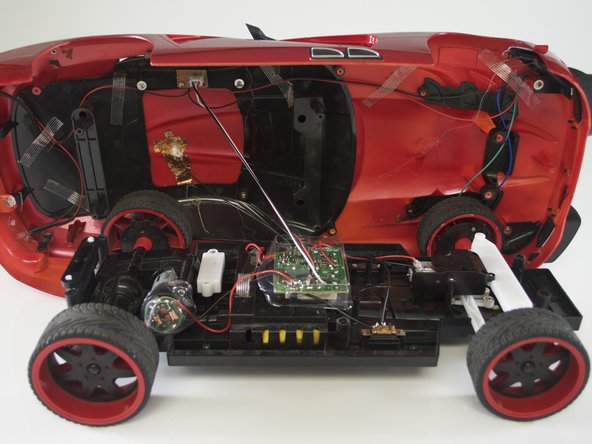
    • Remove the main underside panel carefully. Excessive force could damage or disconnect the fragile wires attached to this piece.

    • Remove the car shell and place it on the left side of the car.

Conclusion

To reassemble your device, follow these instructions in reverse order.

One other person completed this guide.

slcombs

Member since: 04/01/15

223 Reputation

2 Guides authored

Team

Cal Poly, Team 12-6, Lancaster Spring 2015 Member of Cal Poly, Team 12-6, Lancaster Spring 2015

CPSU-LANCASTER-S15S12G6

4 Members

6 Guides authored

0 Comments

Add Comment

View Statistics:

Past 24 Hours: 0

Past 7 Days: 1

Past 30 Days: 1

All Time: 84