
Wiko Getaway Screen Panel Replacement

Alexandre Isaac and 3 other contributors
Last updated on Aug 6, 2024
Views: 3K
View statistics:
- Past 24 Hours:
- 2
- Past 7 Days:
- 13
- Past 30 Days:
- 81
- All Time:
- 2,979
Comments: 0
No one has left comments on this guide. Will you be first?
Go to guide commentsCompleted: 4 5
4 people have marked this guide "completed." Will you be next?
5 people have marked this guide "completed." Including you — great job!
Favorites: 0 1
No one has favorited (and subscribed to) this guide. Will you be the first?
1 person has favorited (and subscribed to) this guide — and that's you!
Community-Contributed Guide
An awesome member of our community made this guide. It was not created by iFixit staff.
What you need
Tools
-
Spudger4.9
-


Video Overview
-
-
-
Broken screen ? that's a pity
-
You'll need hot air. Not too much thought, you'll melt the plastic otherwise
-
Now just pry it open SLOWLY and apply heat.
 Ask FixBot
-
-
-
Nice, I see you've got the cover off
-
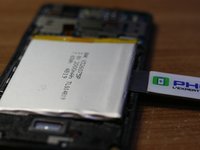
Disconnect the battery (not with a metal tool)
-
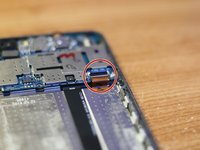
Disconnect the touch screen ribbon (don't pull hard, you have to lift the plastic bit before)
-
-
-
Get the battery out (don't bend it too much)
-
Disconnect the LCD ribbon
-
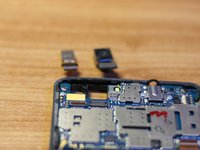
Disconnect the cameras
-
-
-
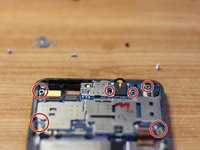
Unscrew anything you see
-
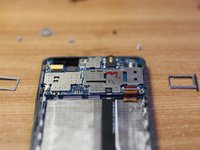
Take the SIM trays out
-
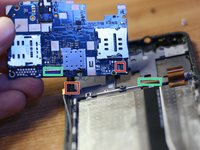
Take the motherboard out. You will have to disconnect to ribbon cables
-
-
-
-
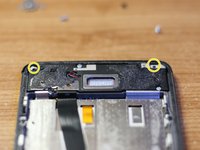
Two screws here
-
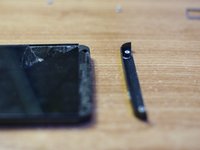
To take this guy out, you can use heat again
-
Aaaaand with more heat, you will get the screen panel out !
-
-






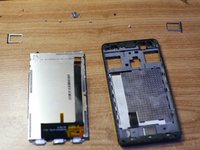
To reassemble your device, follow these instructions in reverse order.
Cancel: I did not complete this guide.
4 other people completed this guide.

