Introduction
The D-pad is an essential part of any controller, therefore it's important that they are well taken care of. D-pad issues occur when there is either a build of dirt or excessive damage to the controller. If any of those issues apply to your controller, this guide will help you restore the controller to its original functionality.
What you need
-
-
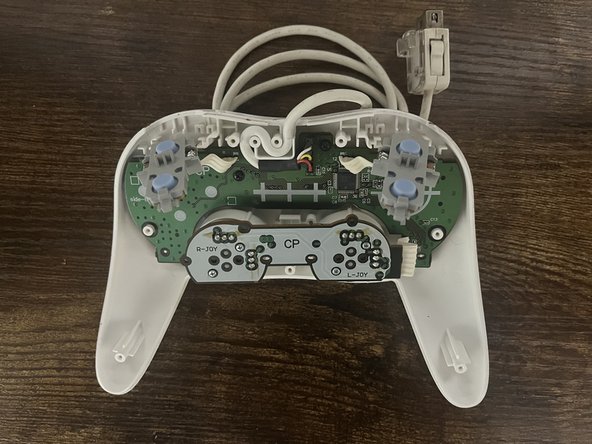
Turn the controller over and locate the 7 screws.
-
Using the 2.5mm Y0 Tri-point screwdriver remove the screws.
-
-
-
-
Put away the old D-pad and get your new D-pad.
-
Insert the new D-pad into the D-pad socket. Ensure that the curves of the D-pad align with the small ridges of the socket.
-
Then place the white silicone button pad on top of the D-pad. The hole on the left should fit into a small tube to secure its position.
-


To reassemble your device, follow these instructions in reverse order.

Team

CSU Los Angeles, Team 5-13, Kershman Fall 2023 Member of CSU Los Angeles, Team 5-13, Kershman Fall 2023
CSULA-KERSHMAN-F23S5G13
1 Member
2 Guides authored