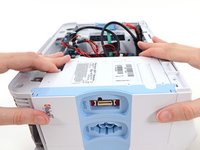
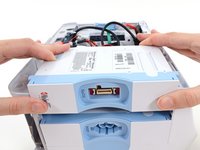
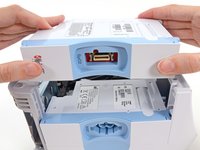
Free Shipping on Domestic Orders $75+

Welch Allyn Connex Vital Signs Monitor 6000 Module Replacement

Medical Equipment
Neither iFixit nor this repair guide is endorsed by or affiliated with the medical device manufacturer.

What you need

  1. Welch Allyn Connex Vital Signs Monitor 6000 Module Replacement, Stand: step 1, image 1 of 2 Welch Allyn Connex Vital Signs Monitor 6000 Module Replacement, Stand: step 1, image 2 of 2
    • Unplug the AC power connection cable.

    Ask FixBot
  2. Welch Allyn Connex Vital Signs Monitor 6000 Module Replacement: step 2, image 1 of 3 Welch Allyn Connex Vital Signs Monitor 6000 Module Replacement: step 2, image 2 of 3 Welch Allyn Connex Vital Signs Monitor 6000 Module Replacement: step 2, image 3 of 3
    • Place your thumb and forefinger on the blood pressure (NIBP) hose connector. Squeeze the side tabs until the connector releases.

    • Always grasp the hose by the connector. Do not pull on the hose itself.

    • Pull the connector away from the connector port.

    Ask FixBot
  3. Welch Allyn Connex Vital Signs Monitor 6000 Module Replacement: step 3, image 1 of 3 Welch Allyn Connex Vital Signs Monitor 6000 Module Replacement: step 3, image 2 of 3 Welch Allyn Connex Vital Signs Monitor 6000 Module Replacement: step 3, image 3 of 3
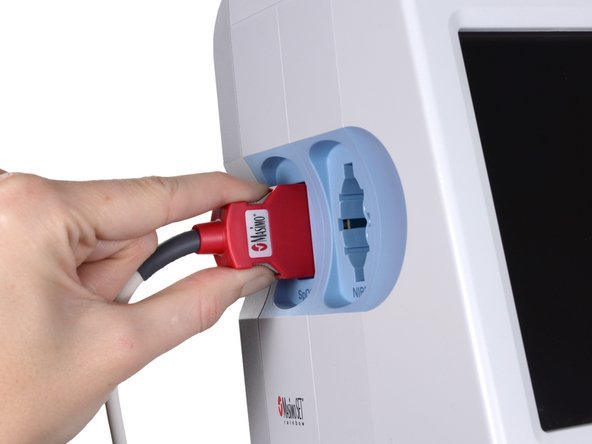
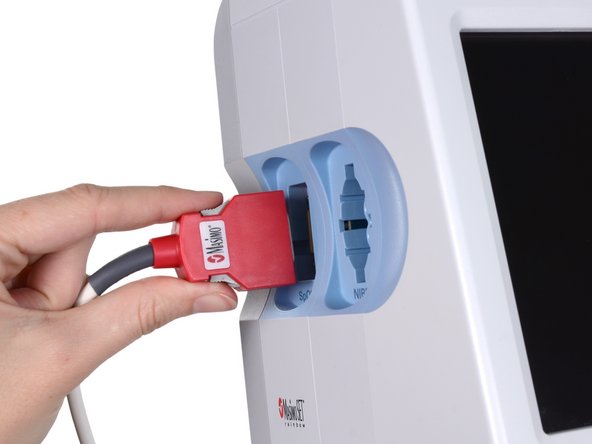
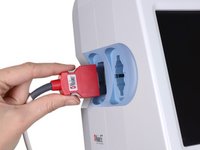
    • Place your thumb and forefinger on the Pulse oximetry (SpO2 or combined SpO2/SpHb) cable connector. Squeeze the side tabs until the connector releases.

    • Always grasp the cable by the connector. Do not pull on the cable itself.

    • Pull the connector away from the connector port.

    Ask FixBot
  4. Welch Allyn Connex Vital Signs Monitor 6000 Module Replacement: step 4, image 1 of 2 Welch Allyn Connex Vital Signs Monitor 6000 Module Replacement: step 4, image 2 of 2
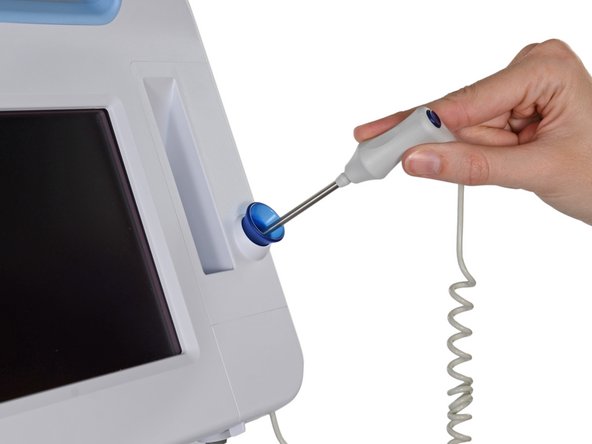
    • Grasp the temperature probe and pull it up to remove it from the monitor.

    Ask FixBot
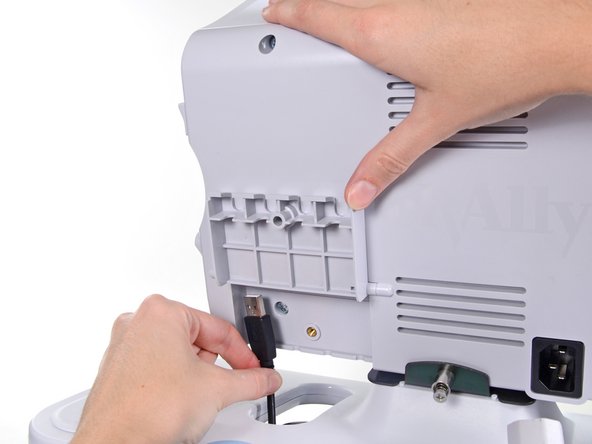
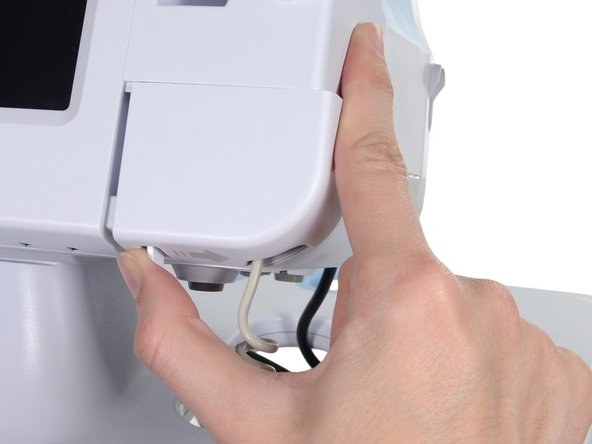
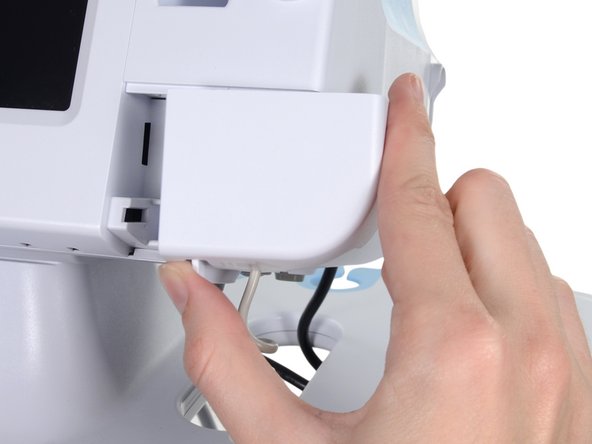
  5. Welch Allyn Connex Vital Signs Monitor 6000 Module Replacement: step 5, image 1 of 3 Welch Allyn Connex Vital Signs Monitor 6000 Module Replacement: step 5, image 2 of 3 Welch Allyn Connex Vital Signs Monitor 6000 Module Replacement: step 5, image 3 of 3
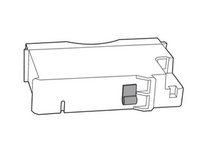
    • Remove the cover of the temperature module by pressing the tab and sliding the cover to the right.

    Ask FixBot
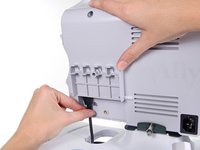
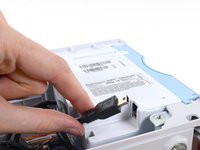
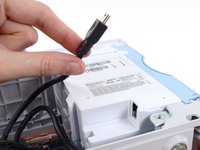
  6. Welch Allyn Connex Vital Signs Monitor 6000 Module Replacement: step 6, image 1 of 3 Welch Allyn Connex Vital Signs Monitor 6000 Module Replacement: step 6, image 2 of 3 Welch Allyn Connex Vital Signs Monitor 6000 Module Replacement: step 6, image 3 of 3
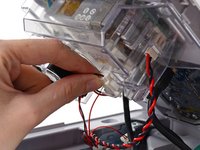
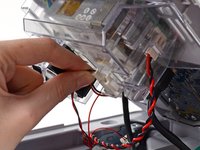
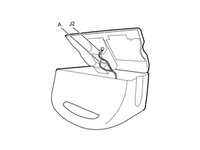
    • Depress the spring tab on the temperature probe cable connector and withdraw it from the probe port.

    Ask FixBot
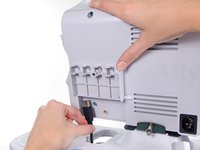
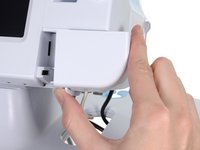
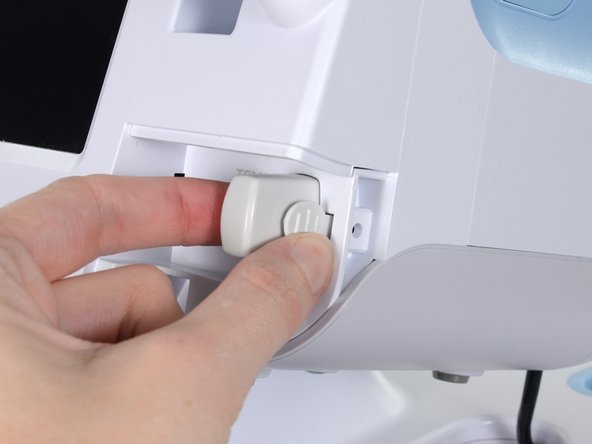
  7. Welch Allyn Connex Vital Signs Monitor 6000 Module Replacement: step 7, image 1 of 1
    • Remove the flathead screw on the USB networking door.

    • Loosen the captive Phillips #2 screw securing the monitor to the stand.

    Ask FixBot
  8. Welch Allyn Connex Vital Signs Monitor 6000 Module Replacement: step 8, image 1 of 1
    • Holding the monitor securely, open the USB networking door.

    • You may have to lift the monitor slightly to allow the door to swing out from the stand mount.

    Ask FixBot
  9. Welch Allyn Connex Vital Signs Monitor 6000 Module Replacement: step 9, image 1 of 2 Welch Allyn Connex Vital Signs Monitor 6000 Module Replacement: step 9, image 2 of 2
    • Detach any accessory USB cables from USB ports on the monitor.

    Ask FixBot
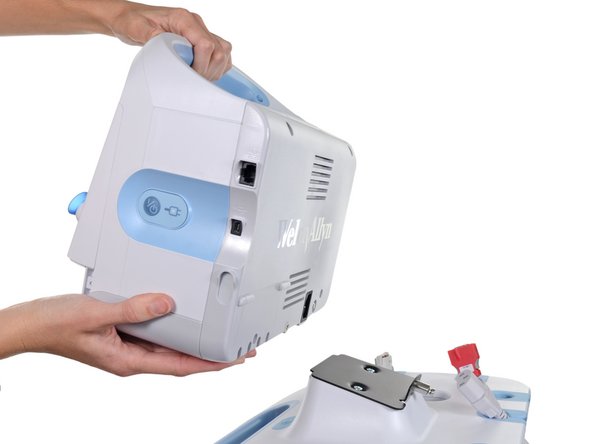
  10. Welch Allyn Connex Vital Signs Monitor 6000 Module Replacement: step 10, image 1 of 3 Welch Allyn Connex Vital Signs Monitor 6000 Module Replacement: step 10, image 2 of 3 Welch Allyn Connex Vital Signs Monitor 6000 Module Replacement: step 10, image 3 of 3
    • Slide the monitor off of the stand tray.

    Ask FixBot
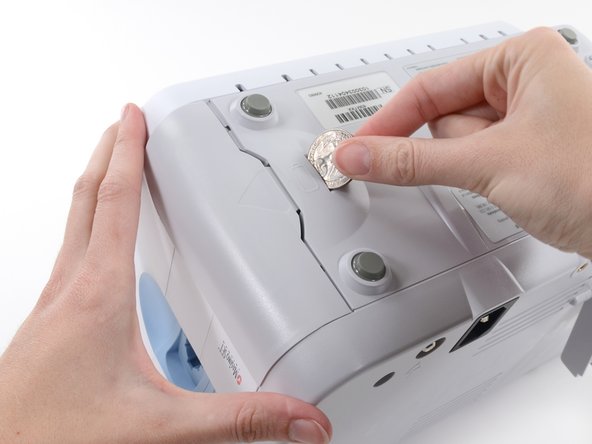
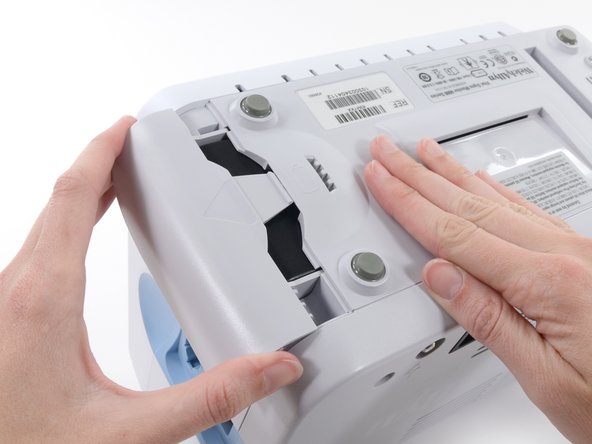
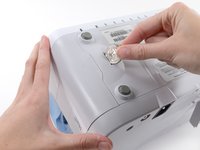
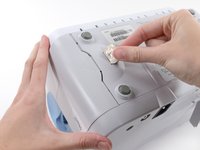
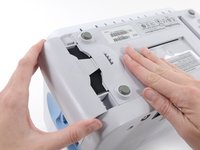
  11. Welch Allyn Connex Vital Signs Monitor 6000 Module Replacement, Battery: step 11, image 1 of 3 Welch Allyn Connex Vital Signs Monitor 6000 Module Replacement, Battery: step 11, image 2 of 3 Welch Allyn Connex Vital Signs Monitor 6000 Module Replacement, Battery: step 11, image 3 of 3
    • Place the monitor upside down on a clean surface.

    • Insert a coin into the slot and push to open.
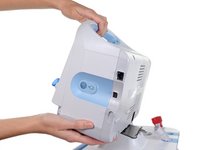
    • Choose a coin that fits comfortably into the slot.

    • Remove the battery cover.

    Ask FixBot
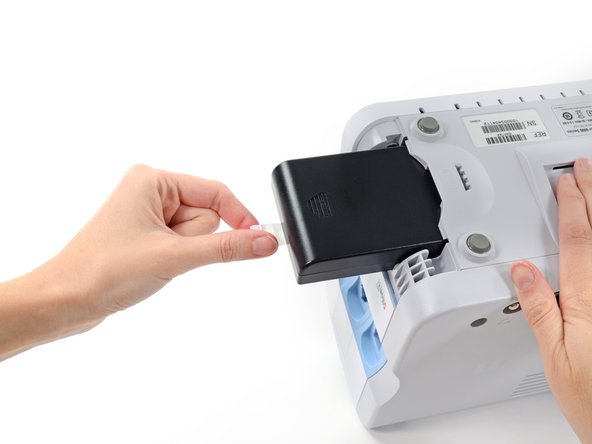
  12. Welch Allyn Connex Vital Signs Monitor 6000 Module Replacement: step 12, image 1 of 3 Welch Allyn Connex Vital Signs Monitor 6000 Module Replacement: step 12, image 2 of 3 Welch Allyn Connex Vital Signs Monitor 6000 Module Replacement: step 12, image 3 of 3
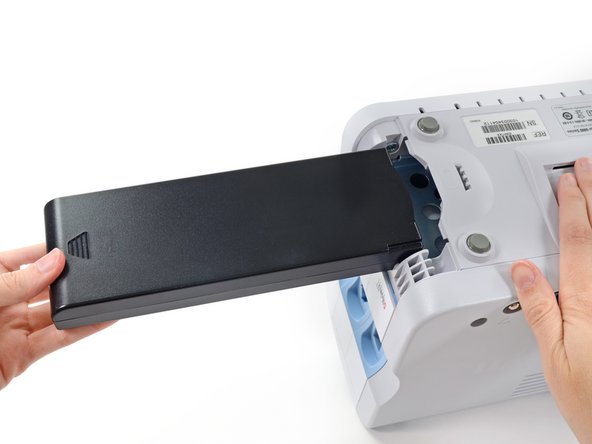
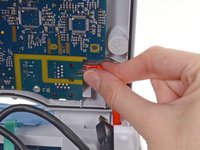
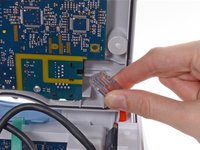
    • Use the plastic label to remove the battery from its recess.

    Ask FixBot
  13. Welch Allyn Connex Vital Signs Monitor 6000 Module Replacement, Rear Housing: step 13, image 1 of 2 Welch Allyn Connex Vital Signs Monitor 6000 Module Replacement, Rear Housing: step 13, image 2 of 2
    • Open the communications door to access the lower left-hand rear housing screw.

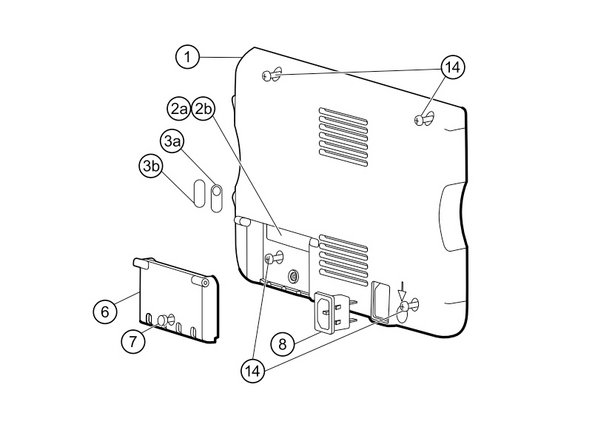
    • Remove the four Phillips #2 screws (labeled 14 in the service manual) from the rear housing.

    Ask FixBot
  14. Welch Allyn Connex Vital Signs Monitor 6000 Module Replacement: step 14, image 1 of 2 Welch Allyn Connex Vital Signs Monitor 6000 Module Replacement: step 14, image 2 of 2
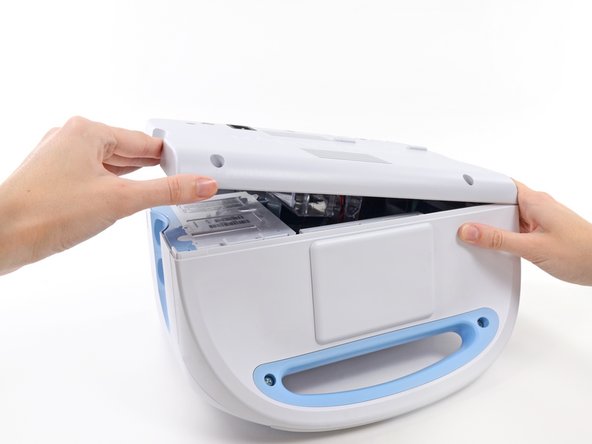
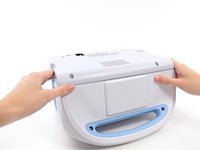
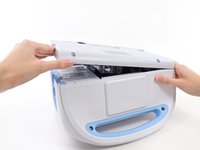
    • With the handle/alert bar facing you, begin to lift the rear housing from the left side, holding the right side securely.

    • Do not attempt to separate the rear housing from the monitor, it is still attached with several cables.

    Ask FixBot
  15. Welch Allyn Connex Vital Signs Monitor 6000 Module Replacement: step 15, image 1 of 1
    • Support the rear housing while you disconnect the cables in the following steps.

    Ask FixBot
  16. Welch Allyn Connex Vital Signs Monitor 6000 Module Replacement: step 16, image 1 of 3 Welch Allyn Connex Vital Signs Monitor 6000 Module Replacement: step 16, image 2 of 3 Welch Allyn Connex Vital Signs Monitor 6000 Module Replacement: step 16, image 3 of 3
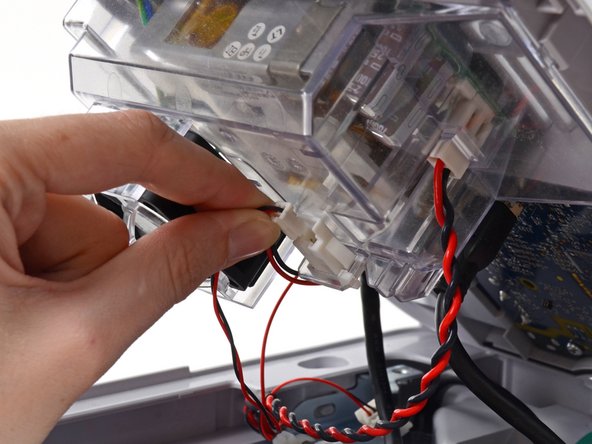
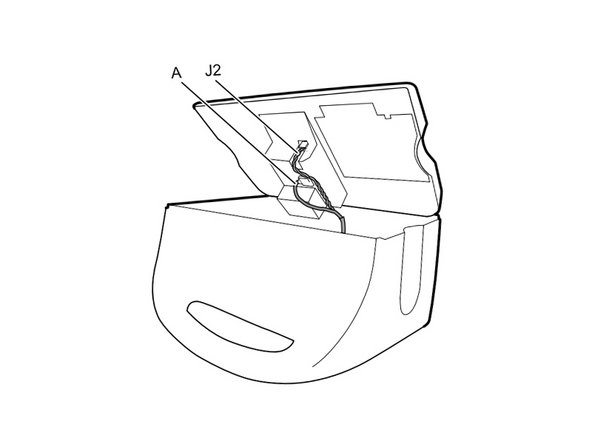
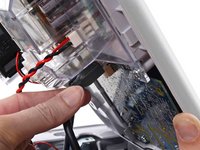
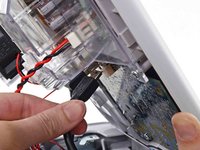
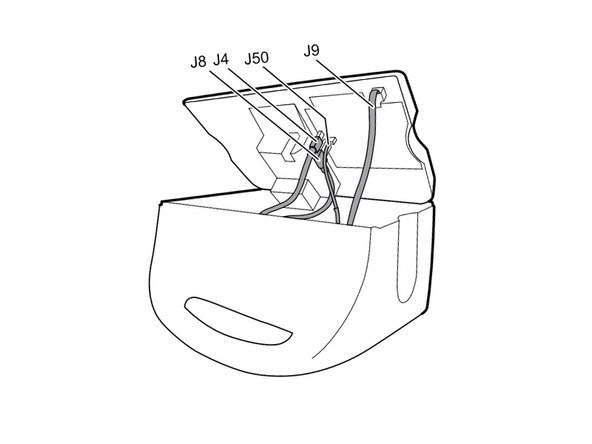
    • Disconnect the fan cable (labeled connector A in the service manual) from its socket in the power supply.

    Ask FixBot
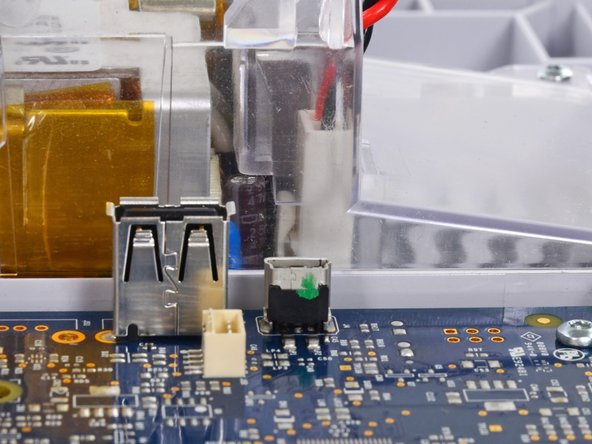
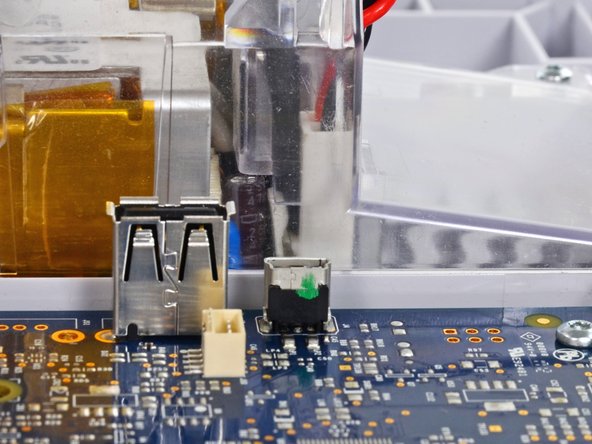
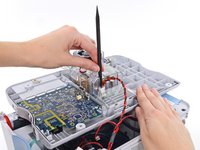
  17. Welch Allyn Connex Vital Signs Monitor 6000 Module Replacement: step 17, image 1 of 3 Welch Allyn Connex Vital Signs Monitor 6000 Module Replacement: step 17, image 2 of 3 Welch Allyn Connex Vital Signs Monitor 6000 Module Replacement: step 17, image 3 of 3
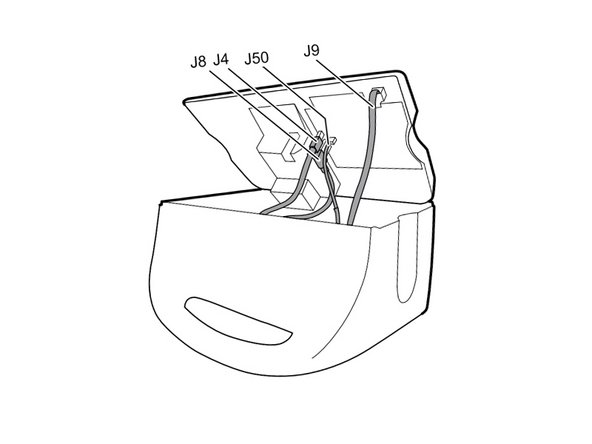
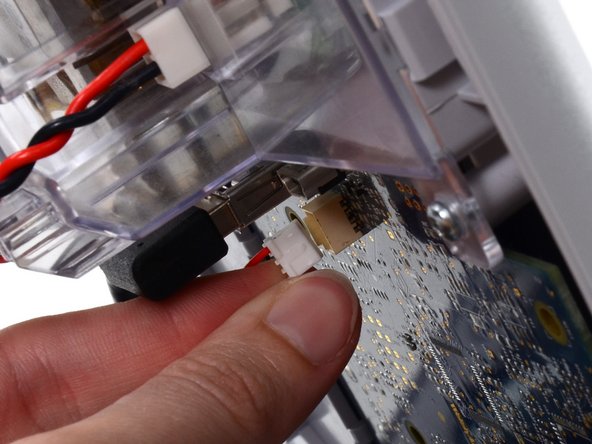
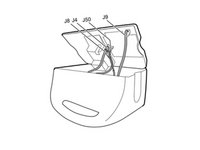
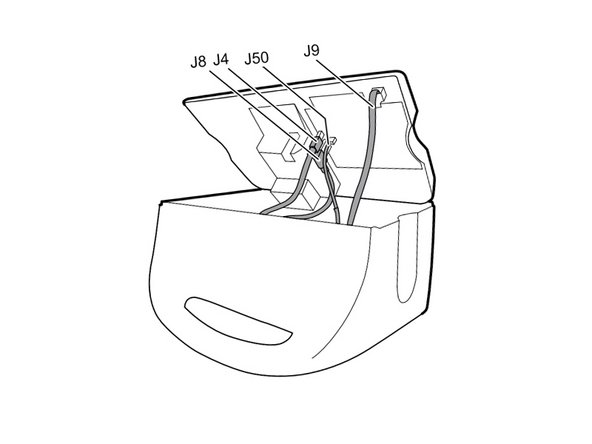
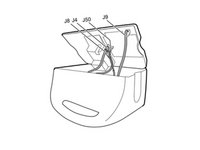
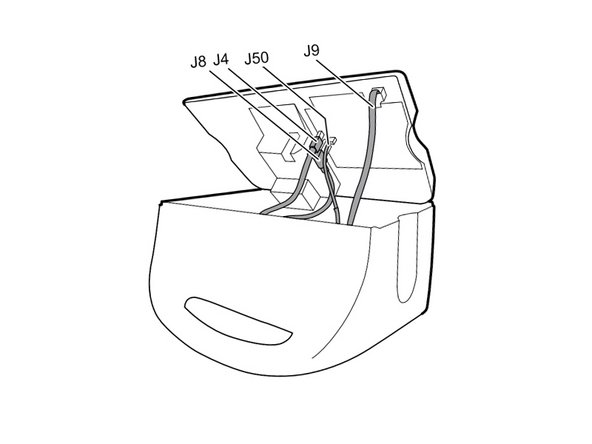
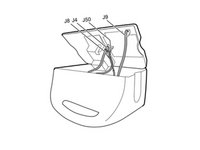
    • Unplug the small USB connector from its socket (labeled J4 in the service manual).

    Ask FixBot
  18. Welch Allyn Connex Vital Signs Monitor 6000 Module Replacement: step 18, image 1 of 3 Welch Allyn Connex Vital Signs Monitor 6000 Module Replacement: step 18, image 2 of 3 Welch Allyn Connex Vital Signs Monitor 6000 Module Replacement: step 18, image 3 of 3
    • Disconnect the communications power cable from its socket (labeled J50 in the service manual).

    • Only pull on the connector itself and not the socket. This connection is very tight, work the connector slowly and gently.

    Ask FixBot
  19. Welch Allyn Connex Vital Signs Monitor 6000 Module Replacement: step 19, image 1 of 3 Welch Allyn Connex Vital Signs Monitor 6000 Module Replacement: step 19, image 2 of 3 Welch Allyn Connex Vital Signs Monitor 6000 Module Replacement: step 19, image 3 of 3
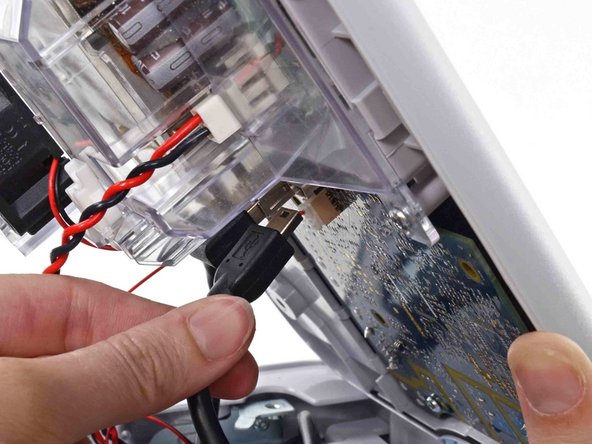
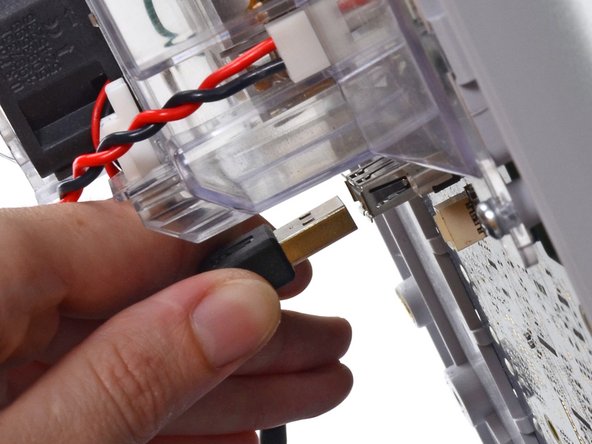
    • Unplug the large USB connector from its socket (labeled J8 in the service manual).

    Ask FixBot
  20. Welch Allyn Connex Vital Signs Monitor 6000 Module Replacement: step 20, image 1 of 3 Welch Allyn Connex Vital Signs Monitor 6000 Module Replacement: step 20, image 2 of 3 Welch Allyn Connex Vital Signs Monitor 6000 Module Replacement: step 20, image 3 of 3
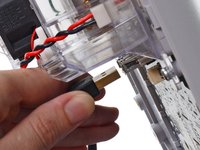
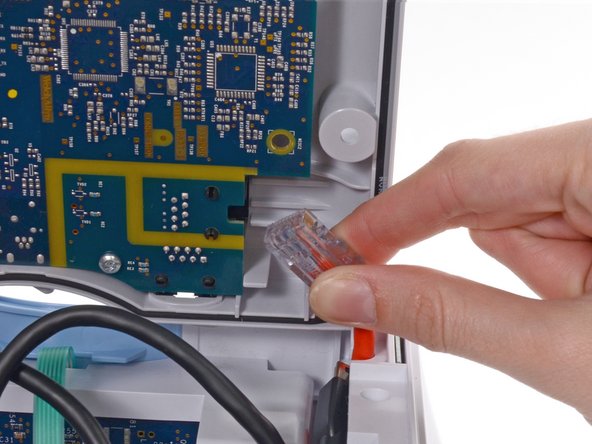
    • Press the tab on the ethernet cable and unplug it from its socket (labeled J9 in the service manual).

    Ask FixBot
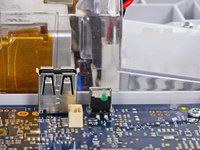
  21. Welch Allyn Connex Vital Signs Monitor 6000 Module Replacement: step 21, image 1 of 1
    • The following connector requires two hands to disconnect. Flip the rear case over, and lay it on its back to gain access to the power supply cable.

    Ask FixBot
  22. Welch Allyn Connex Vital Signs Monitor 6000 Module Replacement: step 22, image 1 of 3 Welch Allyn Connex Vital Signs Monitor 6000 Module Replacement: step 22, image 2 of 3 Welch Allyn Connex Vital Signs Monitor 6000 Module Replacement: step 22, image 3 of 3
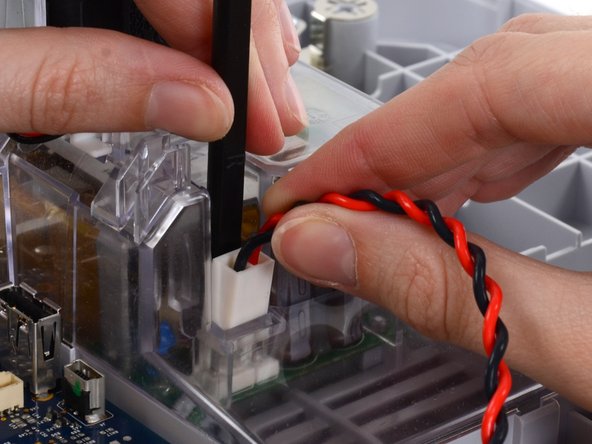
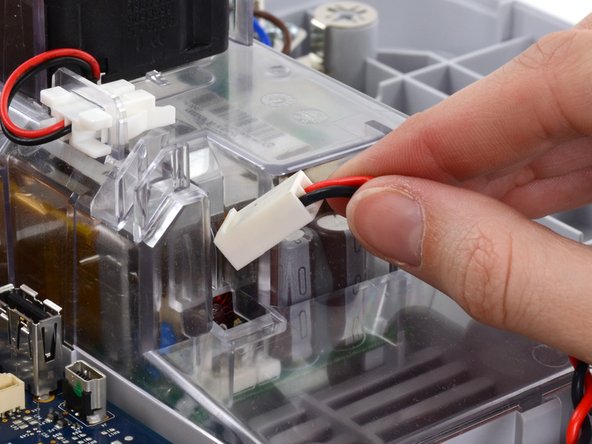
    • The power supply cable is secured by an interlocking connector that must be held open to unplug the connector.

    • Insert the flat end of a spudger down into the power supply cover between the socket clip and the power supply connector.

    Ask FixBot
  23. Welch Allyn Connex Vital Signs Monitor 6000 Module Replacement: step 23, image 1 of 3 Welch Allyn Connex Vital Signs Monitor 6000 Module Replacement: step 23, image 2 of 3 Welch Allyn Connex Vital Signs Monitor 6000 Module Replacement: step 23, image 3 of 3
    • Grasp the power supply cable firmly and lift both it and the spudger from the channel in the power supply housing to unplug the connector.

    Ask FixBot
  24. Welch Allyn Connex Vital Signs Monitor 6000 Module Replacement, Module: step 24, image 1 of 3 Welch Allyn Connex Vital Signs Monitor 6000 Module Replacement, Module: step 24, image 2 of 3 Welch Allyn Connex Vital Signs Monitor 6000 Module Replacement, Module: step 24, image 3 of 3
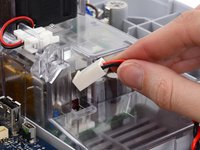
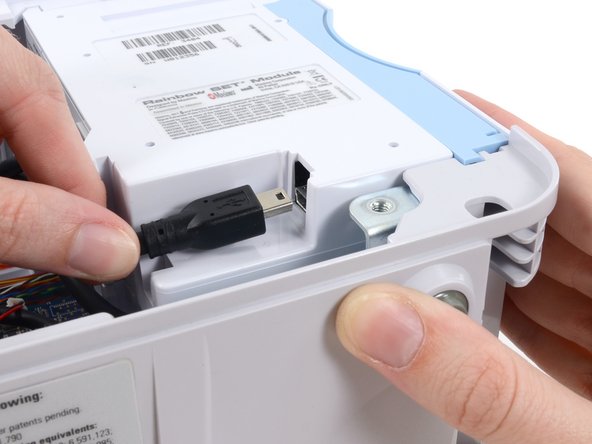
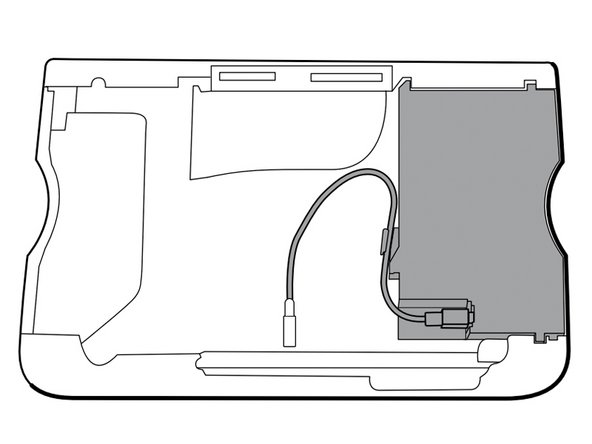
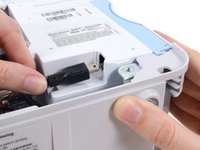
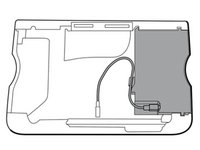
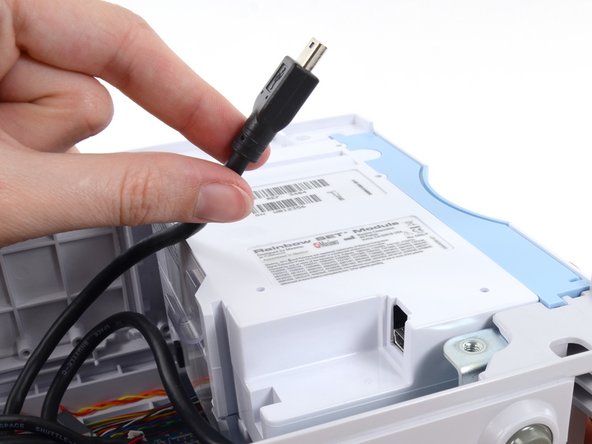
    • Disconnect the USB cable from the module.

    • For the extended chassis: Disconnect the two USB cables from the module.

    Ask FixBot
  25. Welch Allyn Connex Vital Signs Monitor 6000 Module Replacement: step 25, image 1 of 3 Welch Allyn Connex Vital Signs Monitor 6000 Module Replacement: step 25, image 2 of 3 Welch Allyn Connex Vital Signs Monitor 6000 Module Replacement: step 25, image 3 of 3
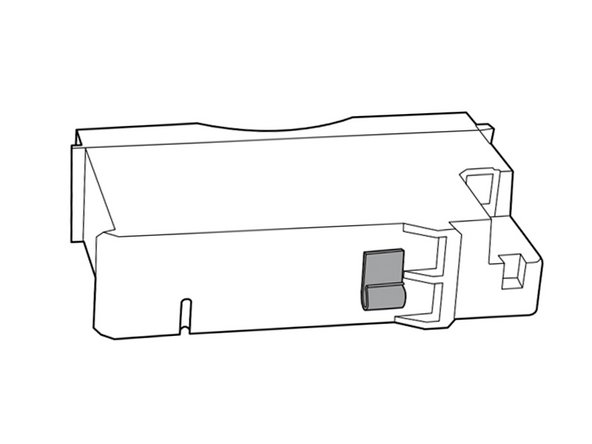
    • Remove the USB cable from the retaining clip on the module.

    Ask FixBot
  26. Welch Allyn Connex Vital Signs Monitor 6000 Module Replacement: step 26, image 1 of 3 Welch Allyn Connex Vital Signs Monitor 6000 Module Replacement: step 26, image 2 of 3 Welch Allyn Connex Vital Signs Monitor 6000 Module Replacement: step 26, image 3 of 3
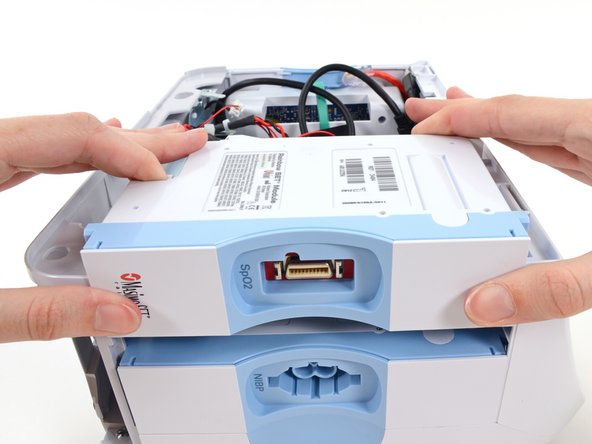
    • Slide the module out of the case.

    • Repeat the above procedure to remove any additional modules from the chassis.

    • During reassembly, install the module closest to the display first.

    • Reinsert modules into the housing with the serial number label facing up.

    Ask FixBot
Conclusion

To reassemble your device, follow these instructions in reverse order.

3 other people completed this guide.

Sam Goldheart

Member since: 10/18/12

477,281 Reputation

538 Guides authored

Team

iFixit Member of iFixit

Staff

123 Members

25,719 Guides authored

0 Guide Comments

Add Comment

View Statistics:

Past 24 Hours: 2

Past 7 Days: 10

Past 30 Days: 72

All Time: 1,446