Introduction
This repair is necessary if the reset button is broken, and you have forgotten your password or need to restore the device to factory settings. The repair involves soldering, but if you are proficient in soldering, it is very straight forward. If this will be your first time soldering, it is a good place to start!
What you need
-
-
Unscrew the two 4.0mm Phillips head screws found near the ports at the bottom of the device using a PH #00 screwdriver.
 Ask FixBot
-
-
-
Slide the plastic prying tool in between the front and back panel and pry them apart on all 4 sides.
-
It may be easiest to start on one of the sides, and work your way around the device. The bottom, with the ports, is the most difficult side and can be saved for last.
-
-
-
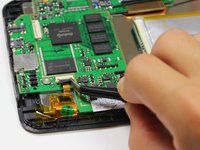
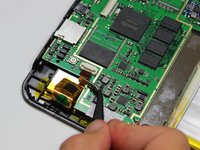
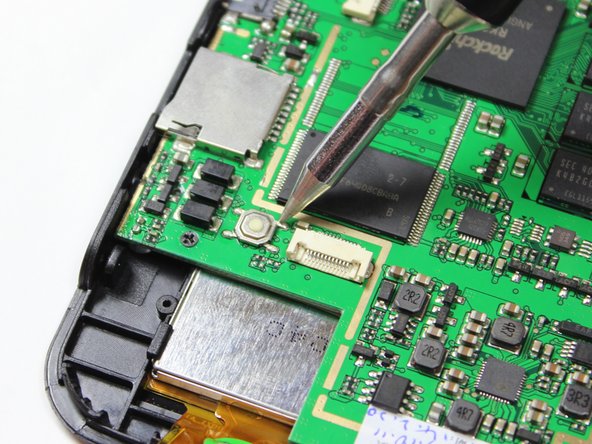
Tool used on this step:Tweezers$4.99
-
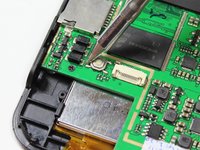
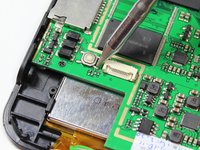
Use the tweezers to lift the grey connector, located next to the reset button, up from the beige housing. It should rotate up, and allow you to slide the ribbon out from under the connector.
-


To reassemble your device, follow these instructions in reverse order.
Cancel: I did not complete this guide.
3 other people completed this guide.
Team

Cal Poly, Team 10-41, Amido Fall 2014 Member of Cal Poly, Team 10-41, Amido Fall 2014
CPSU-AMIDO-F14S10G41
4 Members
12 Guides authored