Introduction
Complete the following guide to replace a broken digitizer or front screen on your tablet.
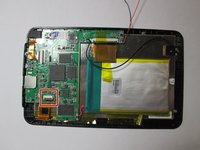
What you need
-
-
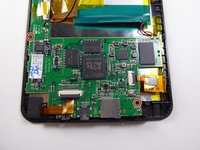
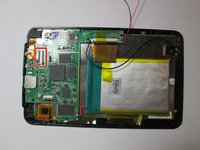
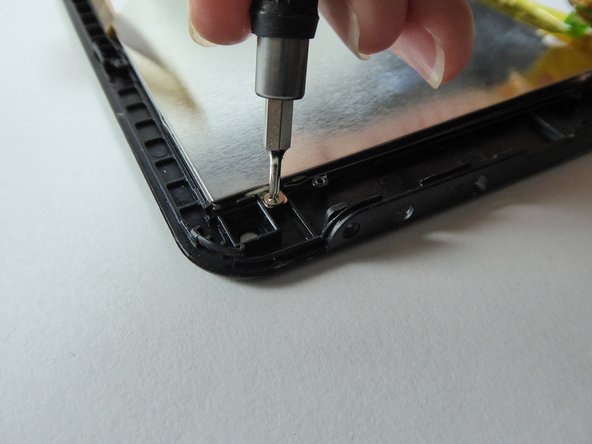
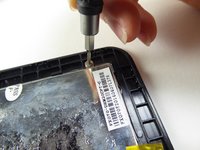
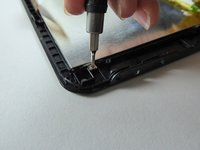
At the bottom of the tablet, remove the two 3.6mm screws with a Phillips #000 screwdriver.
-
-
-
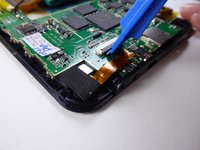
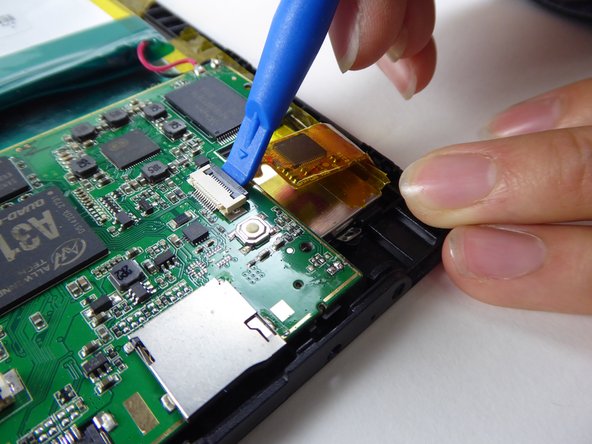
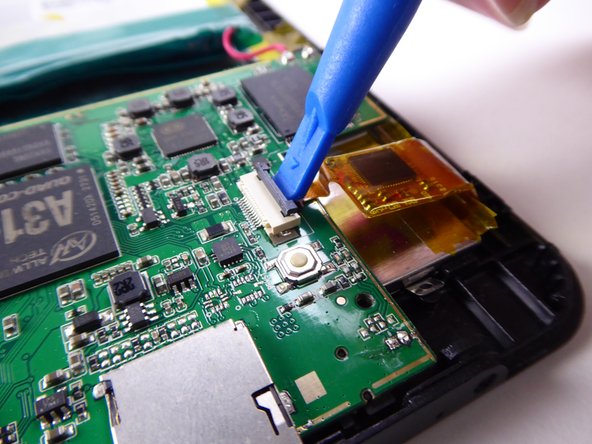
Tool used on this step:Plastic Cards$2.99
-
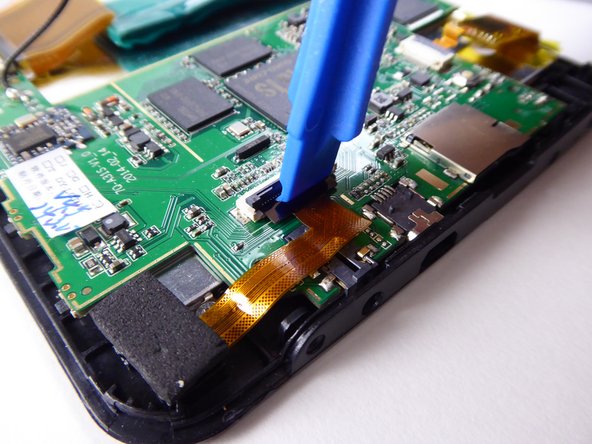
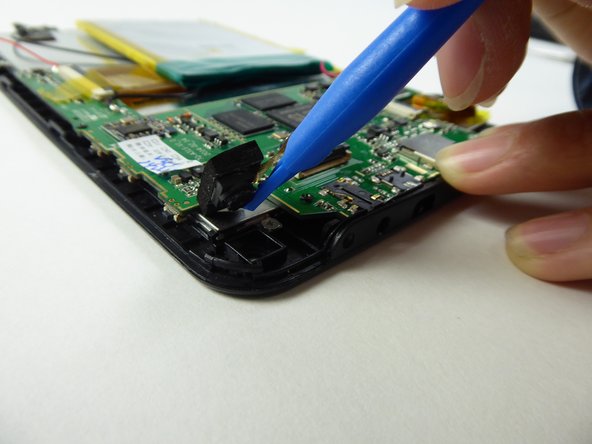
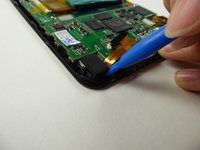
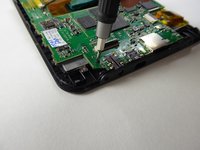
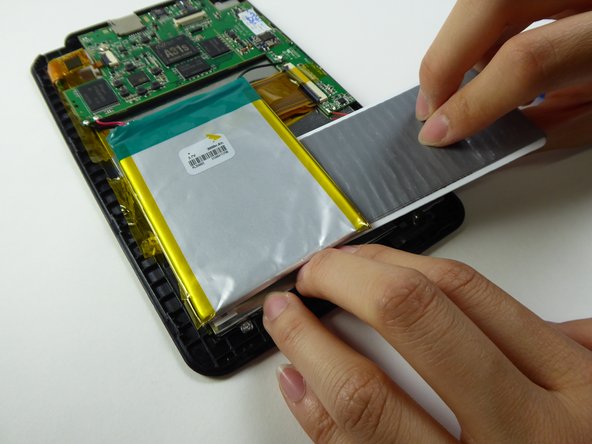
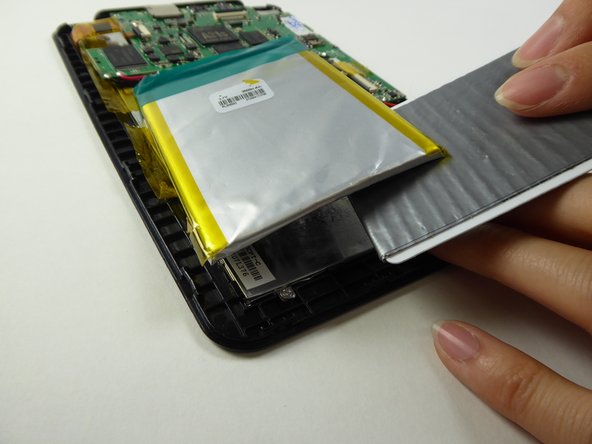
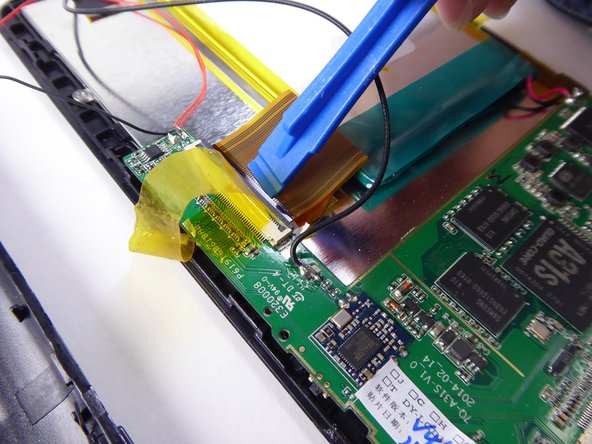
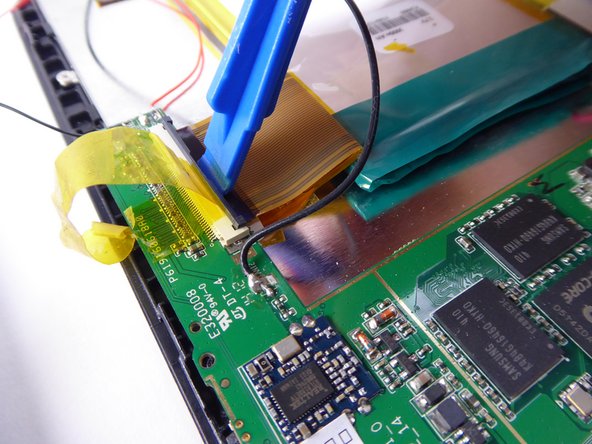
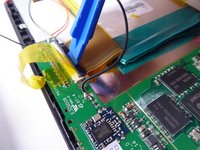
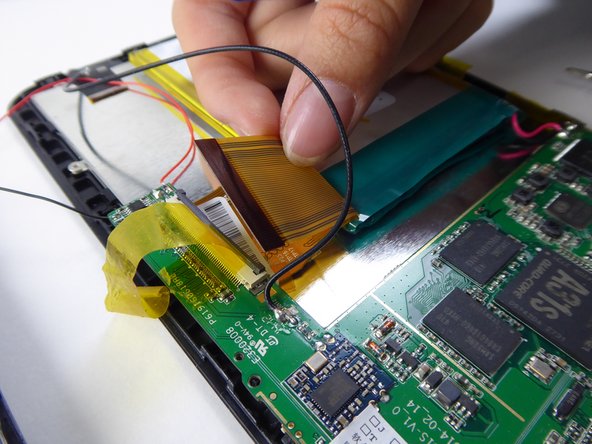
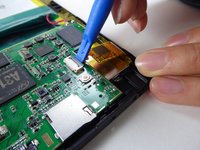
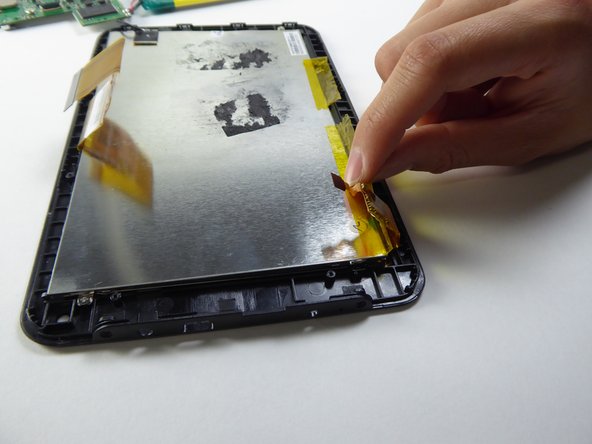
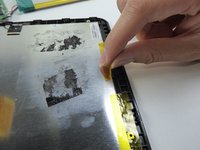
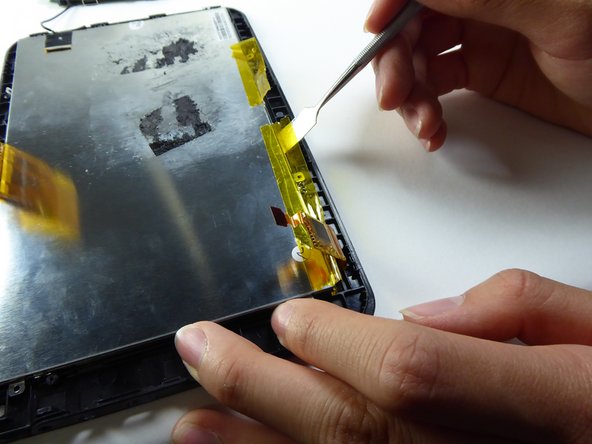
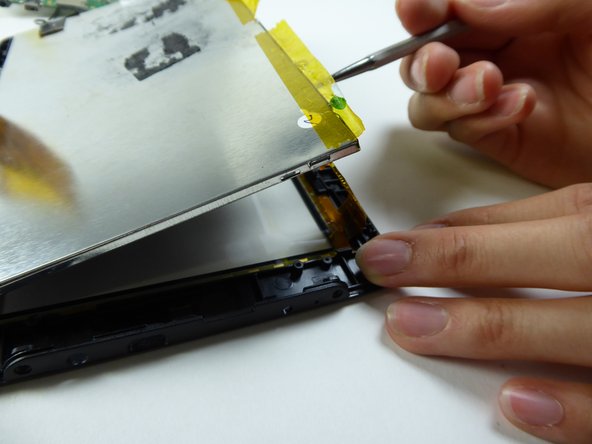
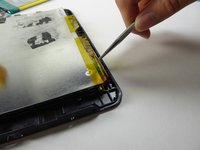
Wedge a plastic card underneath the battery to remove it.
-


Conclusion
To reassemble your device, follow these instructions in reverse order.
Team

UC Davis, Team 2-1, Oliver Fall 2016 Member of UC Davis, Team 2-1, Oliver Fall 2016
UCD-OLIVER-F16S2G1
5 Members
12 Guides authored