Free Shipping on Domestic Orders $75+

Visioneer OneTouch 7400 USB Belt Replacement

Views: 751

View statistics:

Past 24 Hours:
1
Past 7 Days:
18
Past 30 Days:
83
All Time:
751
Comments: 0

No one has left comments on this guide. Will you be first?

Go to guide comments
Completed: 0

No one has marked this guide "completed." Will you be the first?

Favorites: 0

No one has favorited (and subscribed to) this guide. Will you be the first?

Time Required: 35 - 40 minutes
Difficulty: Moderate
Incorrect Tools

Help make this guide better by using the correct tools in images and/or text.

Visioneer OneTouch 7400 USB Belt Replacement

Introduction

Go to step 1 ↓

Use this guide to remove the belt that moves the Visioneer OneTouch 7400 USB sensor bar for repair or replacement.

What you need

Tools

    1. Visioneer OneTouch 7400 USB Belt Replacement, Outer Case: step 1, image 1 of 1
      • On the bottom of the scanner, remove the screw at the top left side.

      Ask FixBot

      Add Comment

    2. Visioneer OneTouch 7400 USB Belt Replacement: step 2, image 1 of 2 Visioneer OneTouch 7400 USB Belt Replacement: step 2, image 2 of 2
      • Remove the rubber foot pad opposite the screw hole to expose a second screw hole.

      • Remove the screw beneath the foot-pad.

      Ask FixBot

      Add Comment

    3. Visioneer OneTouch 7400 USB Belt Replacement: step 3, image 1 of 3 Visioneer OneTouch 7400 USB Belt Replacement: step 3, image 2 of 3 Visioneer OneTouch 7400 USB Belt Replacement: step 3, image 3 of 3
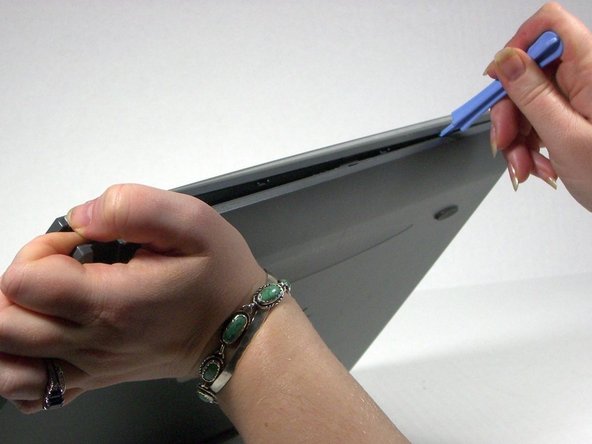
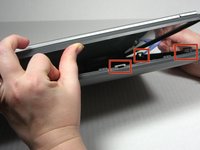
      • Rotate the scanner so the screw hole is located on the top left hand side.

      • Place the plastic opening tool between the top casement and bottom casement of scanner with the hook facing up.

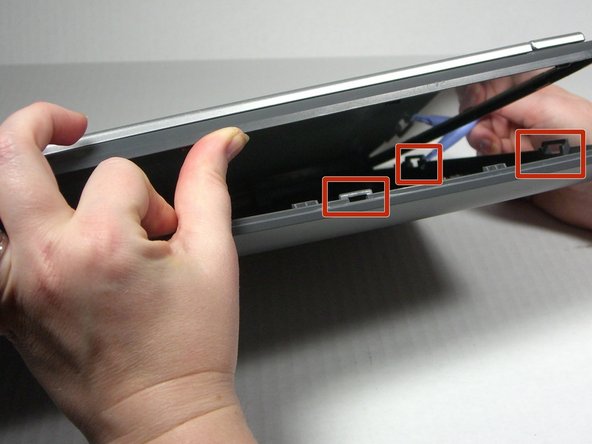
      • Gently pry the two casements apart beginning above the screw hole and working your way around.

      • Note that the top and bottom casings are held together by a series of 6 tabs. There is one tab on each of the long sides of the scanner approximately 6 inches in from the corners. There are two tabs on each of the short sides of the scanner approximately 2.3 inches in from the corners. Use the spudger to unhook the tab from the top casement.

      Ask FixBot

      Add Comment

    4. Visioneer OneTouch 7400 USB Belt Replacement: step 4, image 1 of 1
      • Separate the two casement pieces.

      Ask FixBot

      Add Comment

    1. Visioneer OneTouch 7400 USB Belt Replacement, Belt: step 5, image 1 of 1
      • Remove the screw holding the tension spring in place.

      Ask FixBot

      Add Comment

    2. Visioneer OneTouch 7400 USB Belt Replacement: step 6, image 1 of 1
      • Use the plastic opening tool to lift up the tension spring.

      • Be careful. The spring will fly.

      Ask FixBot

      Add Comment

    3. Visioneer OneTouch 7400 USB Belt Replacement: step 7, image 1 of 1
      • Remove the belt from the spool.

      • The spool is a loose piece; don't lose it.

      Ask FixBot

      Add Comment

    4. Visioneer OneTouch 7400 USB Belt Replacement: step 8, image 1 of 1
      • Loosen the belt enough to turn over the sensor bar.

      Ask FixBot

      Add Comment

    5. Visioneer OneTouch 7400 USB Belt Replacement: step 9, image 1 of 2 Visioneer OneTouch 7400 USB Belt Replacement: step 9, image 2 of 2
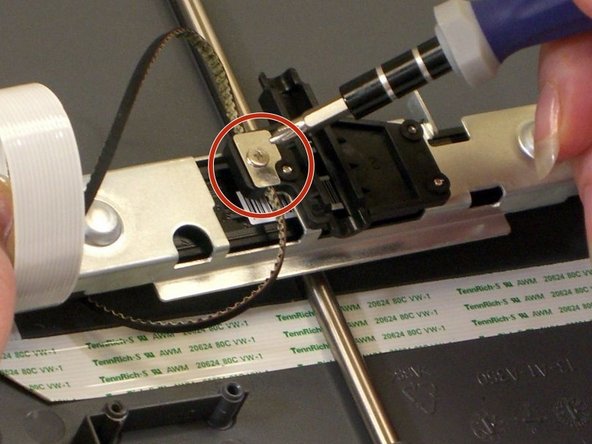
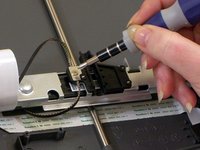
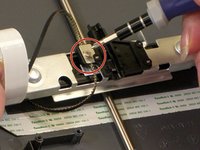
      • With the sensor bar turned upside down, remove the screw in the middle of the bar.

      • Lift off the metal plate if it does not come away with the screw.

      Ask FixBot

      Add Comment

    6. Visioneer OneTouch 7400 USB Belt Replacement: step 10, image 1 of 1
      • Carefully lift the belt out of the groove in the sensor bar to remove.

      Ask FixBot

      Add Comment

Conclusion

To reassemble your device, follow these instructions in reverse order.

Cancel: I did not complete this guide.

Jena

Member since: 10/18/13

608 Reputation

6 Guides authored

Team

0 Guide Comments

Add Comment

View Statistics:

Past 24 Hours: 1

Past 7 Days: 18

Past 30 Days: 83

All Time: 751