Introduction
This guide will show how to replace a defective power button on the Verizon Ellipsis 7.
What you need
-
-
-
Power down device by holding down the power button until the screen goes black.
-
Remove the SIM card from the device to prevent damage.
-
To remove the SIM card, open the SIM card cover on the side of the device.
-
Push SIM card in, then remove after it pops out with an audible click.
 Ask FixBot
-
-
-
Take off the back panel.
-
Pry open the back cover carefully with a plastic opening tool.
-
Use the opening tool to disconnect the cover completely. Do not attempt to pull the back cover off with your hands.
-
-
Tool used on this step:Tweezers$4.99
-
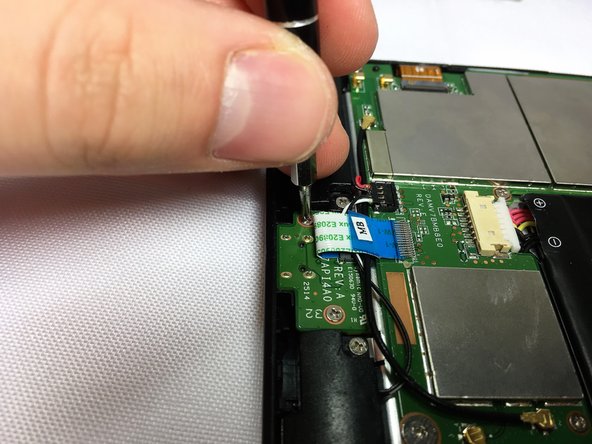
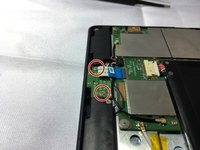
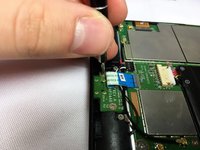
Remove the charging (micro-USB) port by unscrewing the indicated screws using the Phillips #00 screwdriver.
-
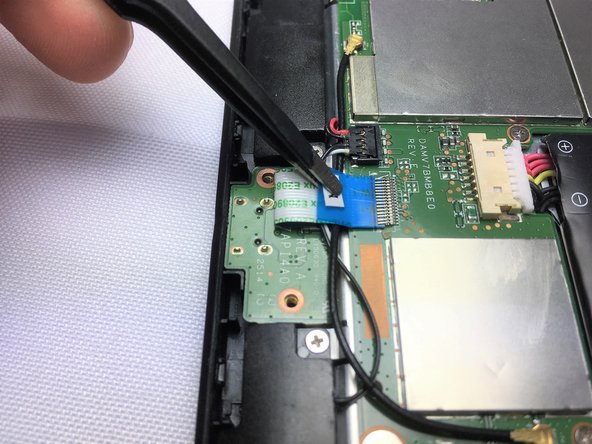
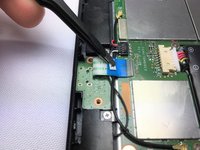
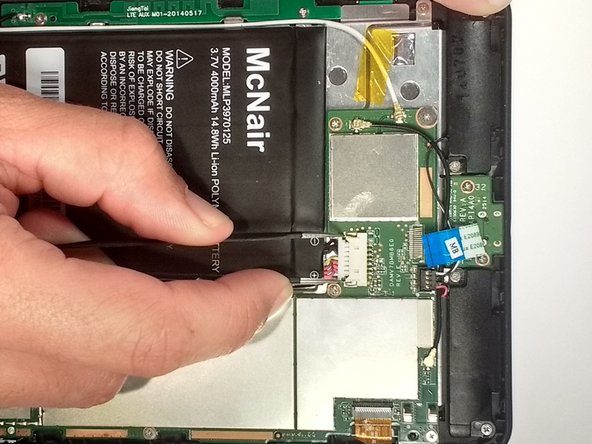
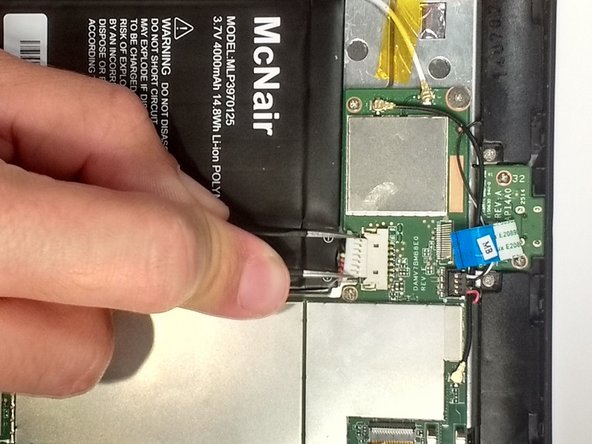
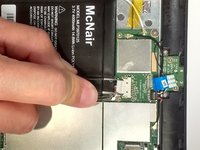
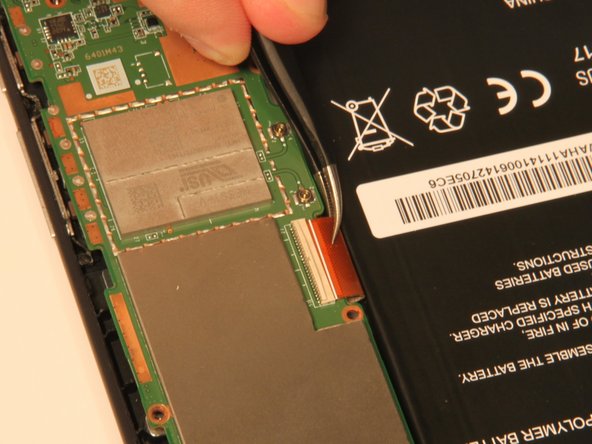
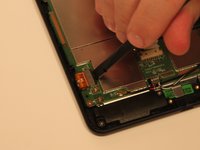
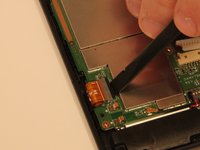
Disconnect the ribbon cable connecting the charging port board to the motherboard using tweezers.
-
Use the tweezers to grab the sides of black, plastic connector. Do not grab from the wires or try to wedge it out from the bottom.
-
Be extremely careful when disconnecting the ribbon cable. It is very delicate.
-
-
-
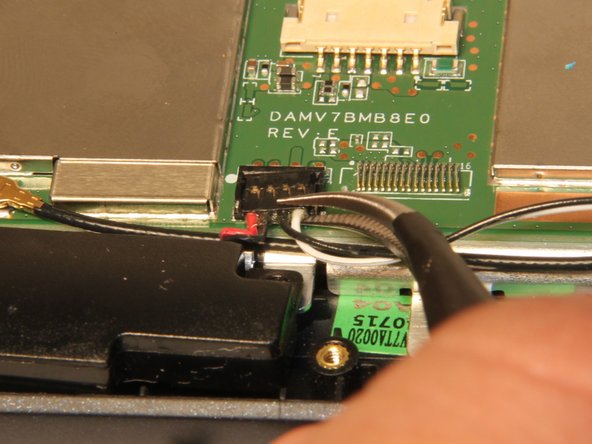
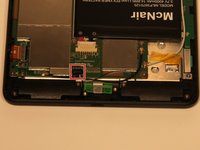
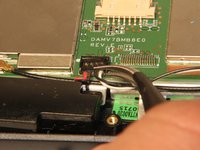
Disconnect speakers from motherboard.
-
Use the tweezers to carefully disconnect speakers from motherboard.
-
-
-
-
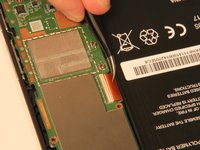
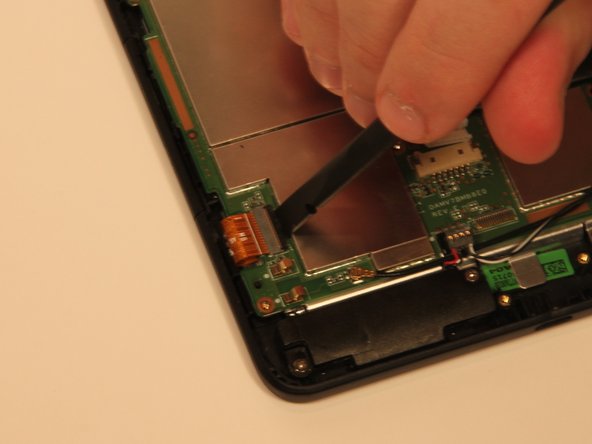
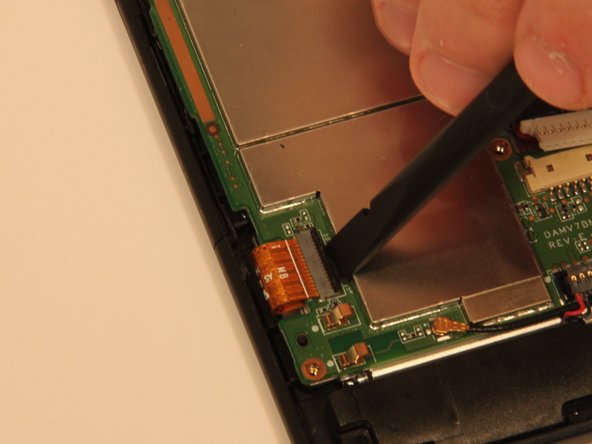
Disconnect the digitizer ribbon cable.
-
Use a nylon spudger to lift back tab.
-
After the back tab has been lifted the cable can be removed with tweezers.
-
-
-
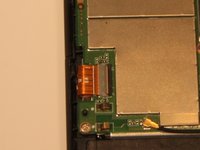
Disconnect the ribbon cable.
-
Use a nylon spudger to lift tab.
-
After the tab is lifted, the cable can be removed.
-
-
-
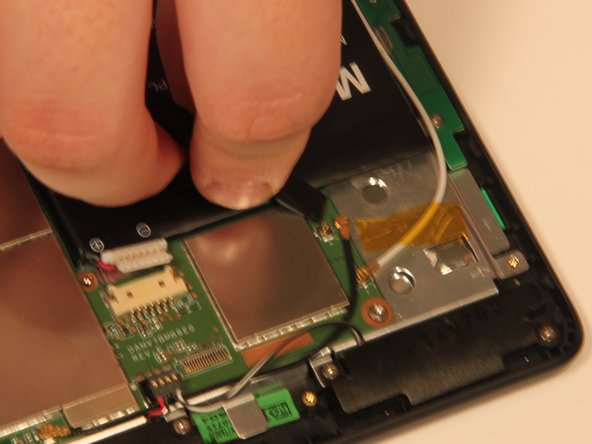
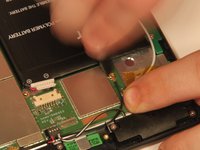
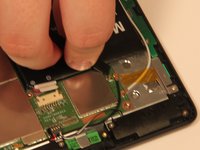
Disconnect all antenna cables.
-
Use a nylon spudger to pop the antenna cable from the base.
-
-
-
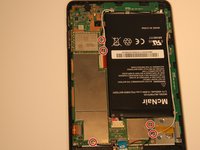
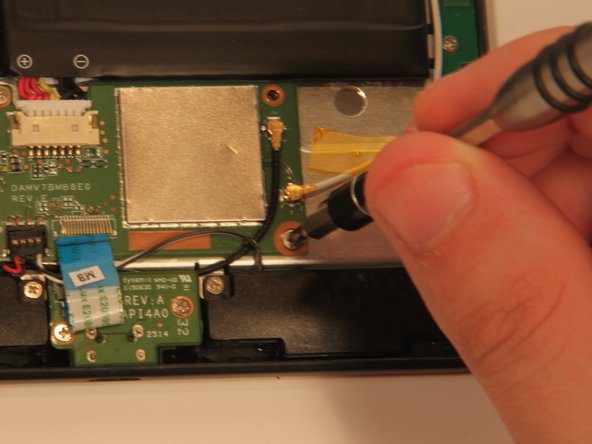
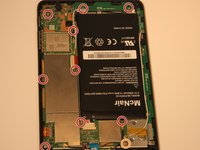
Remove 9 Phillips #00 screws. The length of 4.76 mm
-
There is 1 Phillips #00 screw that is 3.175mm in length. This screw also has a larger head then the rest of the screws.
-
Note: when reassembling the motherboard, screw the bigger headed screw in the original location.
-
-
-
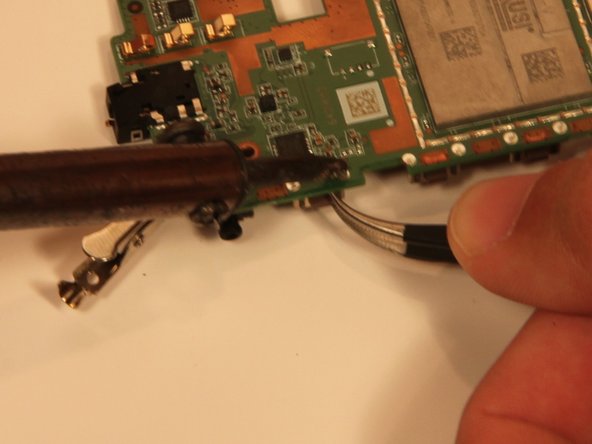
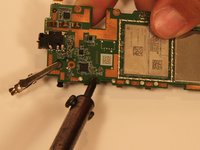
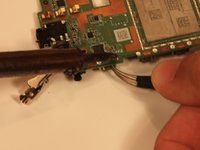
Desolder the power button from the motherboard.
-
Learn how to solder and desolder components here!
-
-











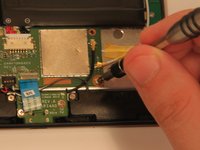

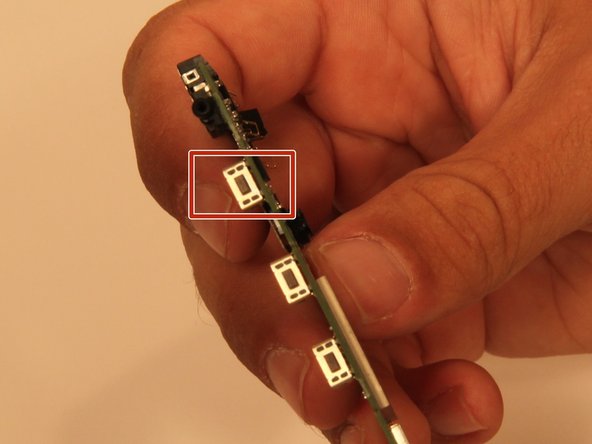
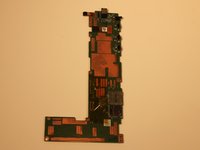
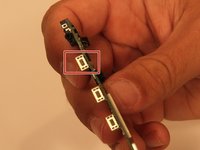

To reassemble your device, follow these instructions in reverse order.
Cancel: I did not complete this guide.
2 other people completed this guide.

Team

Sam Houston State, Team 12-7, Blackburne Fall 2016 Member of Sam Houston State, Team 12-7, Blackburne Fall 2016
SHSU-BLACKBURNE-F16S12G7
3 Members
60 Guides authored
2 Guide Comments
I dropped mine and the button is broke. It looks like I should be able to just pop it back, but it's not reaching the button in the tablet. Do I really have to order this just for it to turn on? I mean, I use a paper clip, but I use this for Uber and it's not safe when I'm driving, lol.
I have looked everywhere for replacement buttons. Any help you can give in finding the parts is appreciated.
