Free Shipping on Domestic Orders $75+

Verizon Ellipsis 10 Camera Replacement

What you need

  1. Verizon Ellipsis 10 Camera Replacement, Back Cover: step 1, image 1 of 1
    • Open the SD/SIM card cover to start prying off the back cover.

    Ask FixBot

    Add Comment

  2. Verizon Ellipsis 10 Camera Replacement: step 2, image 1 of 1
    • Start using the iFixit Opening Tool in the SD/SIM area to release the clips holding the back panel on.

    Ask FixBot

    Add Comment

  3. Verizon Ellipsis 10 Camera Replacement: step 3, image 1 of 1
    • Follow along the edge of the device to undo all of the retaining clips.

    Ask FixBot

    Add Comment

  4. Verizon Ellipsis 10 Camera Replacement: step 4, image 1 of 1
    • Once all the clips are undone, the back panel should come off with little effort.

    Ask FixBot

    Add Comment

  5. Verizon Ellipsis 10 Camera Replacement, Battery: step 5, image 1 of 1
    • Remove the bottom piece of tape securing the battery making sure you are not peeling up anything else in the process.

    Ask FixBot

    Add Comment

  6. Verizon Ellipsis 10 Camera Replacement: step 6, image 1 of 1
    • Remove the top piece of tape using an iFixit opening tool.

    Ask FixBot

    Add Comment

  7. Verizon Ellipsis 10 Camera Replacement: step 7, image 1 of 1
    • Once you have a hold on the tape, carefully remove it making sure you aren’t damaging the battery in the process.

    Ask FixBot

    Add Comment

  8. Verizon Ellipsis 10 Camera Replacement: step 8, image 1 of 1
    • Unplug the battery power connector by sliding the white plastic plug down away from the board.

    Ask FixBot

    Add Comment

  9. Verizon Ellipsis 10 Camera Replacement: step 9, image 1 of 1
    • The battery should be free to come out of the device. Make sure not to bend or damage the battery.

    Ask FixBot

    Add Comment

  10. Verizon Ellipsis 10 Camera Replacement, Camera: step 10, image 1 of 1
    • Remove 4 M1.5 screws holding in the labeled LTE module.

    Ask FixBot

    Add Comment

  11. Verizon Ellipsis 10 Camera Replacement: step 11, image 1 of 1
    • Use a nylon spudger to pry up the module.

    • It's held in with some clips so there will be a little bit of resistance.

    Ask FixBot

    Add Comment

  12. Verizon Ellipsis 10 Camera Replacement: step 12, image 1 of 2 Verizon Ellipsis 10 Camera Replacement: step 12, image 2 of 2
    • Remove the 4 M1.5 screws holding in the labeled auxiliary LTE/GPS module.

    • The module should come up with a little resistance.

    Ask FixBot

    Add Comment

  13. Verizon Ellipsis 10 Camera Replacement: step 13, image 1 of 1
    Tool used on this step:
    Tweezers
    $4.99
    Buy
    • Use a pair of tweezers to lift up the front camera off its locating post.

    Ask FixBot

    Add Comment

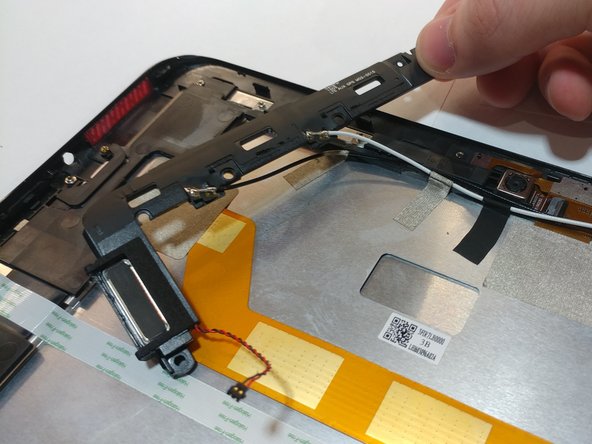
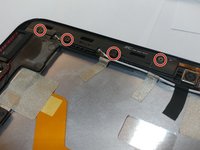
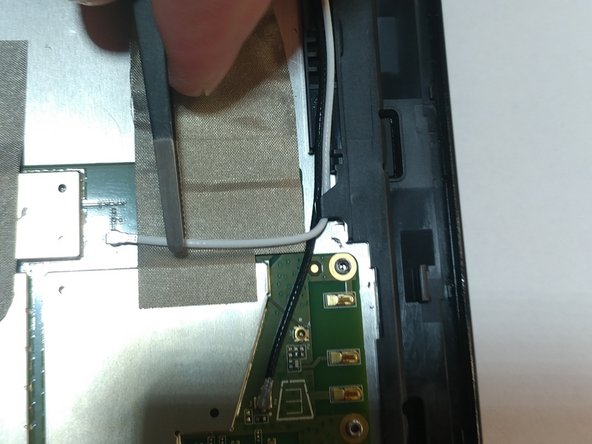
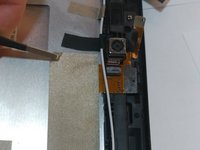
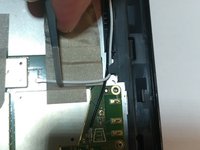
  14. Verizon Ellipsis 10 Camera Replacement: step 14, image 1 of 2 Verizon Ellipsis 10 Camera Replacement: step 14, image 2 of 2
    • Remove the non-conductive tape covering the camera ribbon cable.

    • You may need to remove the white antenna cable to remove the tape.

    Ask FixBot

    Add Comment

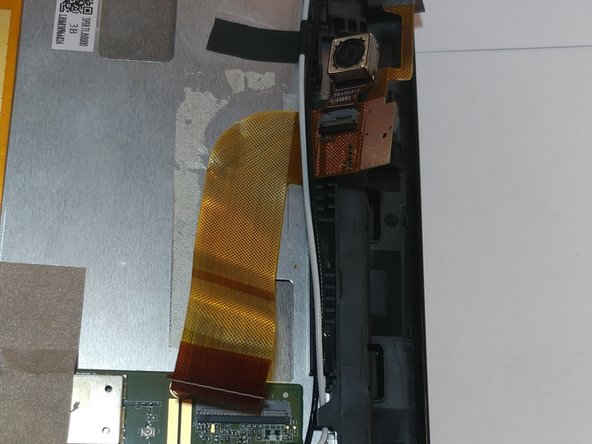
  15. Verizon Ellipsis 10 Camera Replacement: step 15, image 1 of 1
    • Carefully unplug the ribbon cable from the motherboard.

    Ask FixBot

    Add Comment

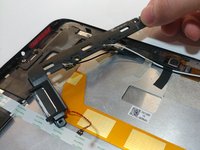
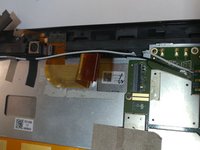
  16. Verizon Ellipsis 10 Camera Replacement: step 16, image 1 of 2 Verizon Ellipsis 10 Camera Replacement: step 16, image 2 of 2
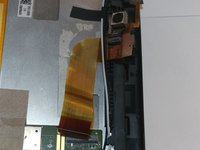
    • Peel up the ribbon cable carefully as it is glued to the device.

    • After having peeled up the cable, the cameras should be free to come out of the device.

    Ask FixBot

    Add Comment

Conclusion

To reassemble your device, follow these instructions in reverse order.

Cancel: I did not complete this guide.

One other person completed this guide.

0 Guide Comments

Add Comment

View Statistics:

Past 24 Hours: 2

Past 7 Days: 5

Past 30 Days: 19

All Time: 311