
VANKEY Keyboard Wrist Rest Cover Replacement

What you need

  1. VANKEY Keyboard Wrist Rest Cover Replacement, Wrist Rest Cover: step 1, image 1 of 3 VANKEY Keyboard Wrist Rest Cover Replacement, Wrist Rest Cover: step 1, image 2 of 3 VANKEY Keyboard Wrist Rest Cover Replacement, Wrist Rest Cover: step 1, image 3 of 3
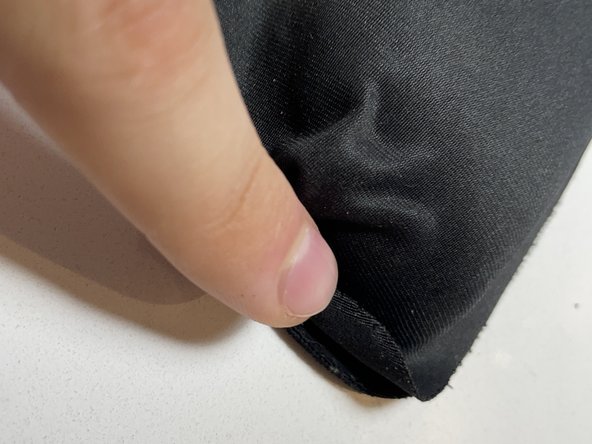
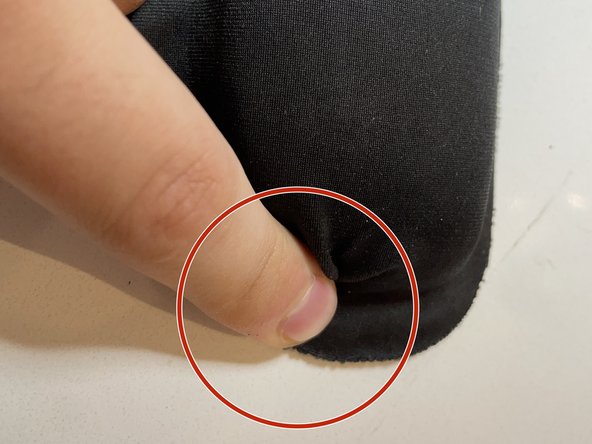
    • Peel back the outer cover from the non-stick pad underneath using a knife to get between the cover and the dense foam of the pad.

    • Be sure not to cut into the pad itself. After an initial incision, the cover should be able to be easily peeled back. If you find difficult in removing the cover after an incision, the incision may have been made in the pad.

    • This step utilizes a sharp object in close proximity to your fingers. It is advisable to use a slightly dulled object and measurable caution (keep your fingers as far away as feasible) when using a knife.

  2. VANKEY Keyboard Wrist Rest Cover Replacement: step 2, image 1 of 3 VANKEY Keyboard Wrist Rest Cover Replacement: step 2, image 2 of 3 VANKEY Keyboard Wrist Rest Cover Replacement: step 2, image 3 of 3
    • Continue to peel back the rest of the cover with a combination of the knife and your fingers.

    • Be very gentle and careful when peeling back the cover from the cellulose foam cover as it can cause tears, requiring a separate fix.

  3. VANKEY Keyboard Wrist Rest Cover Replacement: step 3, image 1 of 1
    • This is an example of a inner cover tear. They will require a patch to properly fix.

    • An alternative is to continue and simply cover the exposed foam with the outer cover. This is doable but NOT recommended as it severely impacts the longevity of the foam and leaves it more susceptible to water damage.

  4. VANKEY Keyboard Wrist Rest Cover Replacement: step 4, image 1 of 3 VANKEY Keyboard Wrist Rest Cover Replacement: step 4, image 2 of 3 VANKEY Keyboard Wrist Rest Cover Replacement: step 4, image 3 of 3
    • Cut out the same shape of the cover from the new material so that it fits back onto the rest of the wrist rest similar to how the old cover did.

    • A good tip is to trace the old cover onto the new material to ensure the correct proportions on the first cut.

  5. VANKEY Keyboard Wrist Rest Cover Replacement: step 5, image 1 of 3 VANKEY Keyboard Wrist Rest Cover Replacement: step 5, image 2 of 3 VANKEY Keyboard Wrist Rest Cover Replacement: step 5, image 3 of 3
    • Place the new cover onto the rest of the wrist rest.

    • Be sure that it is properly tucked into the edge where the foam and pad meet to prevent the formation of air pockets under the cover.

  6. VANKEY Keyboard Wrist Rest Cover Replacement: step 6, image 1 of 3 VANKEY Keyboard Wrist Rest Cover Replacement: step 6, image 2 of 3 VANKEY Keyboard Wrist Rest Cover Replacement: step 6, image 3 of 3
    • Be sure the cover doesn't extend over the edge of the pad to prevent peeling.

    • If there is any excess material, cut it off with a knife or scissors to ensure a clean fit of the cover onto the foam and pad.

  7. VANKEY Keyboard Wrist Rest Cover Replacement: step 7, image 1 of 3 VANKEY Keyboard Wrist Rest Cover Replacement: step 7, image 2 of 3 VANKEY Keyboard Wrist Rest Cover Replacement: step 7, image 3 of 3
    • Fold back part of the replacement cover a few inches from one side.

    • Apply glue to the inner foam pad.

    • Be sure to apply glue to the edge between the foam inner cover and the bottom pad.

    • These images make use of Elmer's glue but this is not recommended as Elmer's glue is not specialized for adhering synthetic fabrics.

    • Some special glues have instructions for how to apply them. Be sure to read your glue's instructions for application before attempting this step.

  8. VANKEY Keyboard Wrist Rest Cover Replacement: step 8, image 1 of 1
    • Repeat the previous step for the rest of the cover with the side done in Step 6 acting as an anchor point.

  9. VANKEY Keyboard Wrist Rest Cover Replacement: step 9, image 1 of 2 VANKEY Keyboard Wrist Rest Cover Replacement: step 9, image 2 of 2
    • If there are some folders generated when placing the new cover, push them to one space and glue the single fold down onto the cover.

  10. VANKEY Keyboard Wrist Rest Cover Replacement: step 10, image 1 of 2 VANKEY Keyboard Wrist Rest Cover Replacement: step 10, image 2 of 2
    • Apply glue to the pad where the cover will be placed.

    • Then press the cover into the glued area until the glue sets.

  11. VANKEY Keyboard Wrist Rest Cover Replacement: step 11, image 1 of 1
    • Press down on the cover until the glue sets.

    • The time it takes for the glue to set will vary depending on the glue you use. Refer to your glue's instructions for this number.

  12. VANKEY Keyboard Wrist Rest Cover Replacement: step 12, image 1 of 3 VANKEY Keyboard Wrist Rest Cover Replacement: step 12, image 2 of 3 VANKEY Keyboard Wrist Rest Cover Replacement: step 12, image 3 of 3
    • Repeat the previous step around the edge of the wrist rest.

    • Be sure to flatten out any pockets or folds created as you go around the pad.

Conclusion

If you find that your new cover begins to peel off, try using a different adhesive more specialized to the fabric of the new cover.

One other person completed this guide.

0 Comments

Add Comment

View Statistics:

Past 24 Hours: 0

Past 7 Days: 0

Past 30 Days: 0

All Time: 31