Free Shipping on Domestic Orders $75+

Upper Component Bracket Removal

Prerequisite Only
This is a prerequisite-only guide! This guide is part of another procedure and isn’t meant to be used alone.

What you need

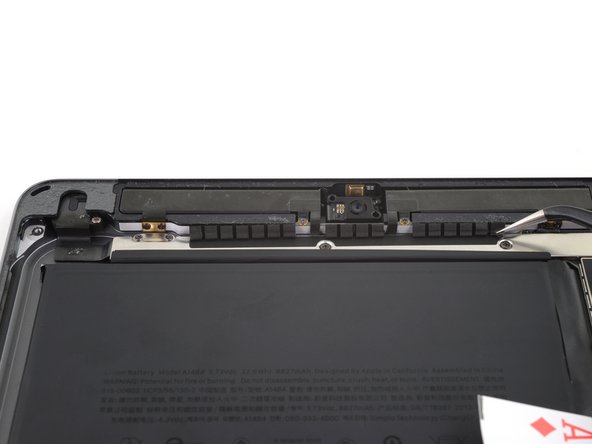
    1. Upper Component Bracket Removal, Remove the upper component bracket: step 1, image 1 of 2 Upper Component Bracket Removal, Remove the upper component bracket: step 1, image 2 of 2
      • Carefully peel the LCD buffer tape up off of the upper component bracket.

      Ask FixBot

      Add Comment

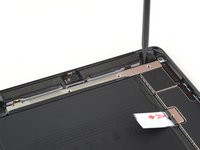
    2. Upper Component Bracket Removal: step 2, image 1 of 1
      • Use a Phillips screwdriver to remove the five screws securing the upper component bracket.

      • Three 1.4 mm-long screws

      • Two 1.9 mm-long screws

      Ask FixBot

      Add Comment

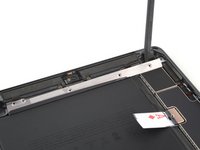
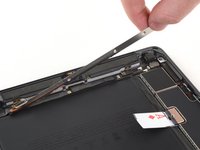
    3. Upper Component Bracket Removal: step 3, image 1 of 3 Upper Component Bracket Removal: step 3, image 2 of 3 Upper Component Bracket Removal: step 3, image 3 of 3
      • Use the pointed end of a spudger to lift up the upper component bracket until you can grip it with your fingers.

      • Remove the upper component bracket.

      • You may need to peel the upper component bracket off of some tape securing it to the logic board.

      Ask FixBot

      Add Comment

Conclusion

To reassemble your device, follow these instructions in reverse order.

Cancel: I did not complete this guide.

Robert Boyd

Member since: 02/01/21

33,700 Reputation

94 Guides authored

0 Guide Comments

Add Comment

View Statistics:

Past 24 Hours: 0

Past 7 Days: 3

Past 30 Days: 8

All Time: 186