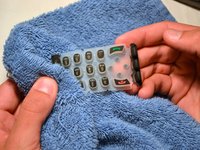
Uniden TCX905 Button Keypad Cleaning Guide

What you need

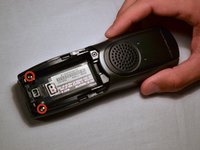
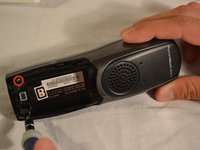
  1. Uniden TCX905 Button Keypad Cleaning Guide, Battery Cover: step 1, image 1 of 2 Uniden TCX905 Button Keypad Cleaning Guide, Battery Cover: step 1, image 2 of 2
    • Starting from the top of the cover, slide down and away from the phone with your thumb

    • Lift battery cover off of batter and place it to the side

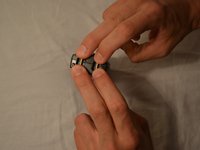
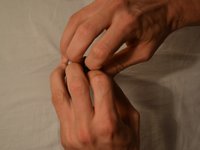
  2. Uniden TCX905 Button Keypad Cleaning Guide, Battery Pack: step 2, image 1 of 2 Uniden TCX905 Button Keypad Cleaning Guide, Battery Pack: step 2, image 2 of 2
    • Once battery cover is removed, place your thumb and index fingers on the the wires near the receptacle

    • Gently pull straight up on the wires until a click is heard which signifies the battery is completely disconnected

    • Place battery pack to the side

  3. Uniden TCX905 Button Keypad Cleaning Guide, Back Shell: step 3, image 1 of 2 Uniden TCX905 Button Keypad Cleaning Guide, Back Shell: step 3, image 2 of 2
    • Remove the two 11mm screws inside the battery storage compartment using Phillips #1 screwdriver (located near the very bottom of the phone)

  4. Uniden TCX905 Button Keypad Cleaning Guide: step 4, image 1 of 3 Uniden TCX905 Button Keypad Cleaning Guide: step 4, image 2 of 3 Uniden TCX905 Button Keypad Cleaning Guide: step 4, image 3 of 3
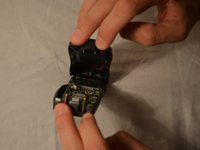
    • Gently open phone casing along the seam at the bottom of the phone using index and middle fingers of both hands

  5. Uniden TCX905 Button Keypad Cleaning Guide: step 5, image 1 of 3 Uniden TCX905 Button Keypad Cleaning Guide: step 5, image 2 of 3 Uniden TCX905 Button Keypad Cleaning Guide: step 5, image 3 of 3
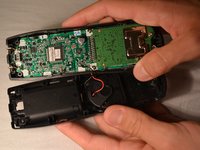
    • Ensure that wired connection between circuit board and back shell is not strained

    • Fold the back shell underneath the front shell and circuit board

  6. Uniden TCX905 Button Keypad Cleaning Guide, Circuit Board: step 6, image 1 of 2 Uniden TCX905 Button Keypad Cleaning Guide, Circuit Board: step 6, image 2 of 2
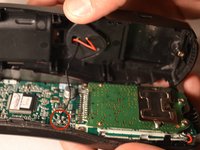
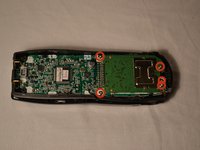
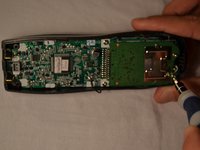
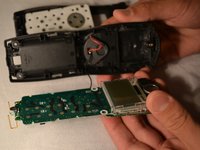
    • Carefully remove the middle two 7mm screws, the outer top 9mm screws, and the top middle 7 mm screw that hold the logic board to the front shell of the phone casing using the Phillips #1 screwdriver

  7. Uniden TCX905 Button Keypad Cleaning Guide: step 7, image 1 of 3 Uniden TCX905 Button Keypad Cleaning Guide: step 7, image 2 of 3 Uniden TCX905 Button Keypad Cleaning Guide: step 7, image 3 of 3
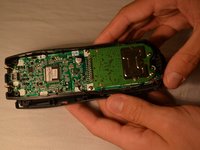
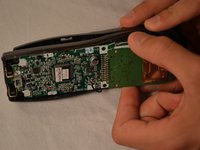
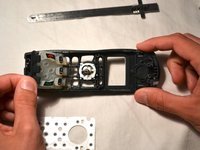
    • Using index finger and thumb, carefully remove the circuit board from the front shell of phone

  8. Uniden TCX905 Button Keypad Cleaning Guide, Button Keypad: step 8, image 1 of 3 Uniden TCX905 Button Keypad Cleaning Guide, Button Keypad: step 8, image 2 of 3 Uniden TCX905 Button Keypad Cleaning Guide, Button Keypad: step 8, image 3 of 3
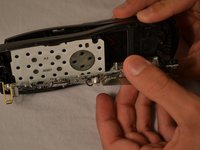
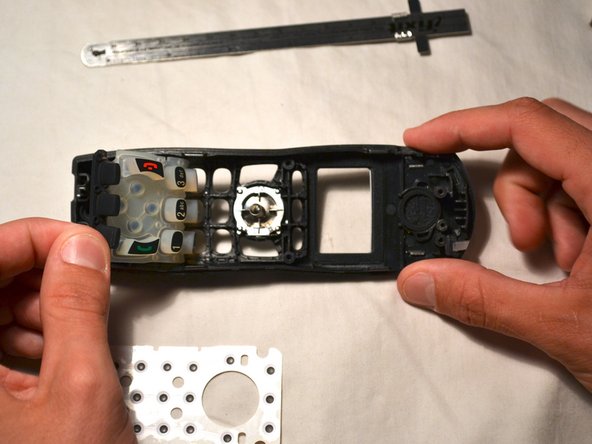
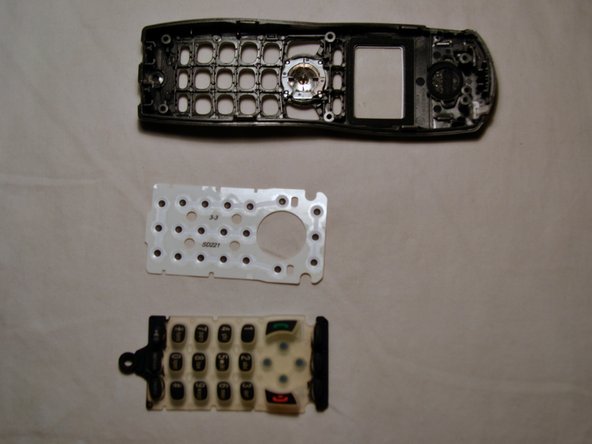
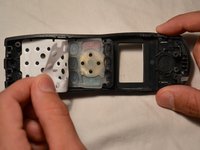
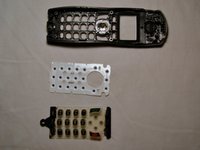
    • Remove the white plastic sheet covering the button pad with your fingers

    • Gently remove the silicon button pad

  9. Uniden TCX905 Button Keypad Cleaning Guide: step 9, image 1 of 2 Uniden TCX905 Button Keypad Cleaning Guide: step 9, image 2 of 2
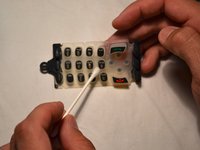
    • Wet one end of the cotton swab with water and clean button pad as needed

    • Repeat process with multiple cotton swabs if needed

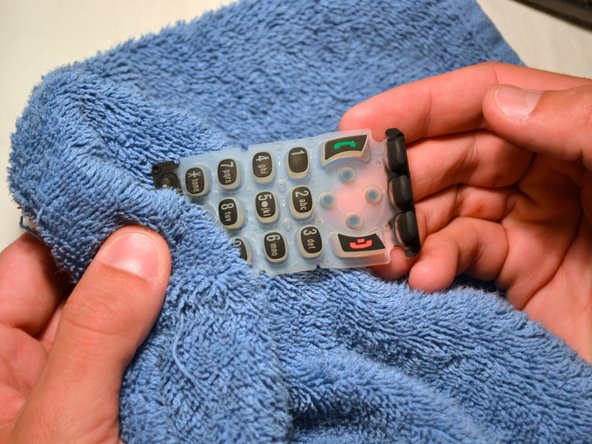
    • Dry the button pad with a clean, soft rag before replacing

Conclusion

To reassemble your device, follow these instructions in reverse order.

Gary Pence

Member since: 03/26/14

807 Reputation

8 Guides authored

Team

Clemson, Team 1-1, Benson Spring 2014 Member of Clemson, Team 1-1, Benson Spring 2014

CLEM-BENSON-S14S1G1

3 Members

16 Guides authored

0 Comments

Add Comment

View Statistics:

Past 24 Hours: 0

Past 7 Days: 0

Past 30 Days: 0

All Time: 842