
UTStarcom XV6700 Camera Replacement

Jesse Walker and 3 other contributors
Last updated on May 7, 2024
Views: 655
View statistics:
- Past 24 Hours:
- 3
- Past 7 Days:
- 28
- Past 30 Days:
- 100
- All Time:
- 655
Comments: 1
1 comment on steps.
Completed: 0 1
No one has marked this guide "completed." Will you be the first?
1 person has marked this guide "completed." It's you — great job!
Favorites: 0 1
No one has favorited (and subscribed to) this guide. Will you be the first?
1 person has favorited (and subscribed to) this guide — and that's you!
Introduction
Go to step 1 ↓A small amount of disassembly is required to replace the camera. The beginner can complete this task with just a couple tools.
What you need
Tools
-
Spudger4.9
-


-
-
-
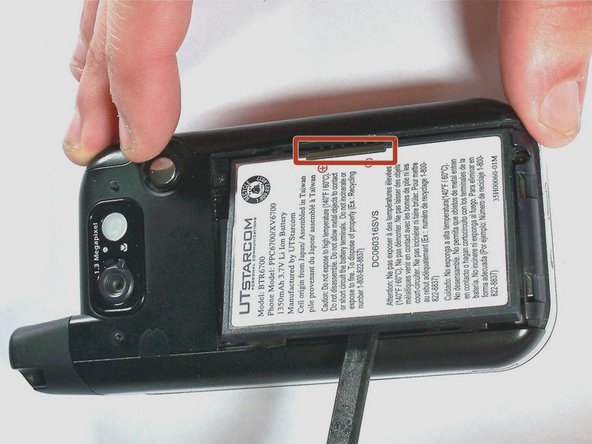
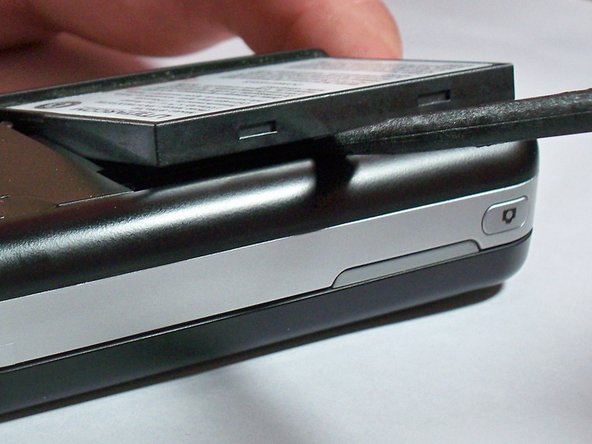
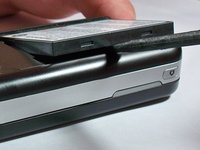
Remove the battery cover by pressing and sliding the cover down and off of the phone.
-
-
-
-
Tool used on this step:Tweezers$4.99
-
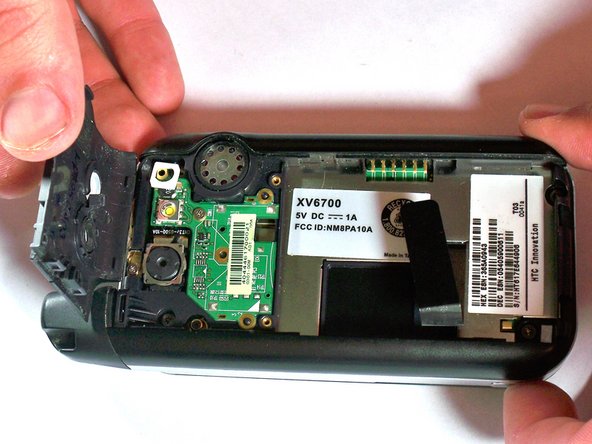
Remove the two 4.0-mm #000 Phillips screws at the top of the battery compartment. Tweezers may be useful to remove the screws.
-
-
-
Remove the 4.0-mm #00 Phillips screw securing the camera flash circuit board. The board is still connected by a connector on the bottom of the board.
-
-

 Ask FixBot






To reassemble your device, follow these instructions in reverse order.

Team

University of Kentucky Louisville, Team 1-4, Chamberlain Spring 2013 Member of University of Kentucky Louisville, Team 1-4, Chamberlain Spring 2013
LOUISVILLE-CHAMBERLAIN-S13S1G4
3 Members
60 Guides authored
