Free Shipping on Domestic Orders $75+

UTStarcom CDM8945vw Keyboard Replacement

What you need

    1. UTStarcom CDM8945vw Keyboard Replacement, Battery: step 1, image 1 of 1
      • Push the highlighted button in the direction in which the antenna is pointing. The battery will release and pop up.

      Ask FixBot

      Add Comment

    2. UTStarcom CDM8945vw Keyboard Replacement: step 2, image 1 of 1
      • Remove the battery.

      Ask FixBot

      Add Comment

    1. UTStarcom CDM8945vw Keyboard Replacement, Antenna: step 3, image 1 of 1
      • Identify the antenna. It is the extendable plastic component pictured here.

      Ask FixBot

      Add Comment

    2. UTStarcom CDM8945vw Keyboard Replacement: step 4, image 1 of 1
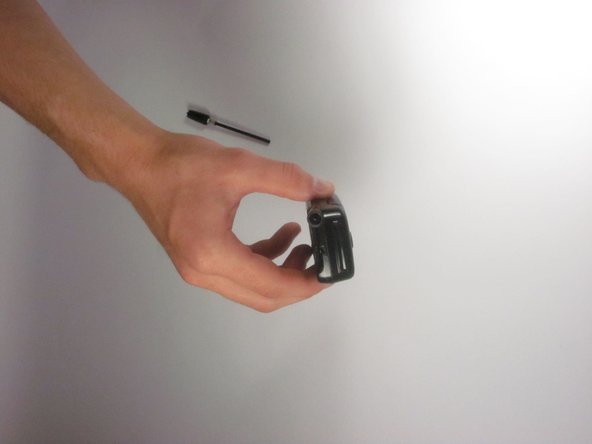
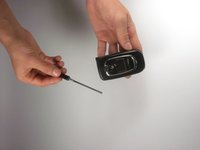
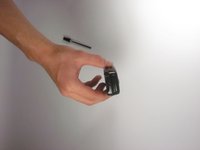
      • Twist the base in a counter-clockwise motion to unscrew the antenna.

      Ask FixBot

      Add Comment

    3. UTStarcom CDM8945vw Keyboard Replacement: step 5, image 1 of 2 UTStarcom CDM8945vw Keyboard Replacement: step 5, image 2 of 2
      • The antenna should slide right out of the phone when finished.

      Ask FixBot

      Add Comment

    1. UTStarcom CDM8945vw Keyboard Replacement, Speaker: step 6, image 1 of 1
      • Remove the small rubber grommet using the plastic opening tool.

      Ask FixBot

      Add Comment

    2. UTStarcom CDM8945vw Keyboard Replacement: step 7, image 1 of 1
      • Remove five screws using a Phillips #00 screwdriver.

      Ask FixBot

      Add Comment

    3. UTStarcom CDM8945vw Keyboard Replacement: step 8, image 1 of 1
      • Use the plastic opening tool to separate the two pieces that form the outer case of the phone.

      • Prying the two pieces apart may be difficult. Carefully apply a moderate amount of pressure when attempting to separate the two pieces or else you will risk breaking them.

      Ask FixBot

      Add Comment

    4. UTStarcom CDM8945vw Keyboard Replacement: step 9, image 1 of 1
      • Remove the back piece of the outer case.

      Ask FixBot

      Add Comment

    5. UTStarcom CDM8945vw Keyboard Replacement: step 10, image 1 of 1
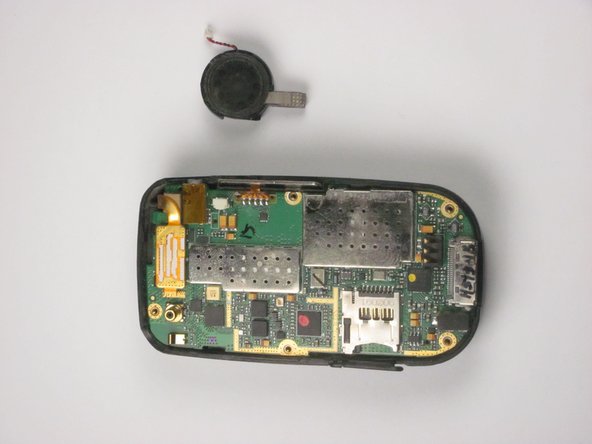
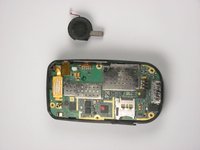
      • Remove the speaker using a plastic opening tool.

      • Apply a small amount of force when removing the broken speaker from the motherboard. If you apply a large amount of force, you may rip out the wires and damage the motherboard.

      Ask FixBot

      Add Comment

    6. UTStarcom CDM8945vw Keyboard Replacement: step 11, image 1 of 2 UTStarcom CDM8945vw Keyboard Replacement: step 11, image 2 of 2
      Tool used on this step:
      Tweezers
      $4.99
      Buy
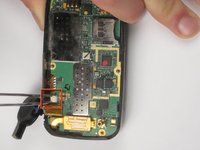
      • Remove the wire attached to the speaker from the motherboard using tweezers.

      • Apply a small amount of force when removing the wire from the motherboard. If you apply a large amount of force, you may rip out the wires and damage the motherboard.

      Ask FixBot

      Add Comment

    1. UTStarcom CDM8945vw Keyboard Replacement, Logic Board: step 12, image 1 of 1
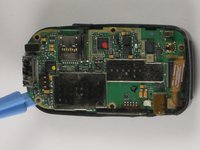
      • Detach the highlighted piece from the logic board using a plastic opening tool.

      Ask FixBot

      Add Comment

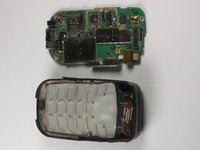
    2. UTStarcom CDM8945vw Keyboard Replacement: step 13, image 1 of 2 UTStarcom CDM8945vw Keyboard Replacement: step 13, image 2 of 2
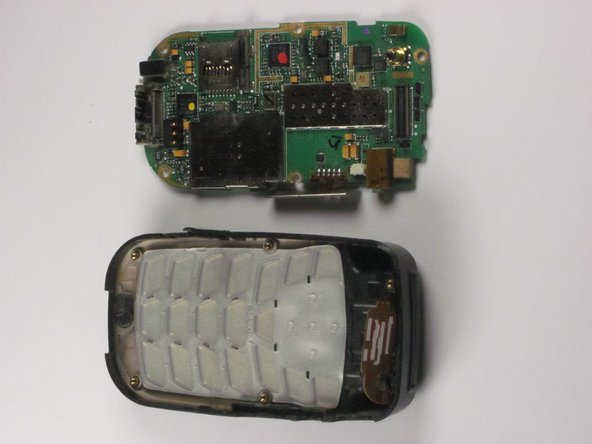
      • Remove the logic board from the anterior piece of the outer case using the plastic opening tool.

      Ask FixBot

      Add Comment

    1. UTStarcom CDM8945vw Keyboard Replacement, Keyboard: step 14, image 1 of 1
      • Remove the keyboard.

      Ask FixBot

      Add Comment

Conclusion

To reassemble your device, follow these instructions in reverse order.

Cancel: I did not complete this guide.

Bryon Hazlewood

Member since: 10/03/12

1 Reputation

2 Guides authored

Team

Cal Poly, Team 24-26, Regan Fall 2012 Member of Cal Poly, Team 24-26, Regan Fall 2012

CPSU-REGAN-F12S24G26

4 Members

45 Guides authored

0 Guide Comments

Add Comment

View Statistics:

Past 24 Hours: 0

Past 7 Days: 5

Past 30 Days: 23

All Time: 527