This translation was generated by a machine and has not been reviewed by a person yet. Speak this language? Review it.
Introduction
Today we will see how simple it is to replace a USB port. This applies to boards that require a port change, whether it has been damaged or is very old.
You will need the following materials: a USB port, either from a board or new, solder, a soldering iron, and desoldering wick to clean the area.
-
-
-
If you are starting on the electronic board, we can see the label USB here; we will place the new USB port or the spare part from another board here.
 Ask FixBot
-
-
-
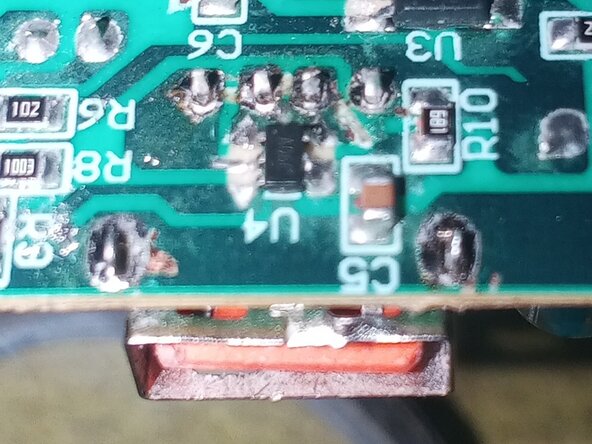
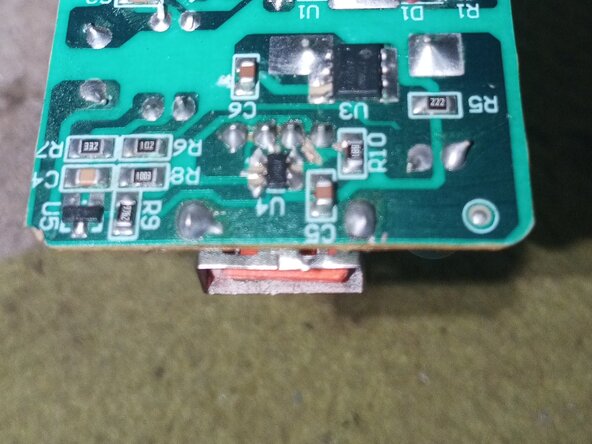
On the back with a mesh, we will remove the solder where the USB port pins enter.
-
-
-
-
Once the solder is removed with the desoldering wick or a solder sucker, proceed to install your USB port.
-
-
-
Position the port in its place; if cleaned well, it will fit perfectly. Then, proceed to solder the port with solder. A tip: first fix the USB port anchors, and then solder the pins.
-
-
-
This is how our USB port should look after having soldered and cleaned it with isopropyl alcohol; always ensure that the solder does not bridge with other pins or traces.
-
Now you can repair players or chargers damaged by their USB port. I recommend that you save the USB ports from damaged chargers; they will serve as replacements, provided their pins are in perfect condition.
-
-