
Panasonic Lumx DMC-ZS19 Motherboard Replacement

Patrick Thoennissen and 2 other contributors
Last updated on Jan 5, 2016
Views: 923
View statistics:
- Past 24 Hours:
- 2
- Past 7 Days:
- 22
- Past 30 Days:
- 95
- All Time:
- 923
Comments: 0
No one has left comments on this guide. Will you be first?
Go to guide commentsCompleted: 2 3
2 people have marked this guide "completed." Will you be next?
3 people have marked this guide "completed." Including you — great job!
Favorites: 0 1
No one has favorited (and subscribed to) this guide. Will you be the first?
1 person has favorited (and subscribed to) this guide — and that's you!
Action Shots
Be an action hero! This guide needs images that better demonstrate how to perform specific actions.
Needs Better Images
Better photos will improve this guide. Help out by taking, editing, or uploading new ones!
Needs More Images
A few more images would make this guide's procedures crystal clear.
Missing Steps
Oops! This guide is currently missing one or more important steps.
Better Introduction
Improve this guide by completing or revising its introduction.
What you need
Parts
Tools


-
-
-
Locate the pair (2) of screws on each side of the camera and remove them. Then locate the pair (2) of screws on the bottom of the camera, located on each side of the tripod screw-in area, and remove them.
 Ask FixBot
-
-
-
Using the plastic prying tool, remove the cover of the camera that is on the same side as your LCD screen. This cover should come off relatively easily, and will expose the motherboard that the screen is connected to.
-
-
-
Disconnect the motherboard that the LCD screen is connected to from the main motherboard.
-
-
-
Using your hand, follow the two data-strips that connect the LCD screen to the motherboard and unclip them. Once the data-strips are unclipped, remove them from the motherboard and the screen will be free.
-
-
-
-
-
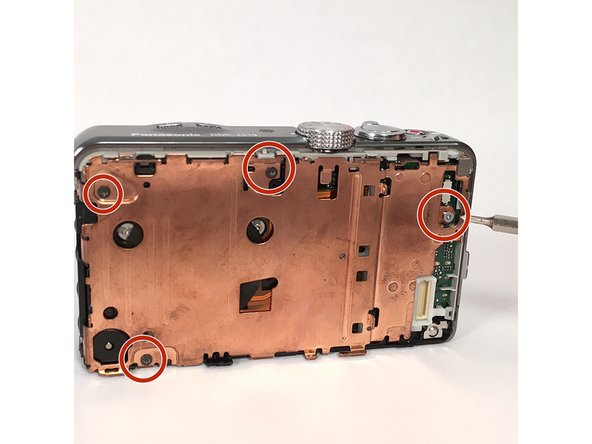
After the screen has been removed, the main motherboard is directly underneath it. There is a bronze, metal separation piece that separates the main motherboard from the one connected to the lens. This metal piece is held in with 4 screws. Remove these 4 screws and the metal piece will be free.
-
-
-
Once the bronze metal plate is removed, the main motherboard will be exposed. There is a plastic riser (it looks like a lowercase "b" on the right side of the camera) that separates the metal plate from the motherboard. Remove this plastic riser.
-
-
-
-
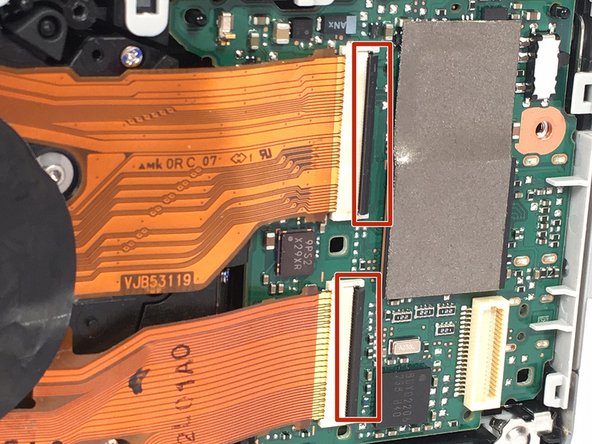
Once the plastic riser is removed, it is time to remove the lens. To do this, simply follow the data strips (2) that connect the lens to the main motherboard and unclip them by turning the black bar into a position that is perpendicular to the motherboard. Once these clips are open, the data strips and the lens should simply slide out.
-
-
-
-
-
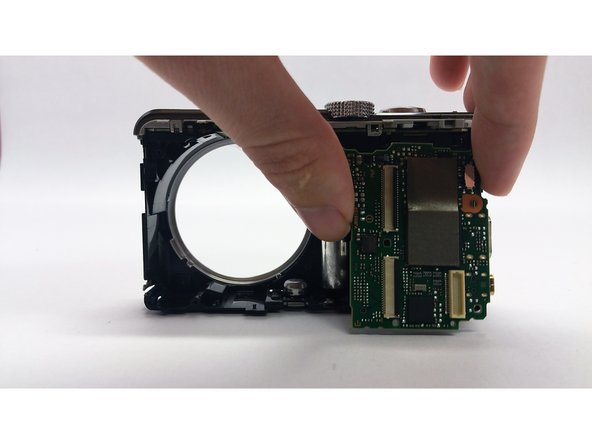
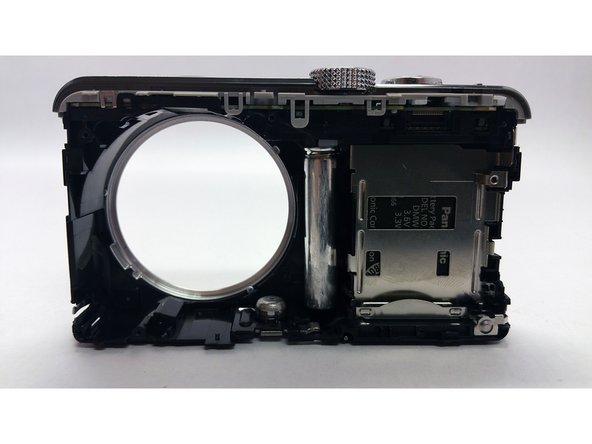
After the lens has been removed, there is only one screw that holds the main motherboard in place. Remove this screw, located on the right side of the motherboard, and remove it.
-
-
-
Once the screw has been removed, the motherboard should pop right out. If you're having difficulties, use the plastic prying tool.
-
-




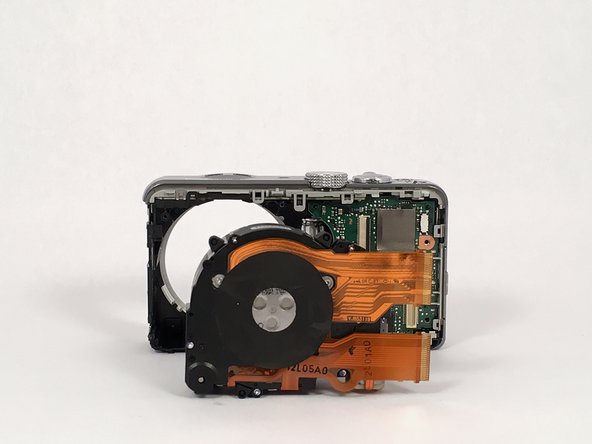
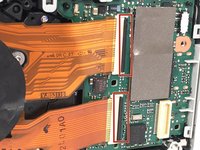


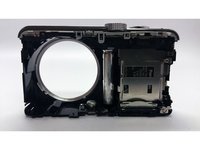
To reassemble your device, follow these instructions in reverse order.
Cancel: I did not complete this guide.
2 other people completed this guide.

Team

USF Tampa, Team 14-1, Meier Fall 2015 Member of USF Tampa, Team 14-1, Meier Fall 2015
USFT-MEIER-F15S14G1
4 Members
60 Guides authored
