Free Shipping on Domestic Orders $75+

UP! Plus 2 Spool Holder Replacement

What you need

    1. UP! Plus 2 Spool Holder Replacement, 3D print replacement spool holder: step 1, image 1 of 1
      • Before your spool holder breaks, 3D print a replacement to have on hand. If you didn't preemptively print a replacement you can still print without a spool holder. Just find some way of holding the spool so that it can rotate as the filament gets pulled off.

      • Download the file for a new spool holder here

      Ask FixBot

      Add Comment

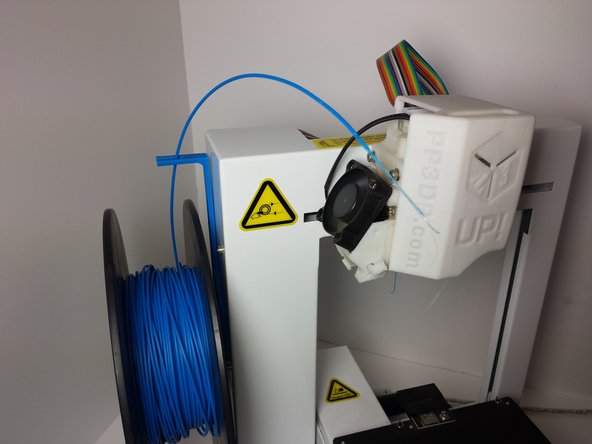
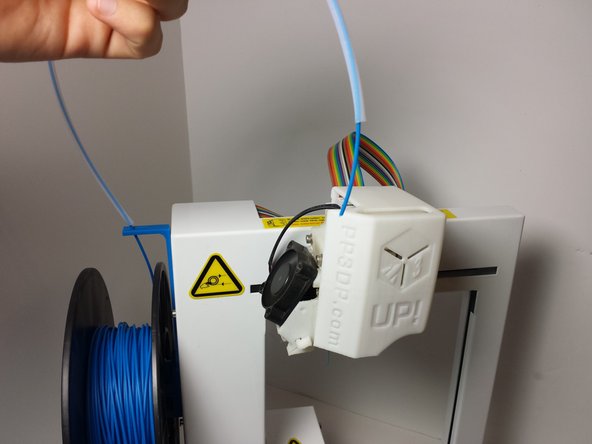
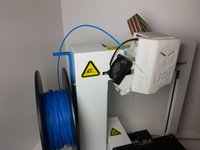
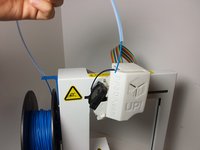
    2. UP! Plus 2 Spool Holder Replacement, Remove plastic filaments: step 2, image 1 of 3 UP! Plus 2 Spool Holder Replacement, Remove plastic filaments: step 2, image 2 of 3 UP! Plus 2 Spool Holder Replacement, Remove plastic filaments: step 2, image 3 of 3
      • Go to "Maintenance" and tell the printer to withdraw the plastic filament from the extrusion assembly. Finish removing the filament by pulling upwards.

      • Wait for a "beeping" sound before removing filament.

      • Cut off any damaged plastic from the end of the filament.

      • Remove the plastic filament tube from the spool.

      Ask FixBot

      Add Comment

    3. UP! Plus 2 Spool Holder Replacement, Remove spool holder: step 3, image 1 of 3 UP! Plus 2 Spool Holder Replacement, Remove spool holder: step 3, image 2 of 3 UP! Plus 2 Spool Holder Replacement, Remove spool holder: step 3, image 3 of 3
      • Remove the spool from the spool holder by lifting it up and taking it off.

      • Put the end of the filament through the hole on the side of the spool to keep it from unraveling.

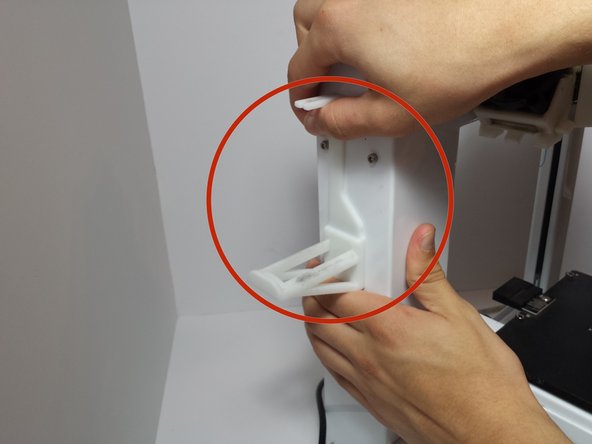
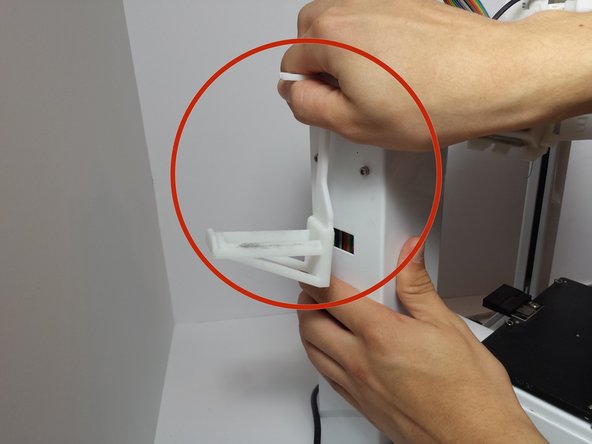
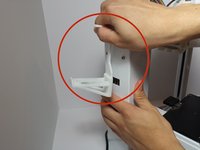
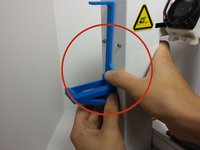
      • Slide the spool holder upwards, and then pull outwards.

      Ask FixBot

      Add Comment

    4. UP! Plus 2 Spool Holder Replacement, Replace spool holder: step 4, image 1 of 3 UP! Plus 2 Spool Holder Replacement, Replace spool holder: step 4, image 2 of 3 UP! Plus 2 Spool Holder Replacement, Replace spool holder: step 4, image 3 of 3
      • Place the new spool holder by pushing it inwards and sliding it down until it locks.

      • Repeat the steps in reverse chronological order to reassemble the printer.

      • The spool should be inserted in way that end of the filament points towards, not away.

      Ask FixBot

      Add Comment

Finish Line

Cancel: I did not complete this guide.

6 other people completed this guide.

valerie boyer

Member since: 10/12/14

508 Reputation

4 Guides authored

Team

Cal Poly, Team 14-31, Maness Fall 2014 Member of Cal Poly, Team 14-31, Maness Fall 2014

CPSU-MANESS-F14S14G31

4 Members

30 Guides authored

0 Guide Comments

Add Comment

View Statistics:

Past 24 Hours: 1

Past 7 Days: 4

Past 30 Days: 31

All Time: 1,621