
Twentieth Anniversary Mac Teardown

Dylan and
Last updated on Feb 7, 2024
Views: 14K
View statistics:
- Past 24 Hours:
- 5
- Past 7 Days:
- 27
- Past 30 Days:
- 129
- All Time:
- 13,892
Comments: 7
3 comments on steps, 4 guide comments.
Go to guide commentsCompleted: 7 8
7 people have marked this guide "completed." Will you be next?
8 people have marked this guide "completed." Including you — great job!
Favorites: 14 15
14 people have favorited (and subscribed to) this guide. Will you be next?
15 people have favorited (and subscribed to) this guide — including you!
Community-Contributed Guide
An awesome member of our community made this guide. It was not created by iFixit staff.
What you need
Tools
-
Spudger4.9
-


-
-
-
Unplug the logic board connections to the PRAM battery and fan.
-
Remove the PRAM battery from it's Velcro mounting.
-
Remove the four #0 Philips screws securing the hard drive and processor fan assembly.
-
Remove the hard drive and processor fan assembly.
-
-
-
Remove the two T6 Torx screws securing the A/V input board.
-
Remove the A/V Input board
-
-
-
Remove the white plastic shield
-
Remove the T6 torx screw securing the logic board to the frame.
-
-
-
-
Turn the TAM around with the front facing you.
-
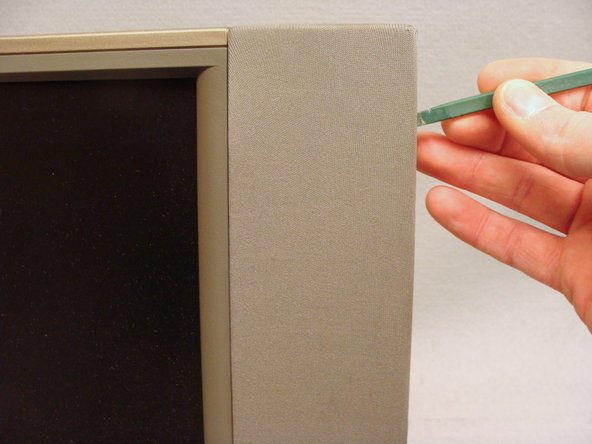
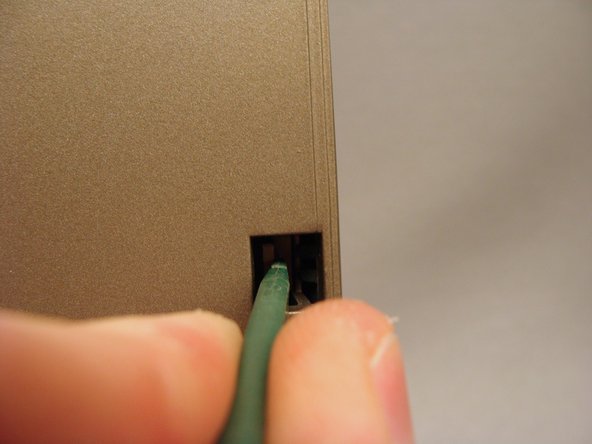
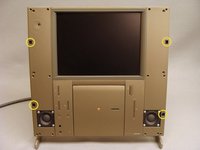
Use a spudger to gently loosen the speaker covers from their press-fit snaps. Remove the speaker covers.
-
-
-
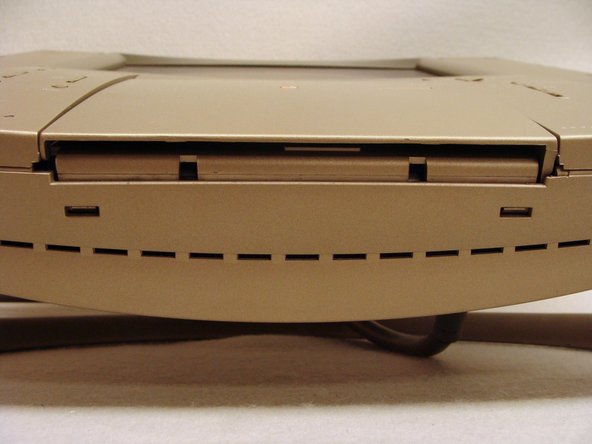
Gently pull the tabs toward the center to release the latches hold the front and back together. These tabs are fragile but release easily. Use caution.
-
Lean the top forward and lift up to pull the front case from it's bottom latches.
-
DO NOT TRY TO REMOVE THE FRONT CASE. It is still connected to the back case by several wires and cables.
-
-
-
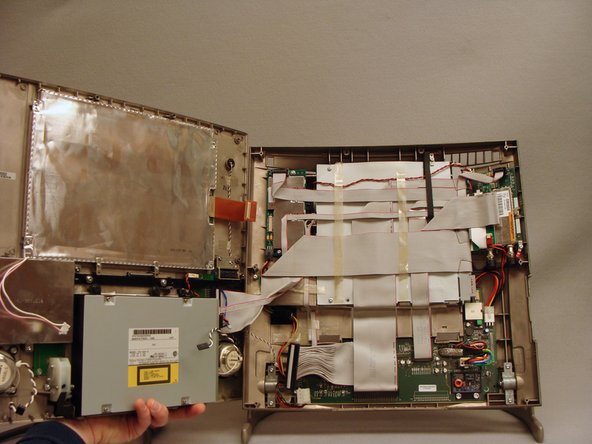
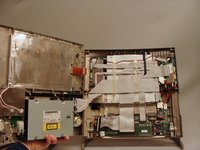
Disconnect the pink and white backlight inverter cable and the black and white right speaker cable from behind the floppy disk drive on the right side.
-
On the left side, disconnect the 50-pin SCSI ribbon cable, analog audio cable and power cable from the CD-ROM drive.
-
Disconnect the black and white left speaker cable.
-
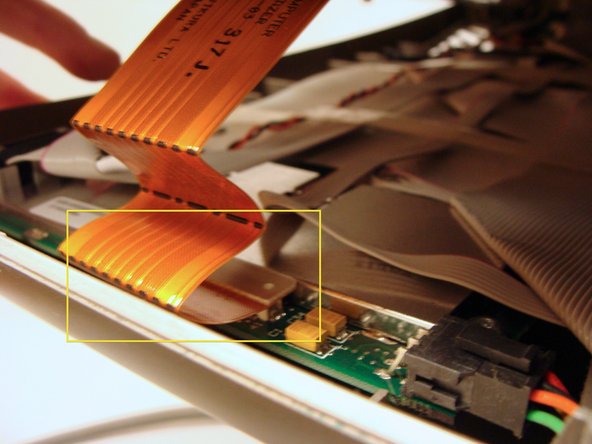
Disconnect the flat, orange display data cable.
-
Open the top case to the left like a book. There will be one more 50-pin cable to disconnect from the front control panel board.
-
-
-
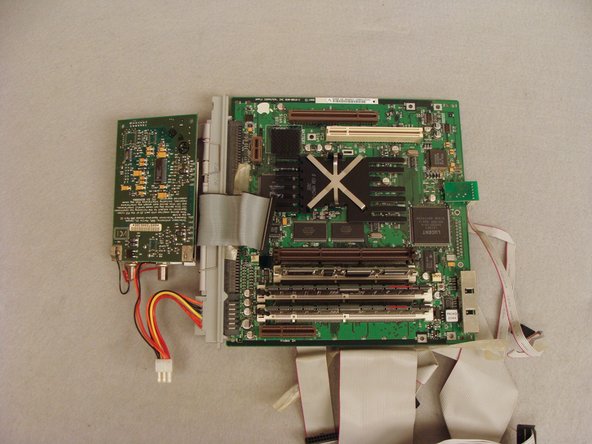
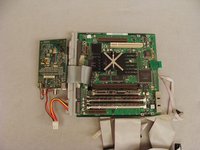
The easiest method to remove the logic board is to remove it with the tuner card and cabling.
-
Disconnect the five cables illustrated.
-
-
-
Remove the T10 torx screw and extract the stiff wire cable brace from the left side
-
-
-
Carefully peel back the tape securing the cables to the white, plastic logic board cover. Pull the cables back to reveal the back side of the logic board.
-
Remove the five T10 screws holding the logic and tuner boards to the back case.
-
-
-
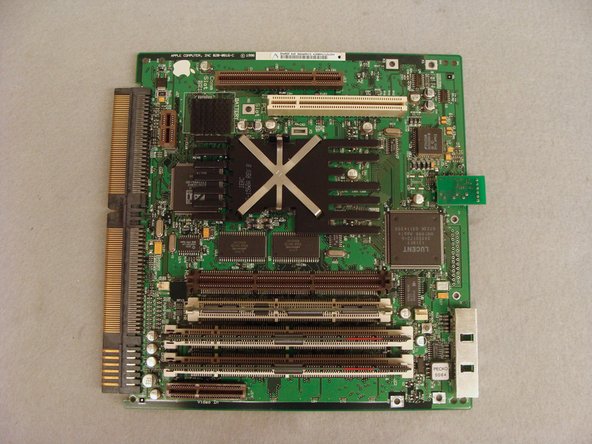
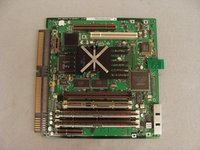
Lift the logic board from the left edge then straight up to remove it from the rear case.
-
The logic board slides out of the cabling connector.
-

 Ask FixBot







To reassemble your device, follow these instructions in reverse order.
Cancel: I did not complete this guide.
7 other people completed this guide.

4 Guide Comments
Hi,
One of the member of my Forum is looking for the Bose subwoofer including the power cable. Have you an idee on where could he find it ?
Thx.
Raziel
To echo the comment from 2014, i just performed this guide and there is a critical step missing between steps 6 & 7. The small plastic grille at the top rear needs to be removed; There are two tabs at the bottom and two on the sides. Flex it to remove. Then remove the two visible torx screws to release the top.
